CARRIER SMARC-E71
Welcome to the quick start guide for your CARRIER SMARC-E71, the compact and versatile 3.5" carrier board developed by SECO to accelerate prototyping and application development with SMARC 2.1.1 modules.
This guide will walk you through the initial steps: hardware connections, power setup, and basic system configuration.
What's in the Box?
Image placeholder – Board unpacked
Inside the package, you will find:
- CARRIER SMARC-E71 board
- Technical documentation
- (Optional) Power cable with Molex 2P connector
- (Optional) MicroSD card or LTE/Wi-Fi module kit
Before You Start
Requirements to get started
To configure your system, you'll need:
- A compatible SMARC 2.1.1 module
- DC power supply (between 9V and 24V)
- HDMI monitor
- USB keyboard and mouse
- Boot media (eMMC, SSD, or MicroSD with OS)
- Ethernet cables or wireless modules for networking
Safety & Handling
- Always power off the system before connecting or disconnecting peripherals.
- Use a power supply with 9V–24V DC output.
- Operating temperature range: 0°C ~ +70°C.
- ESD protection is recommended when handling the board.
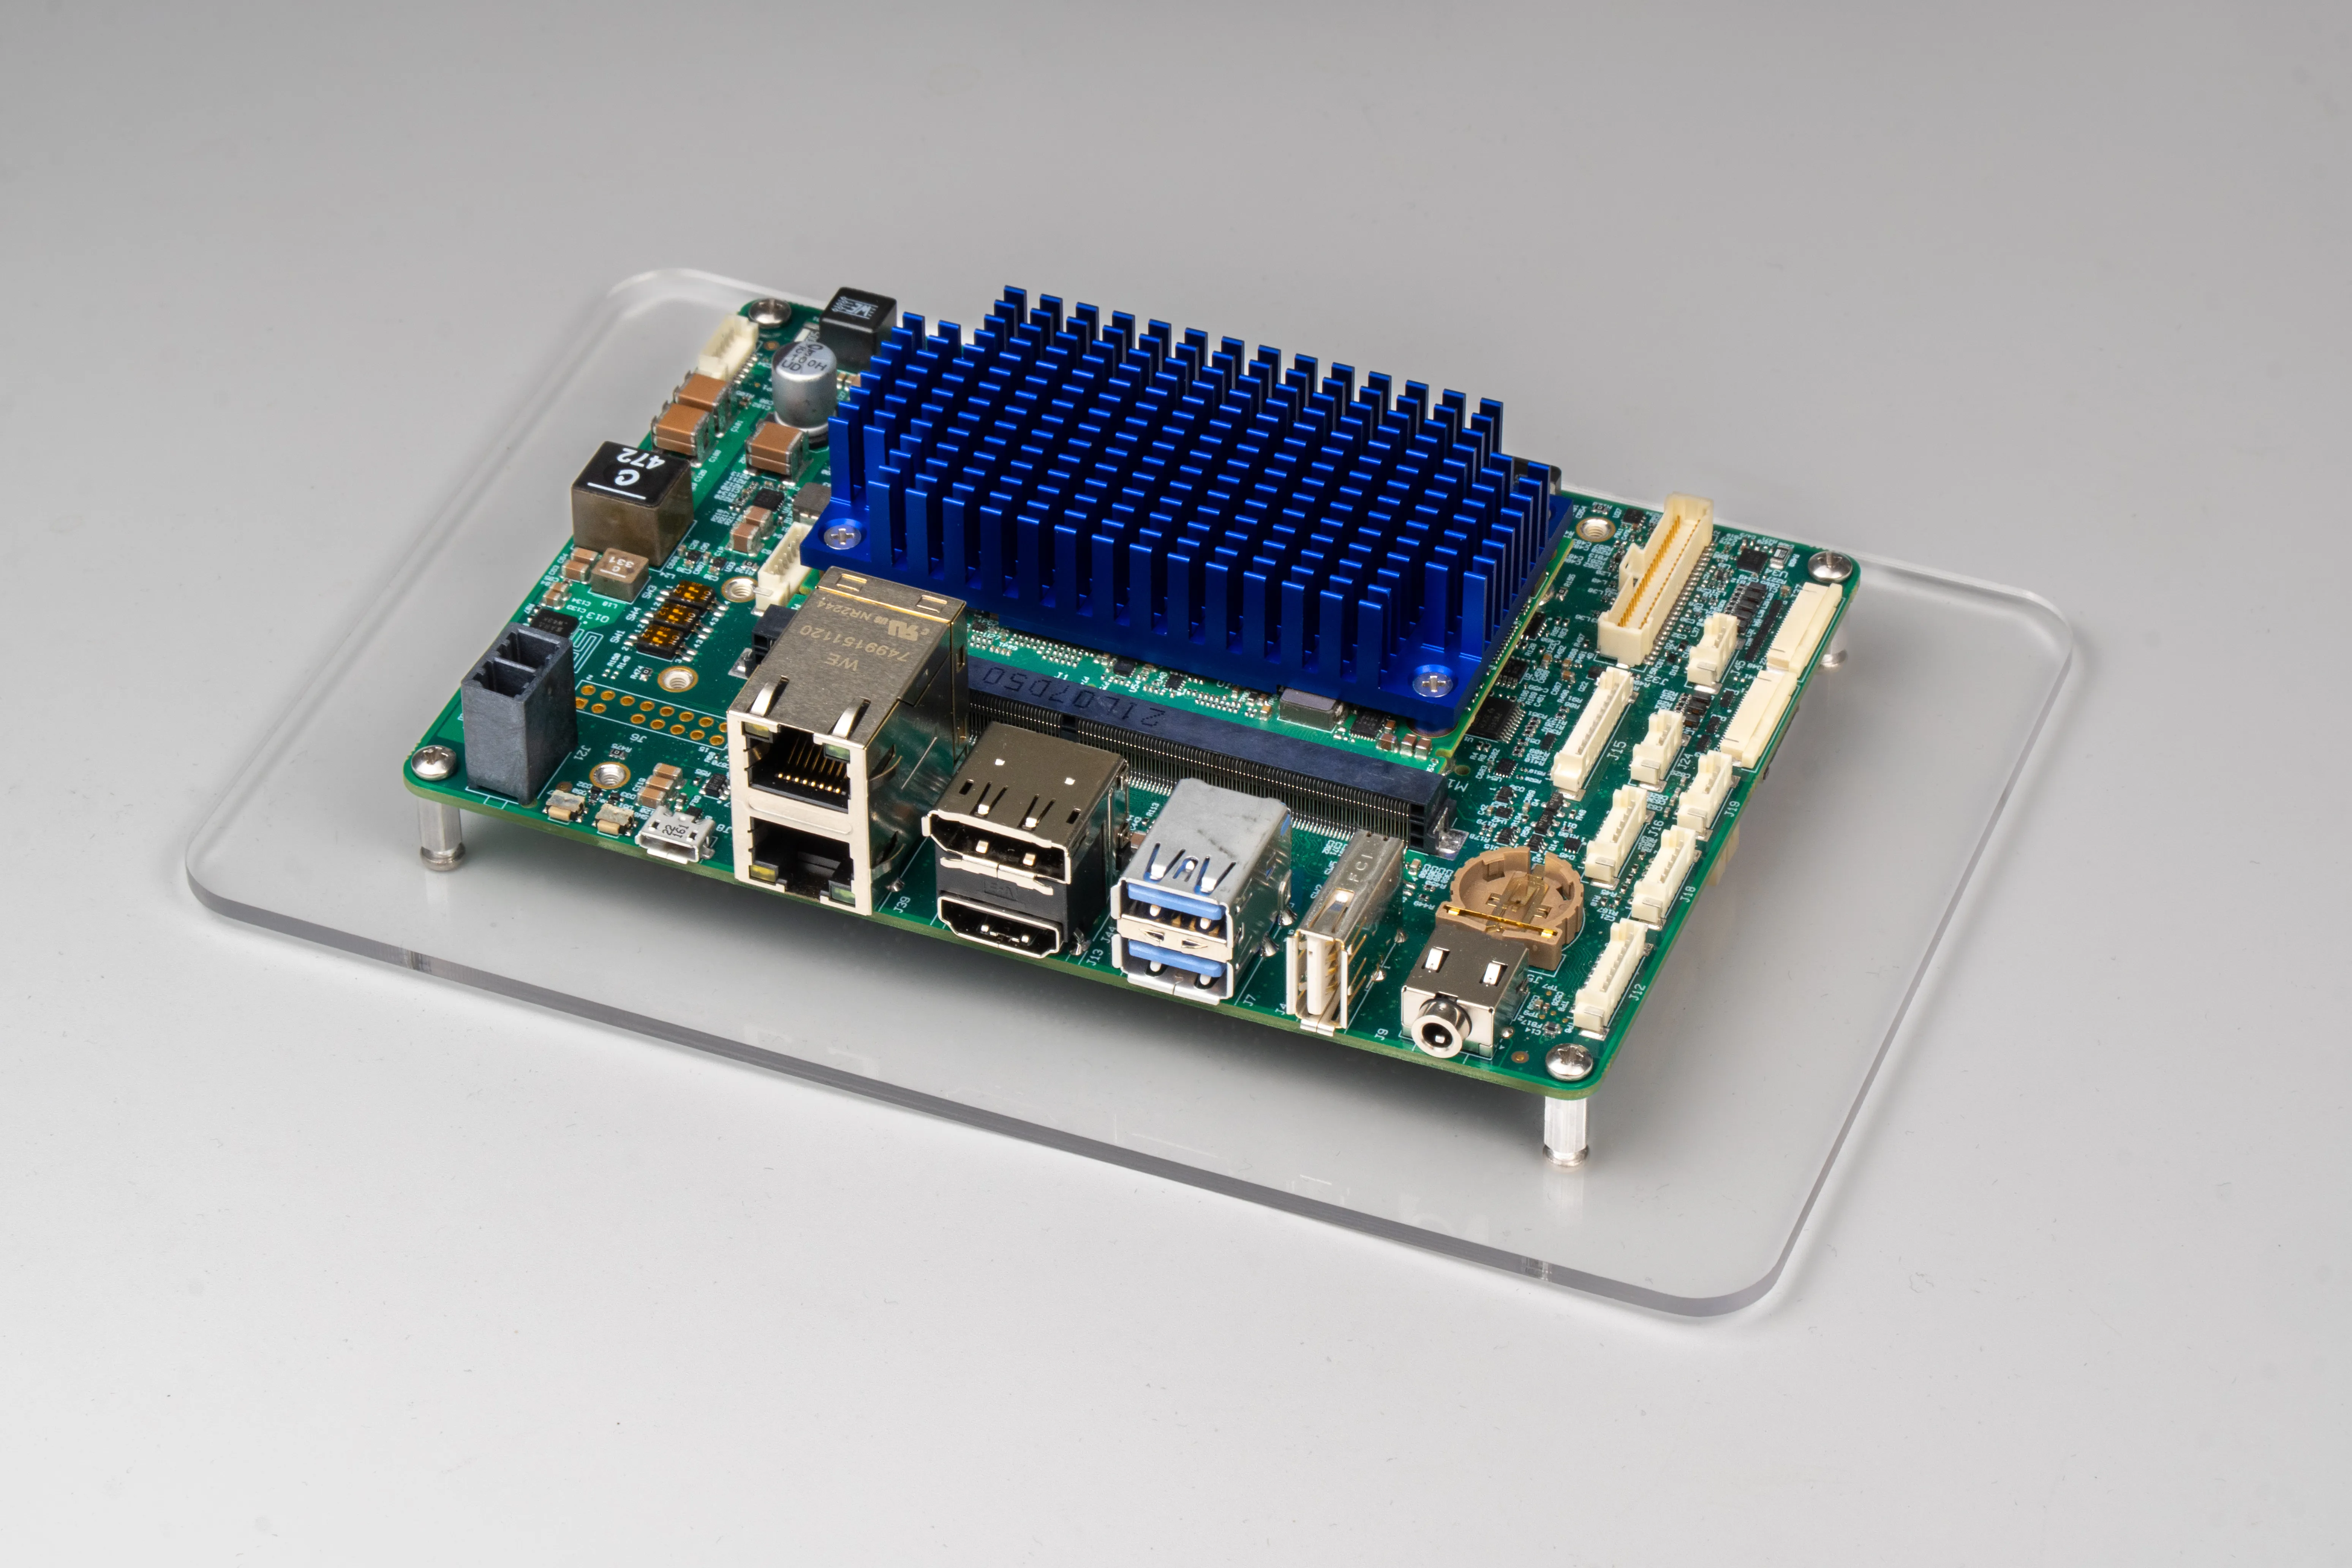
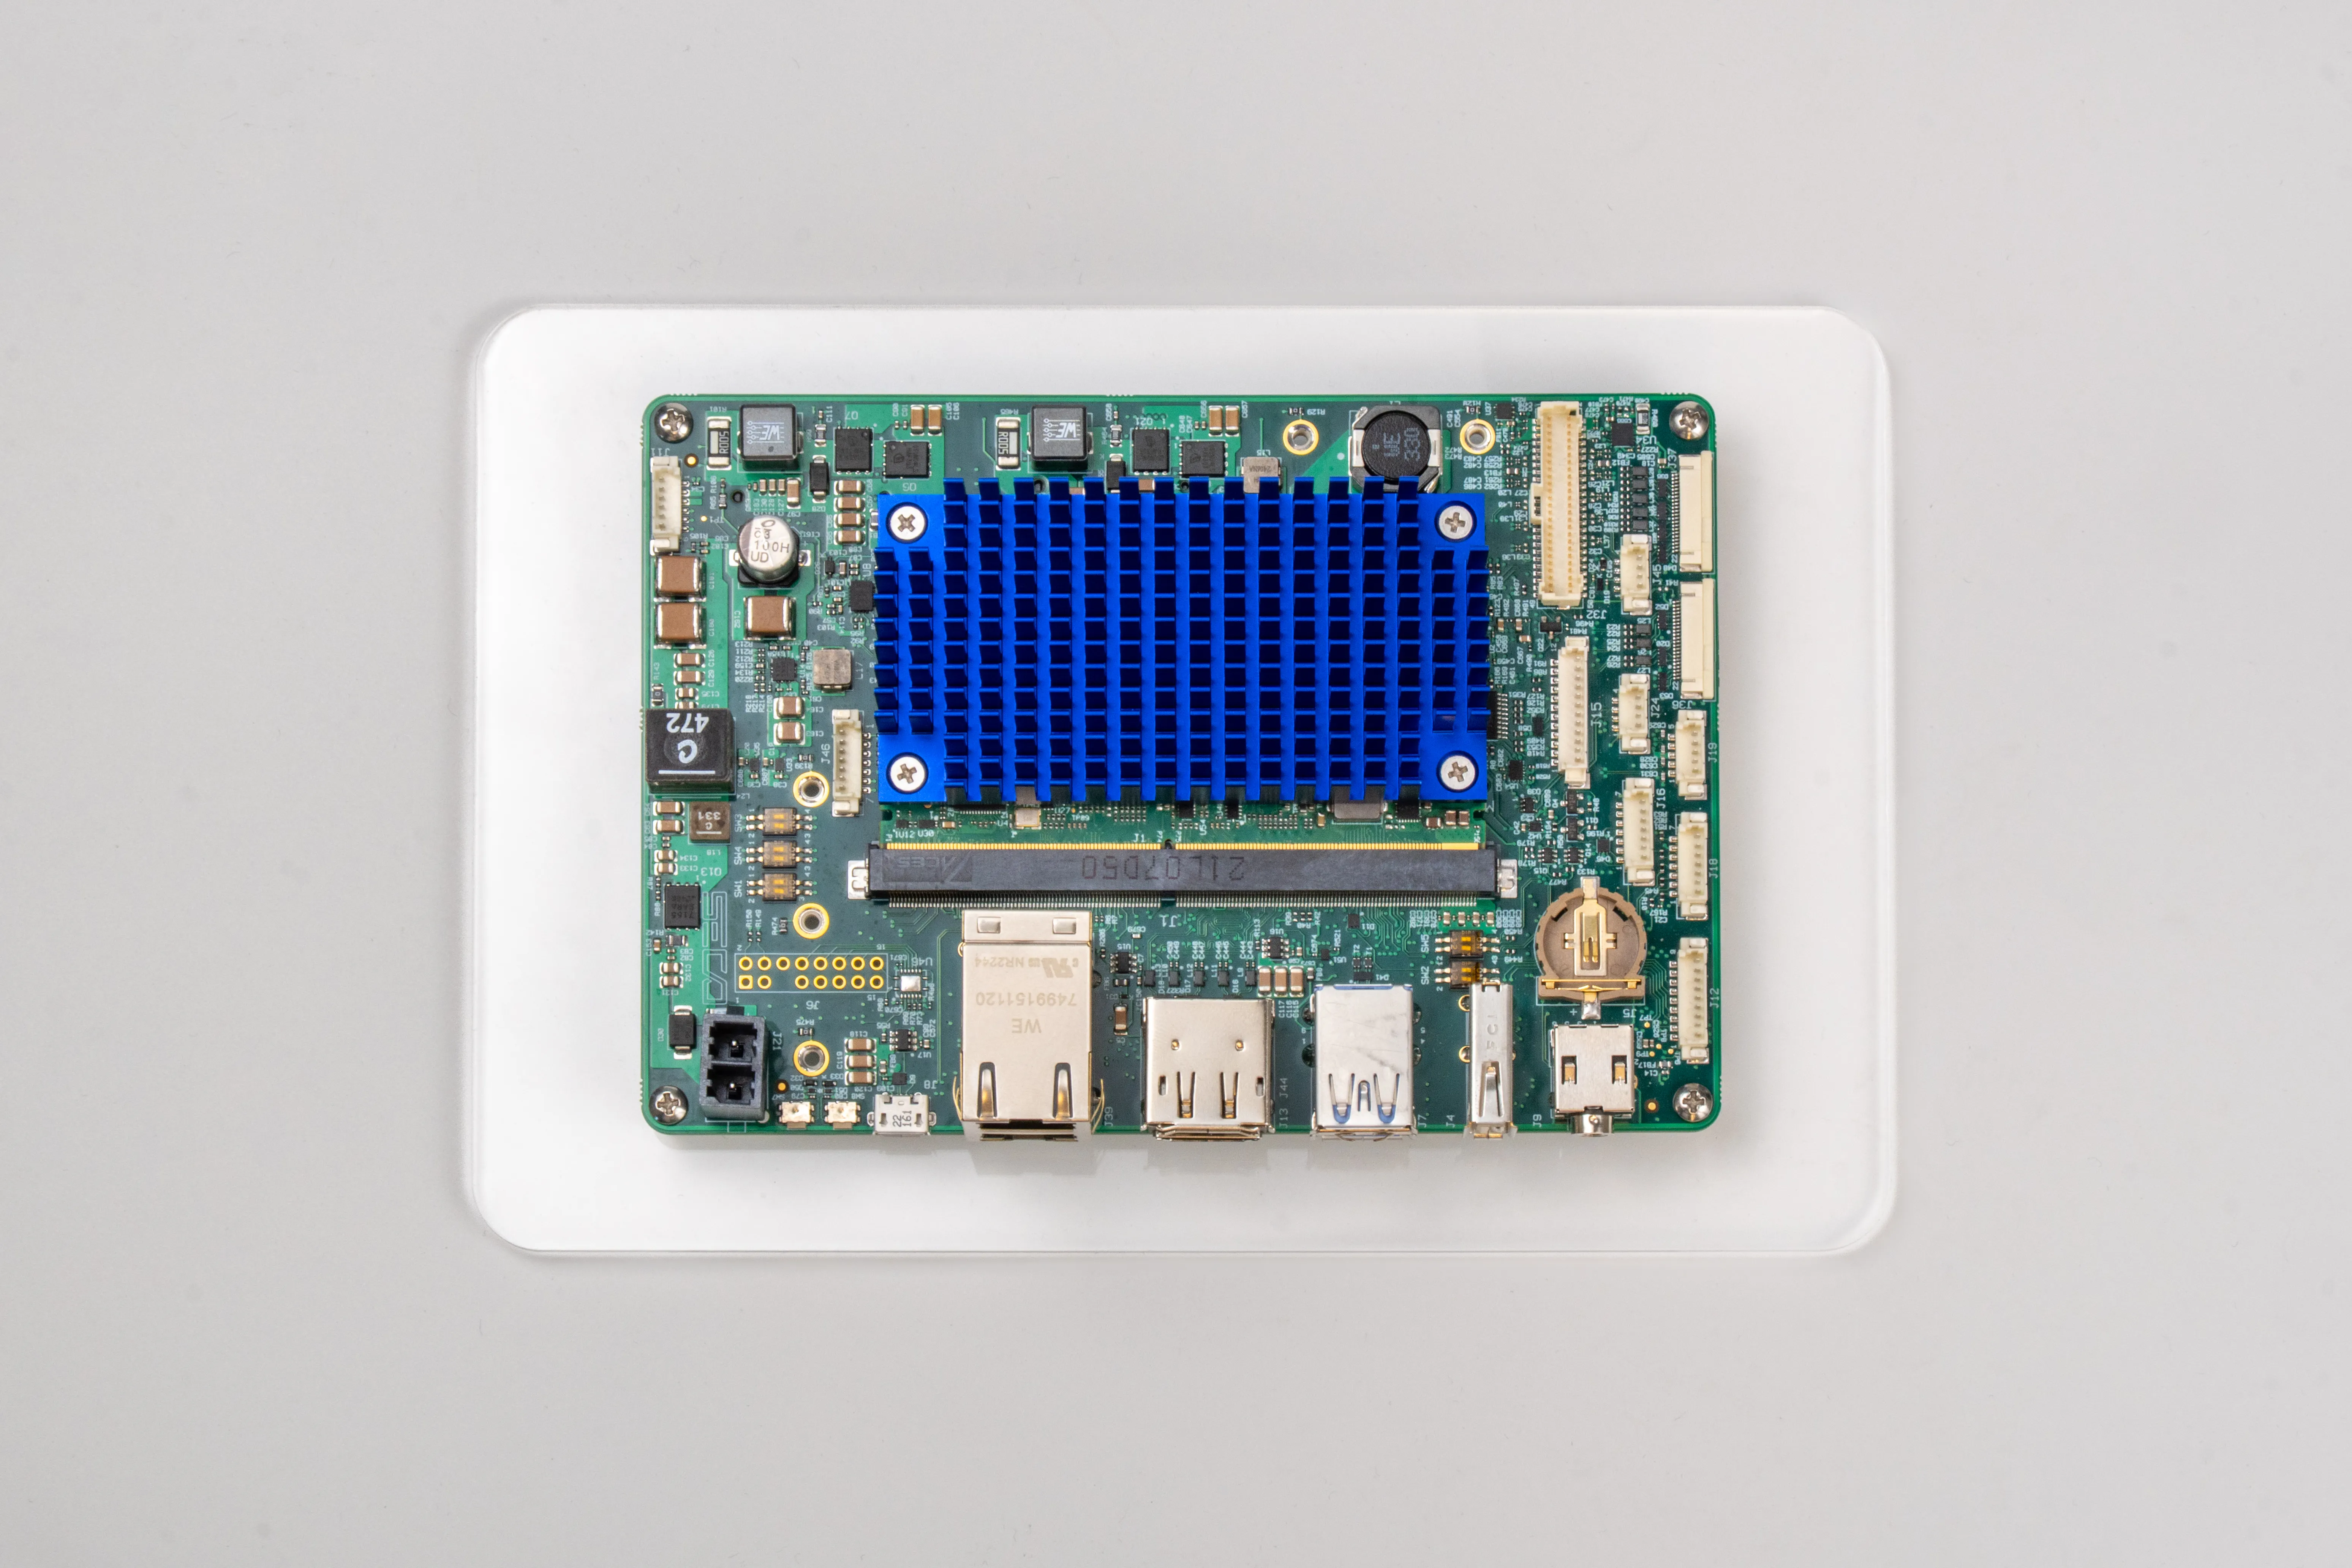
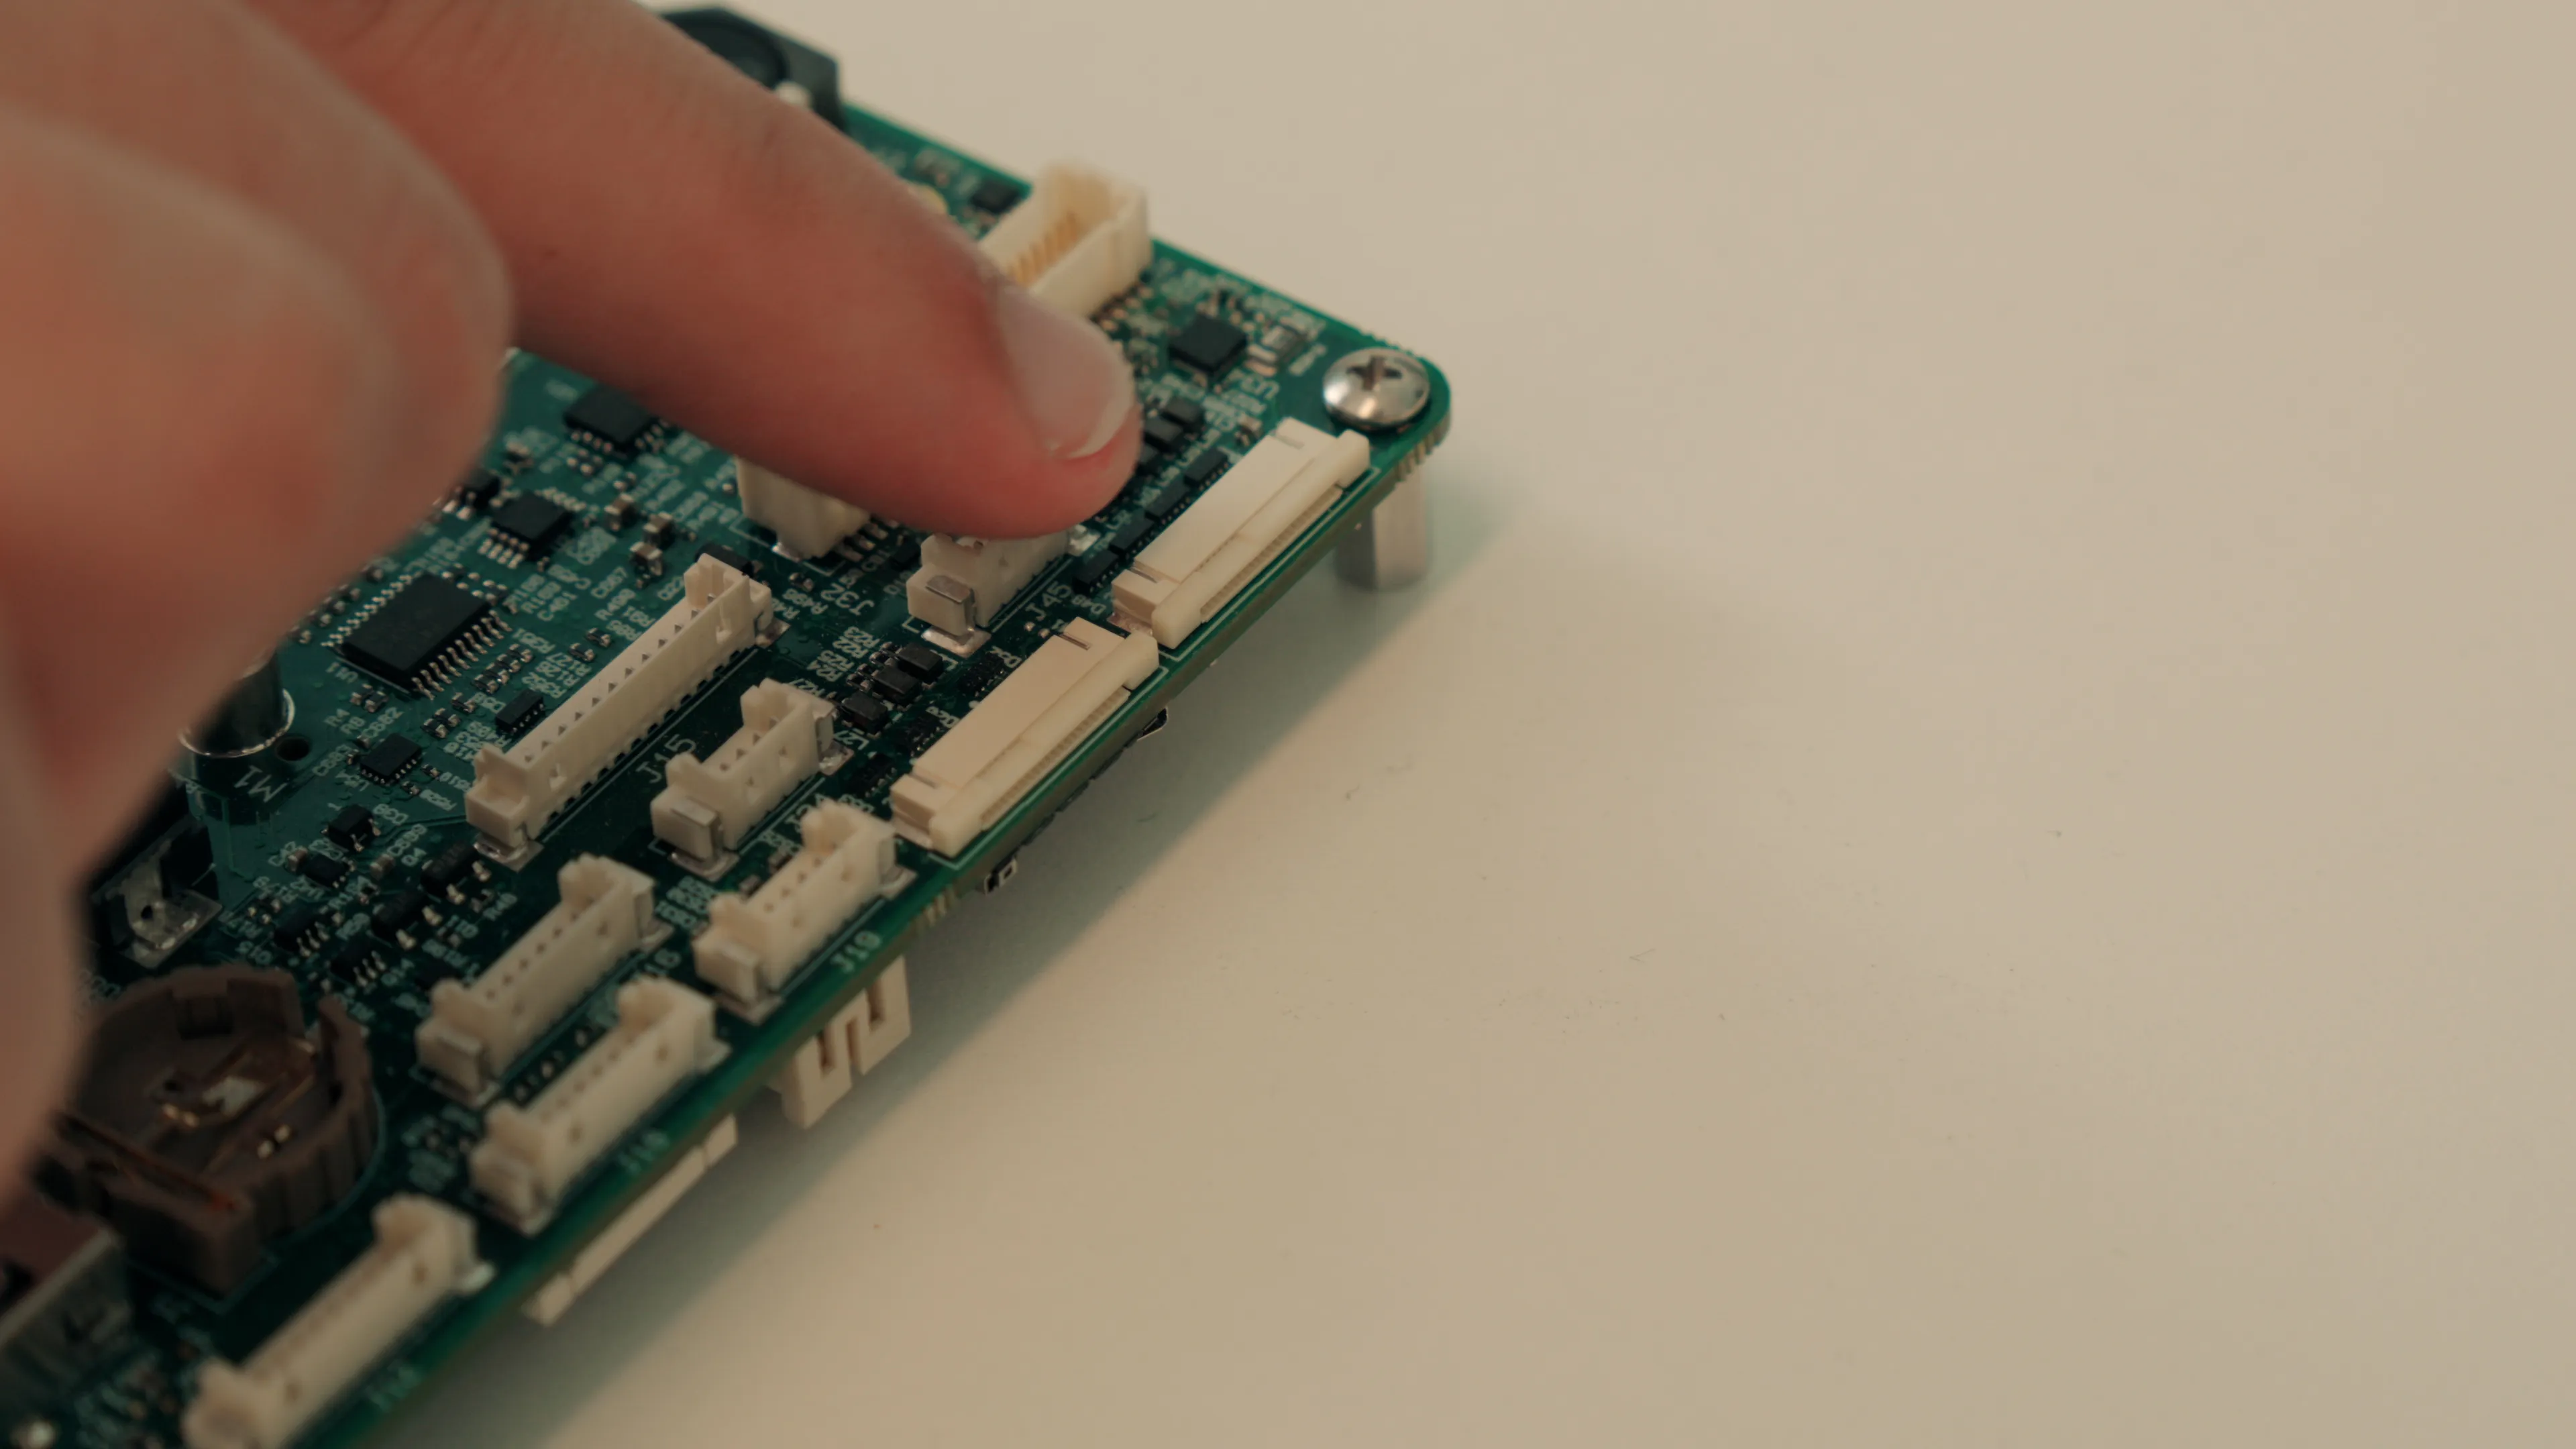
Hardware Overview & Interfaces
The CARRIER SMARC-E71 is a high-density I/O board ideal for rapid prototyping, functional testing, and embedded solution development.
-
Form Factor: 3.5" – 147 mm x 101.6 mm
-
Supported Modules: SMARC 2.1.1
-
Operating Temperature: 0°C ~ +70°C
Key Interfaces and Connectivity
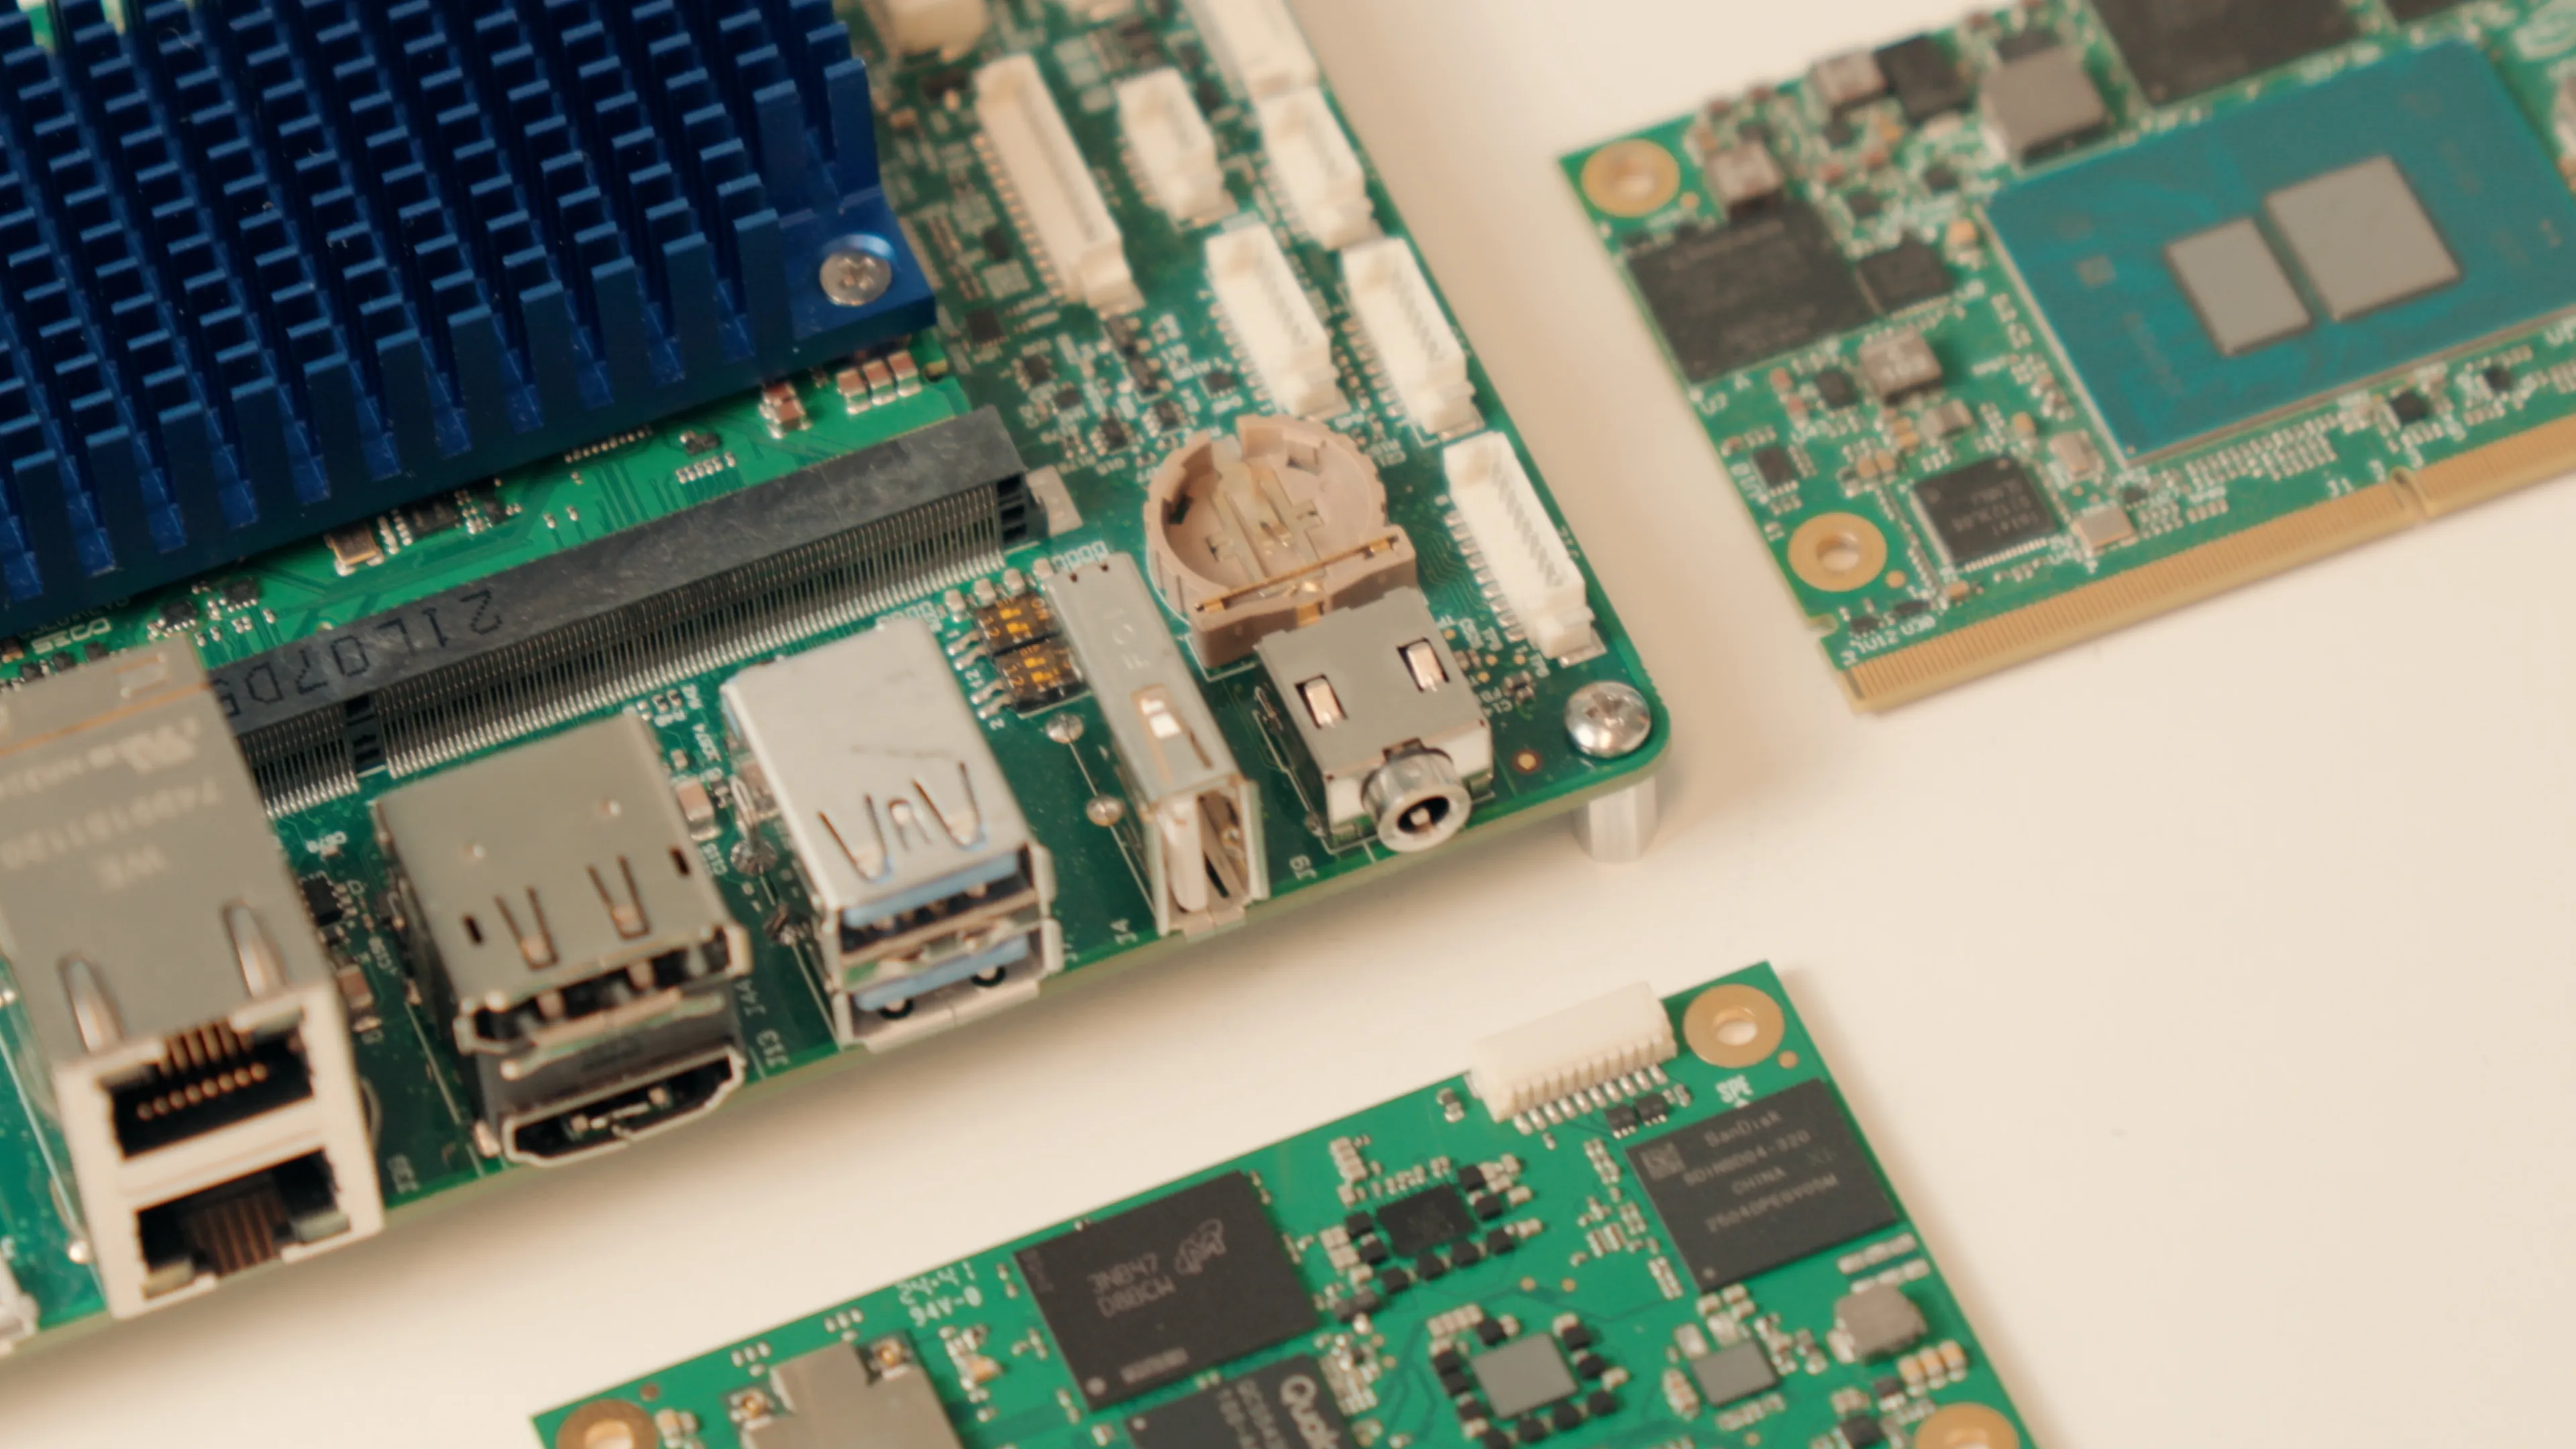
Storage & Expansion
-
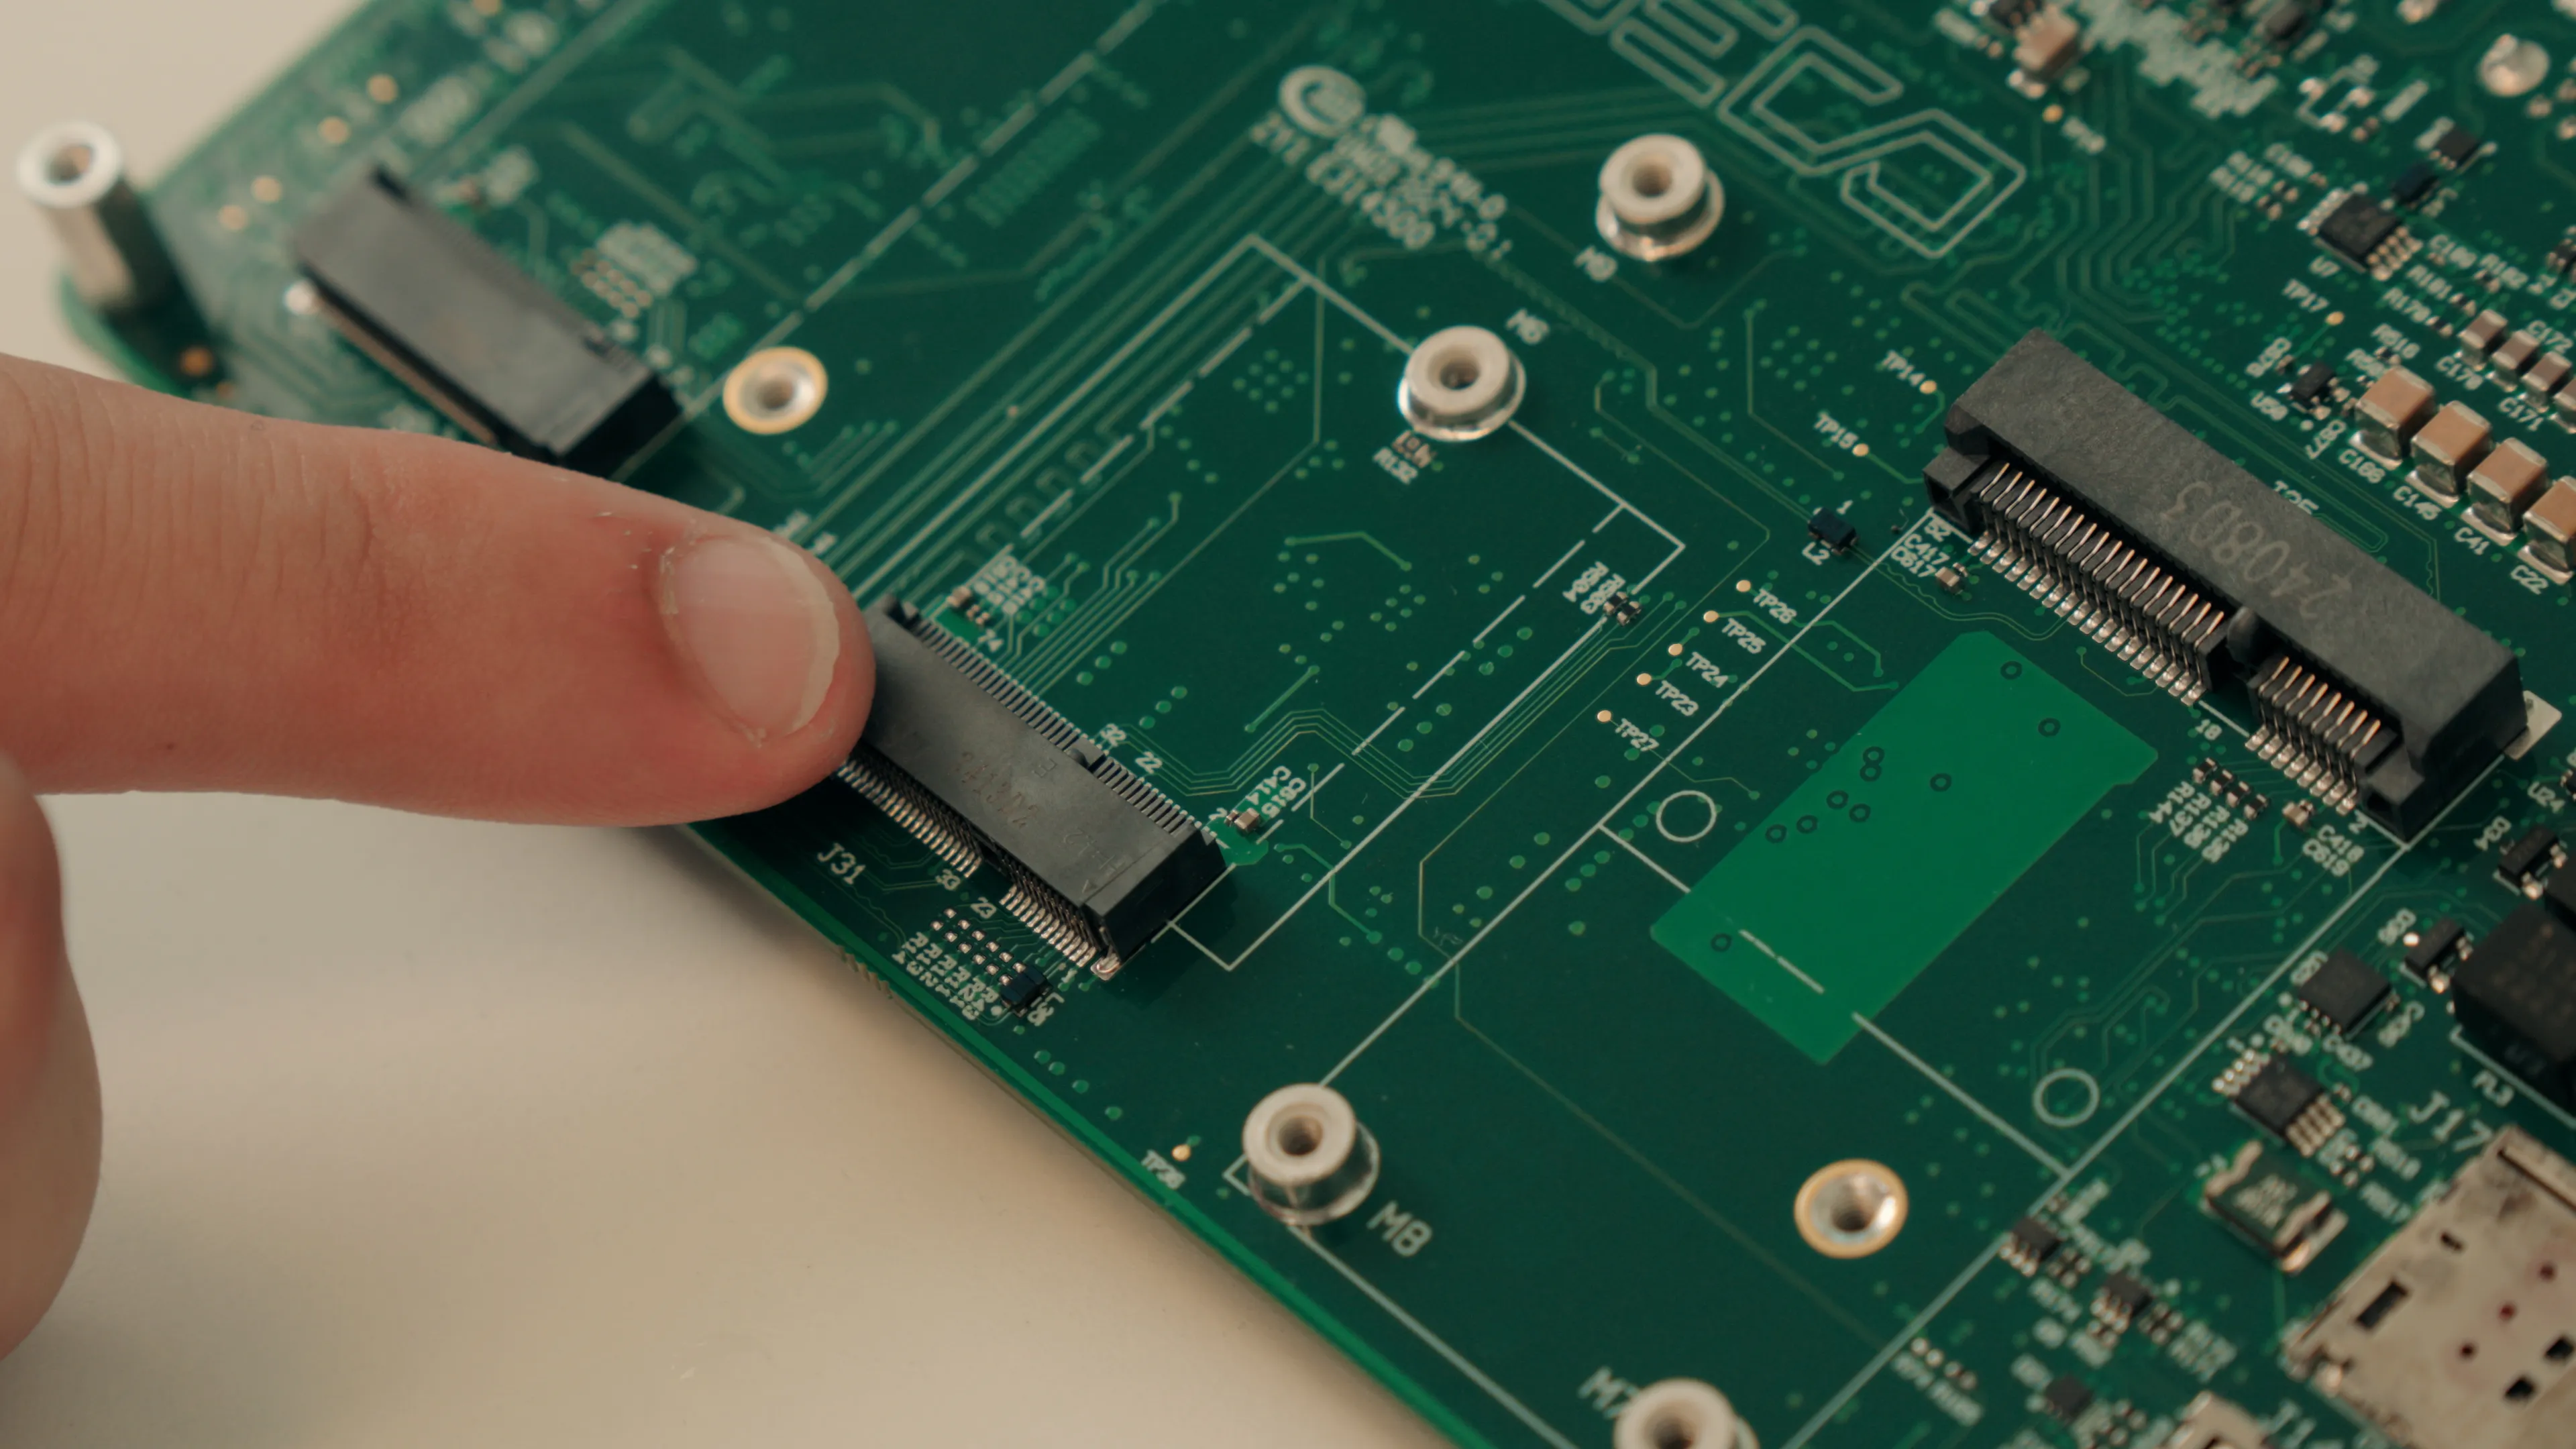
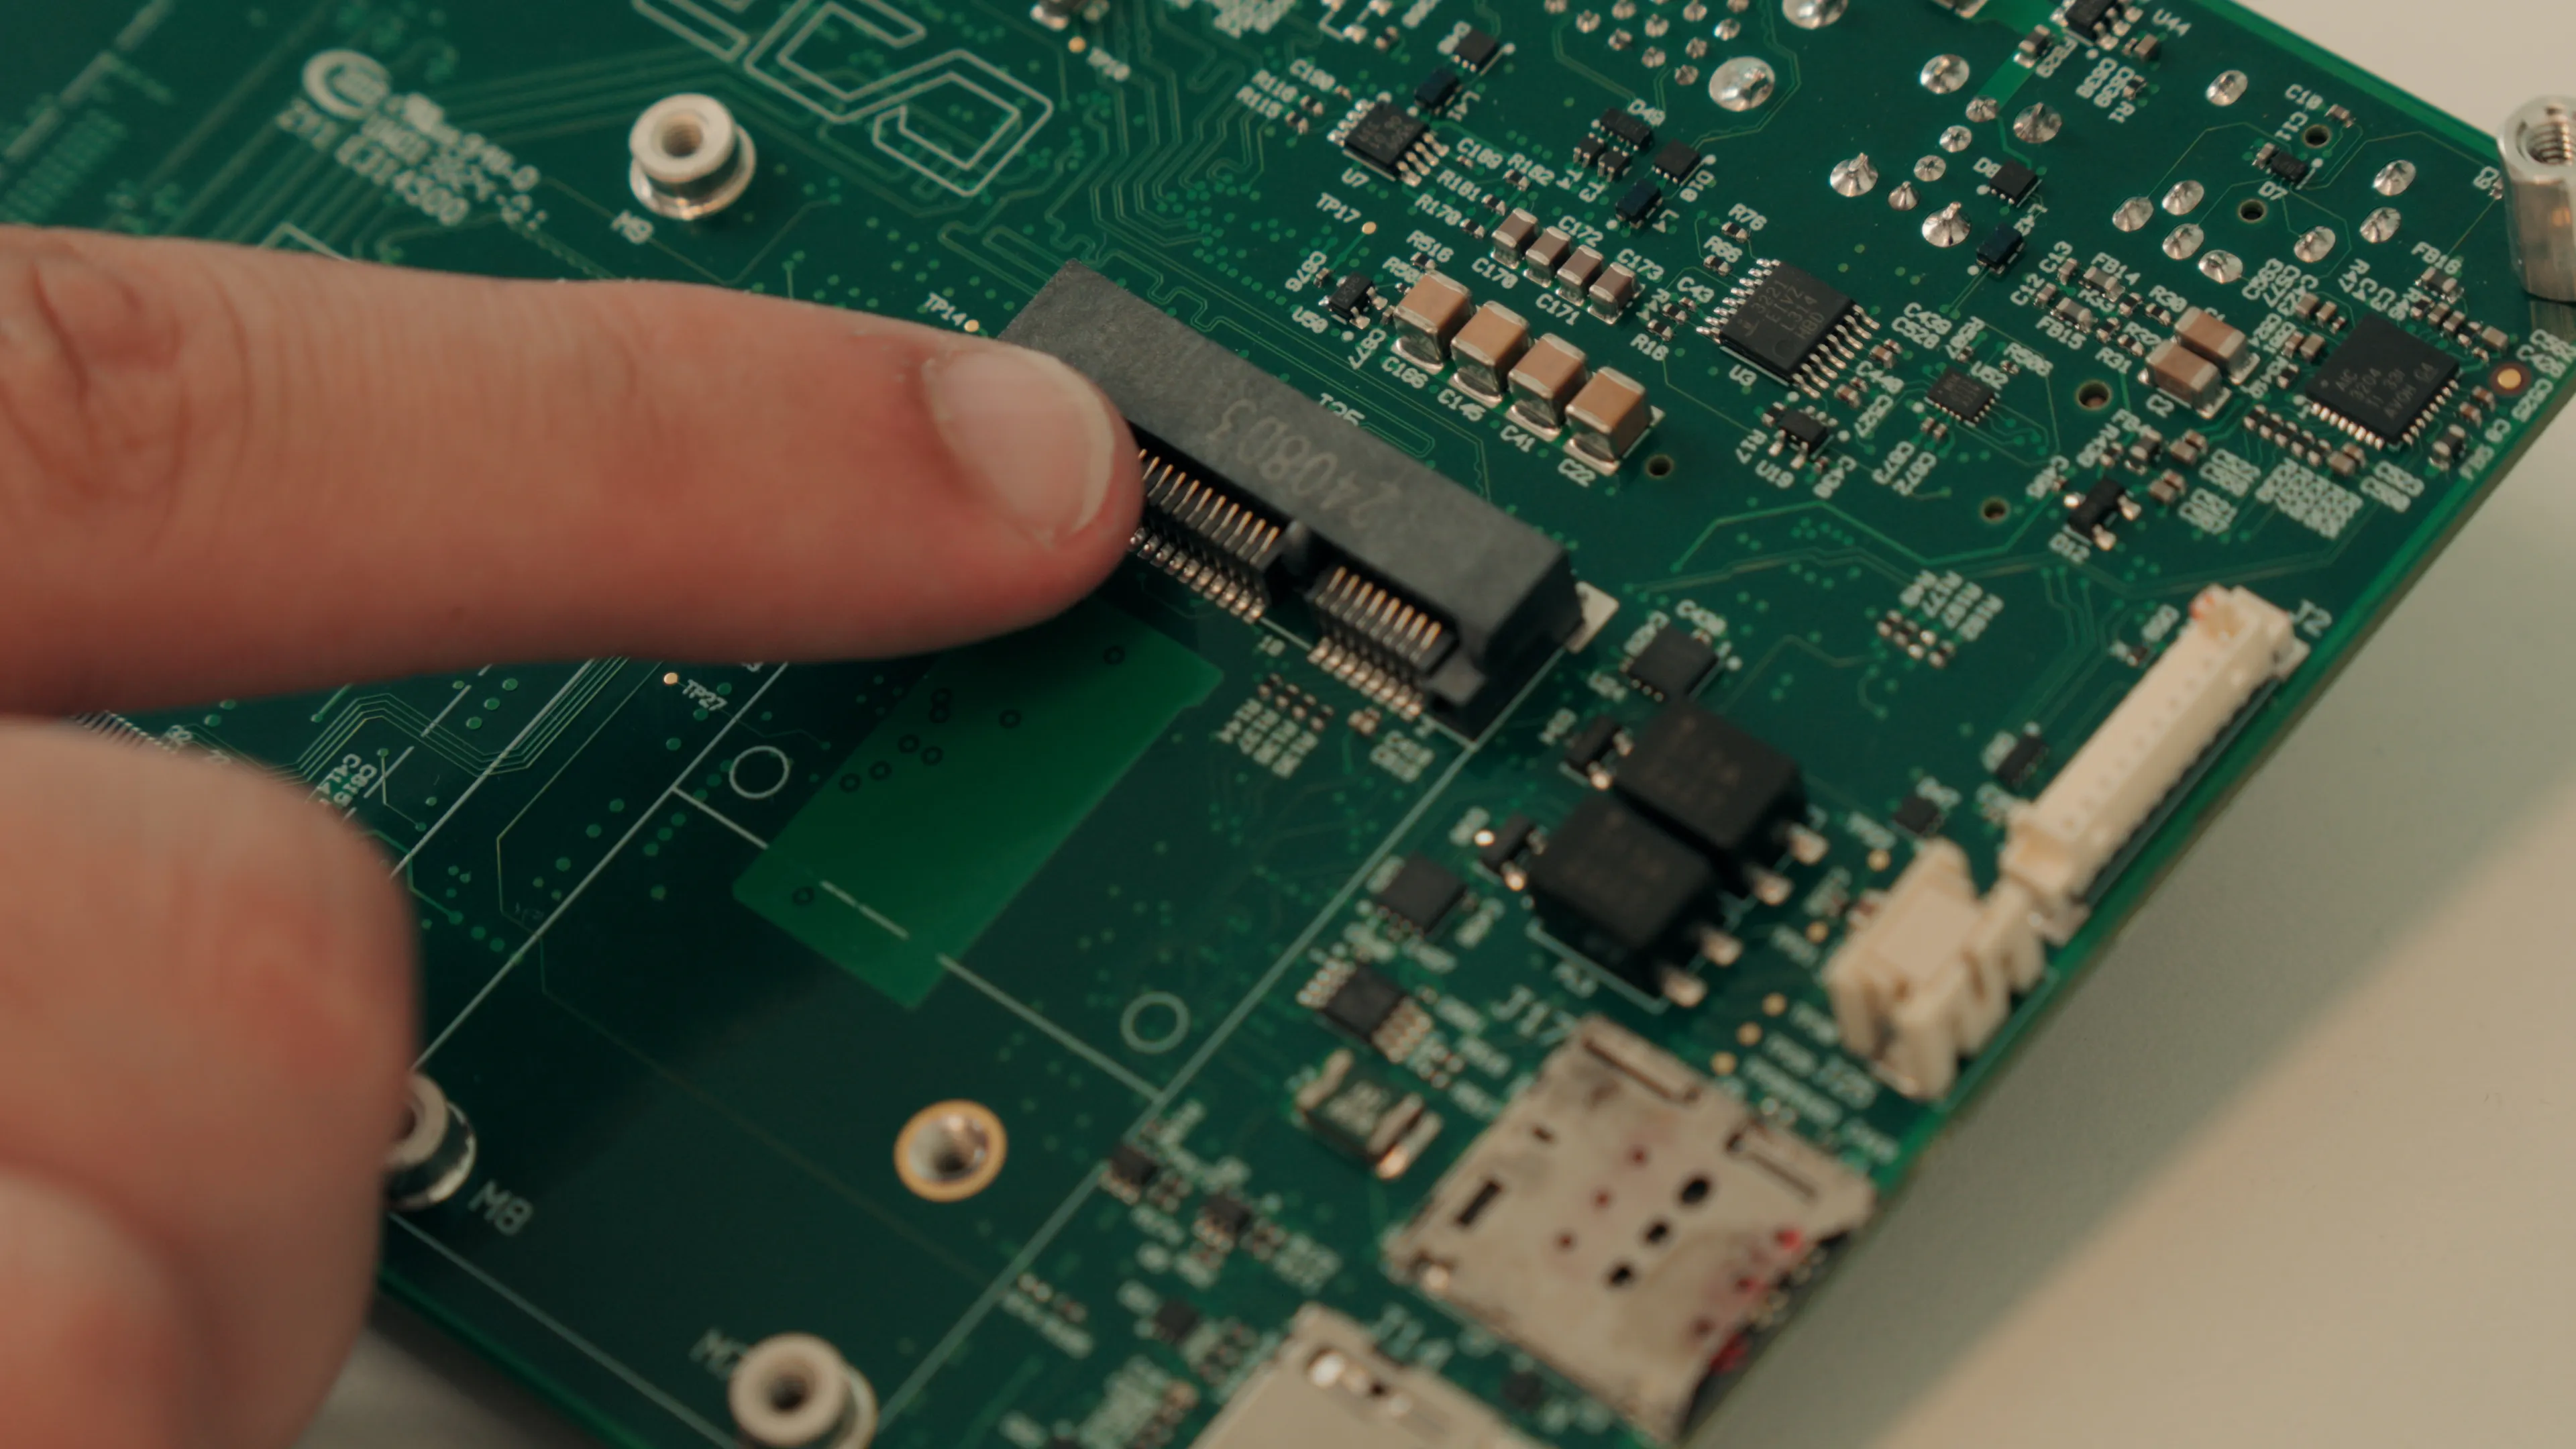
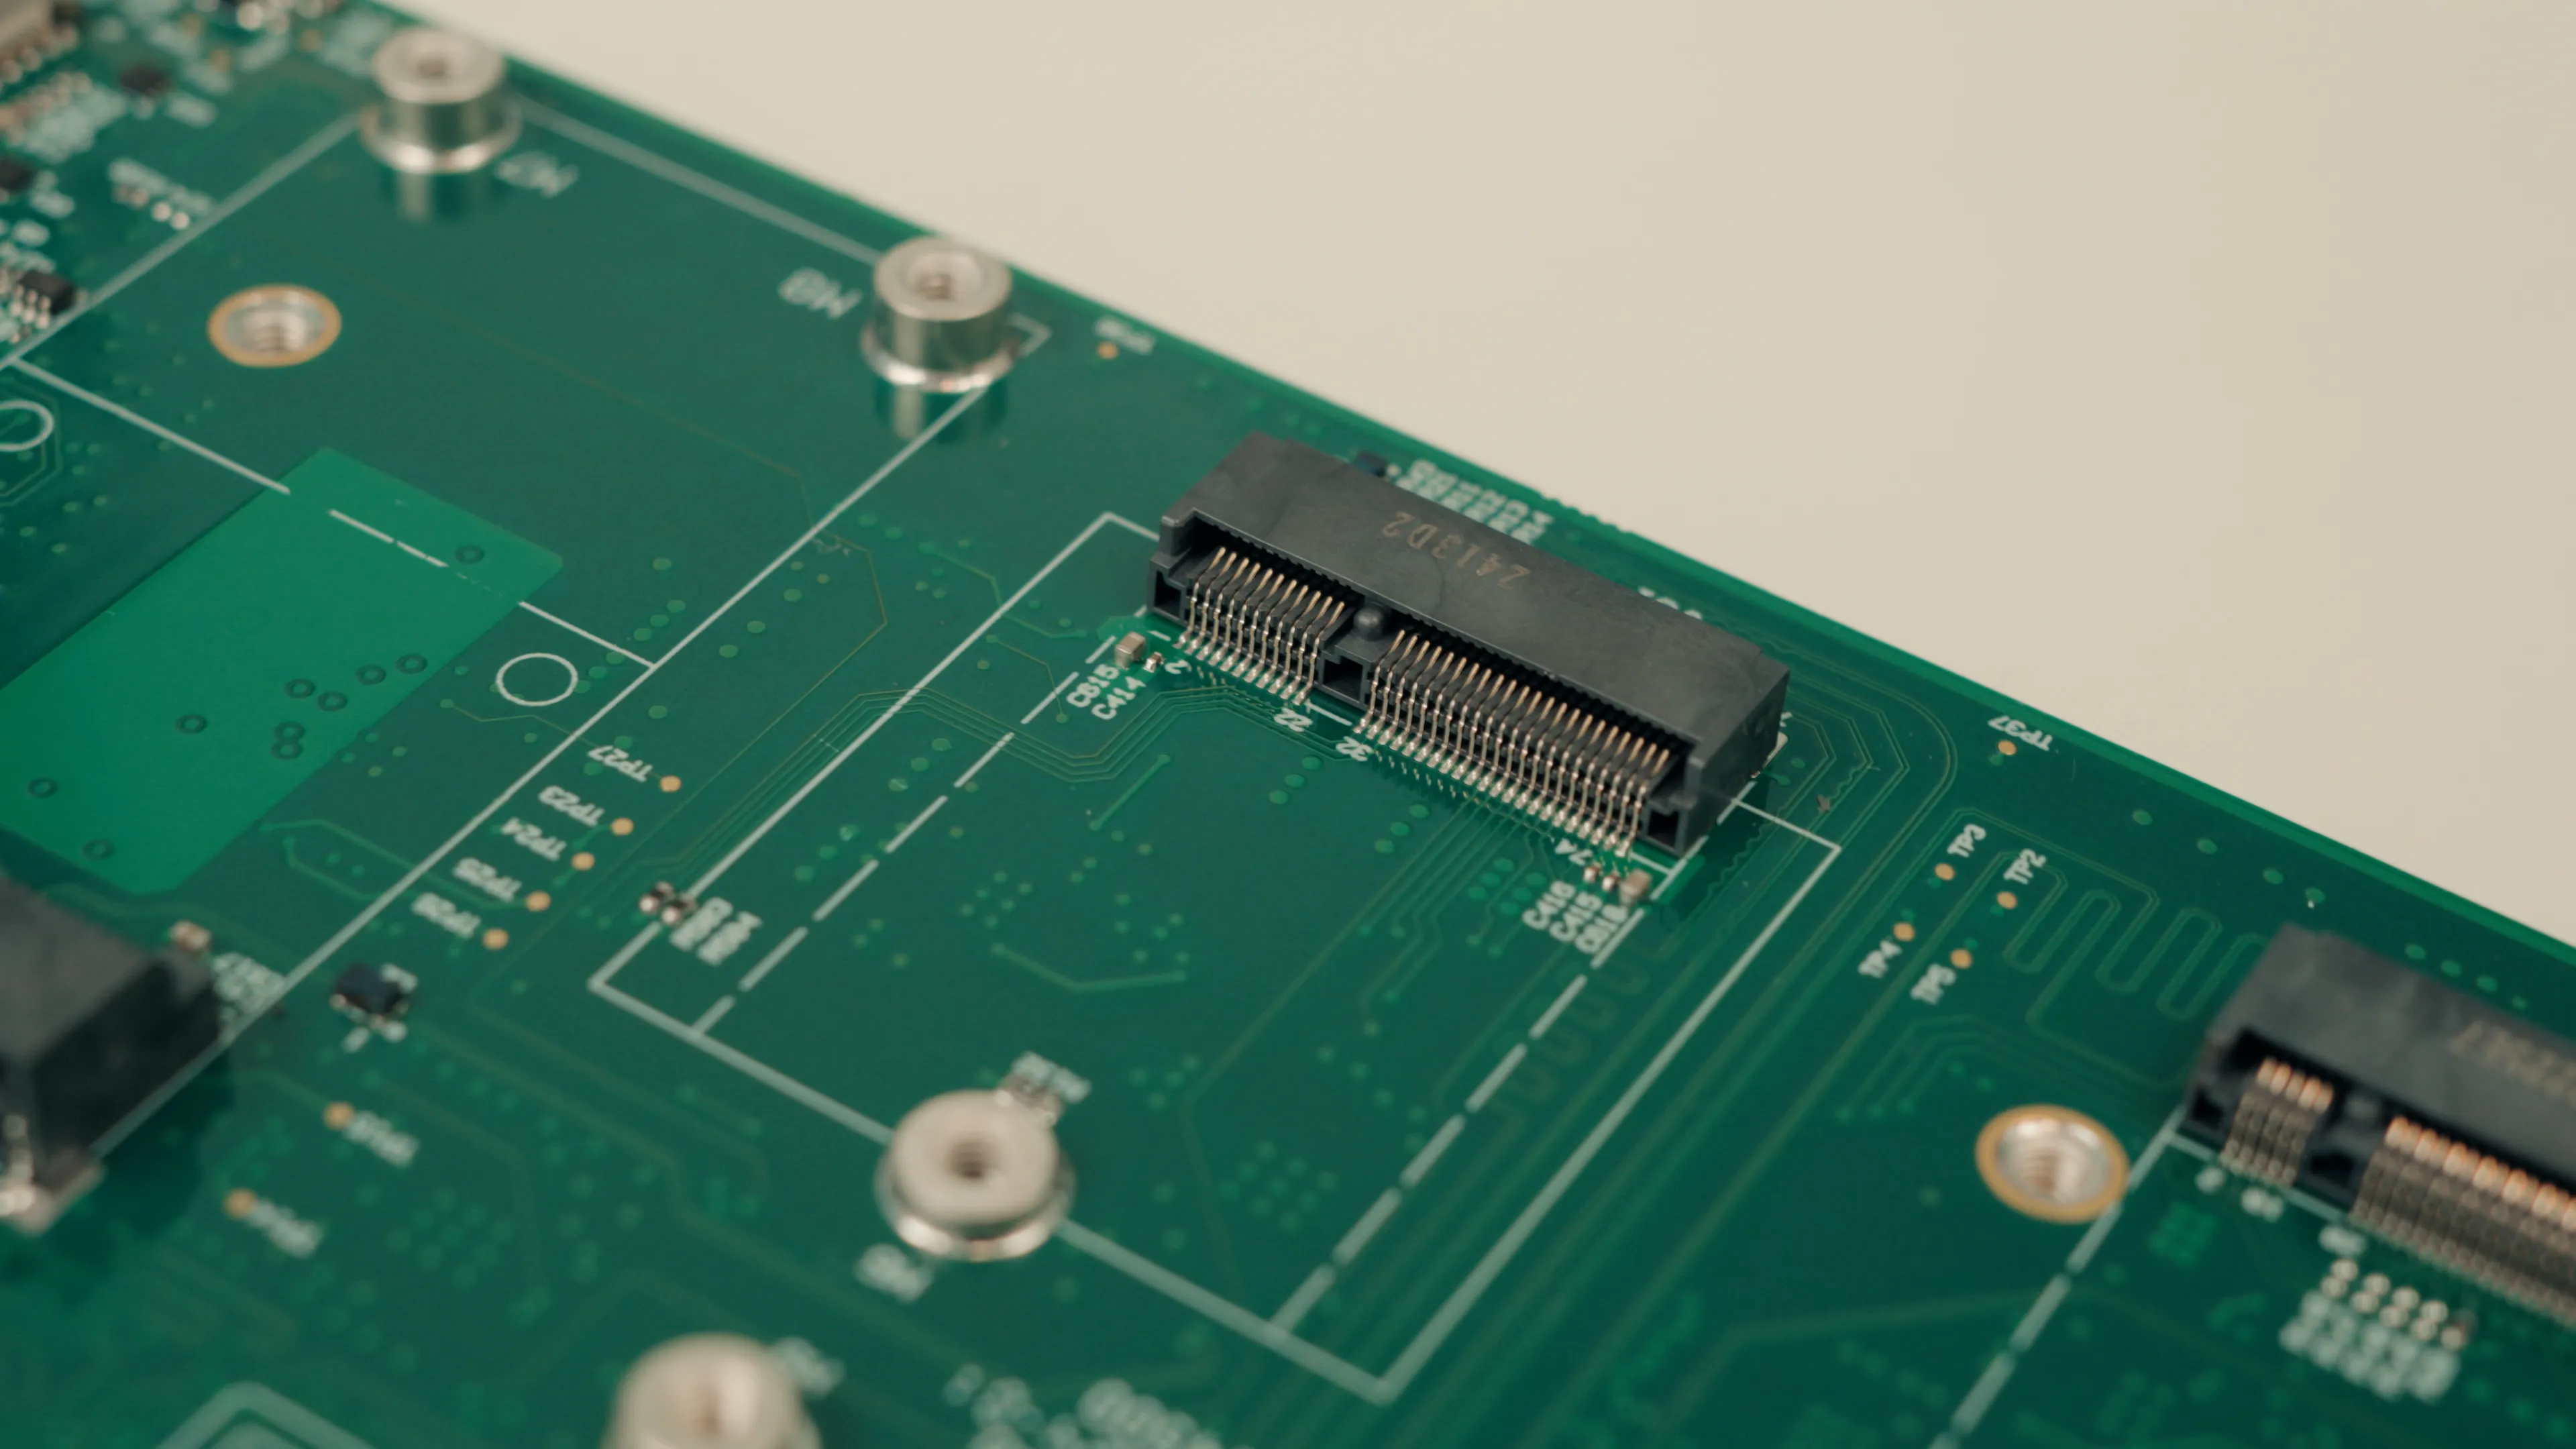
1x M.2 Key B 2242/2280 (SSD)
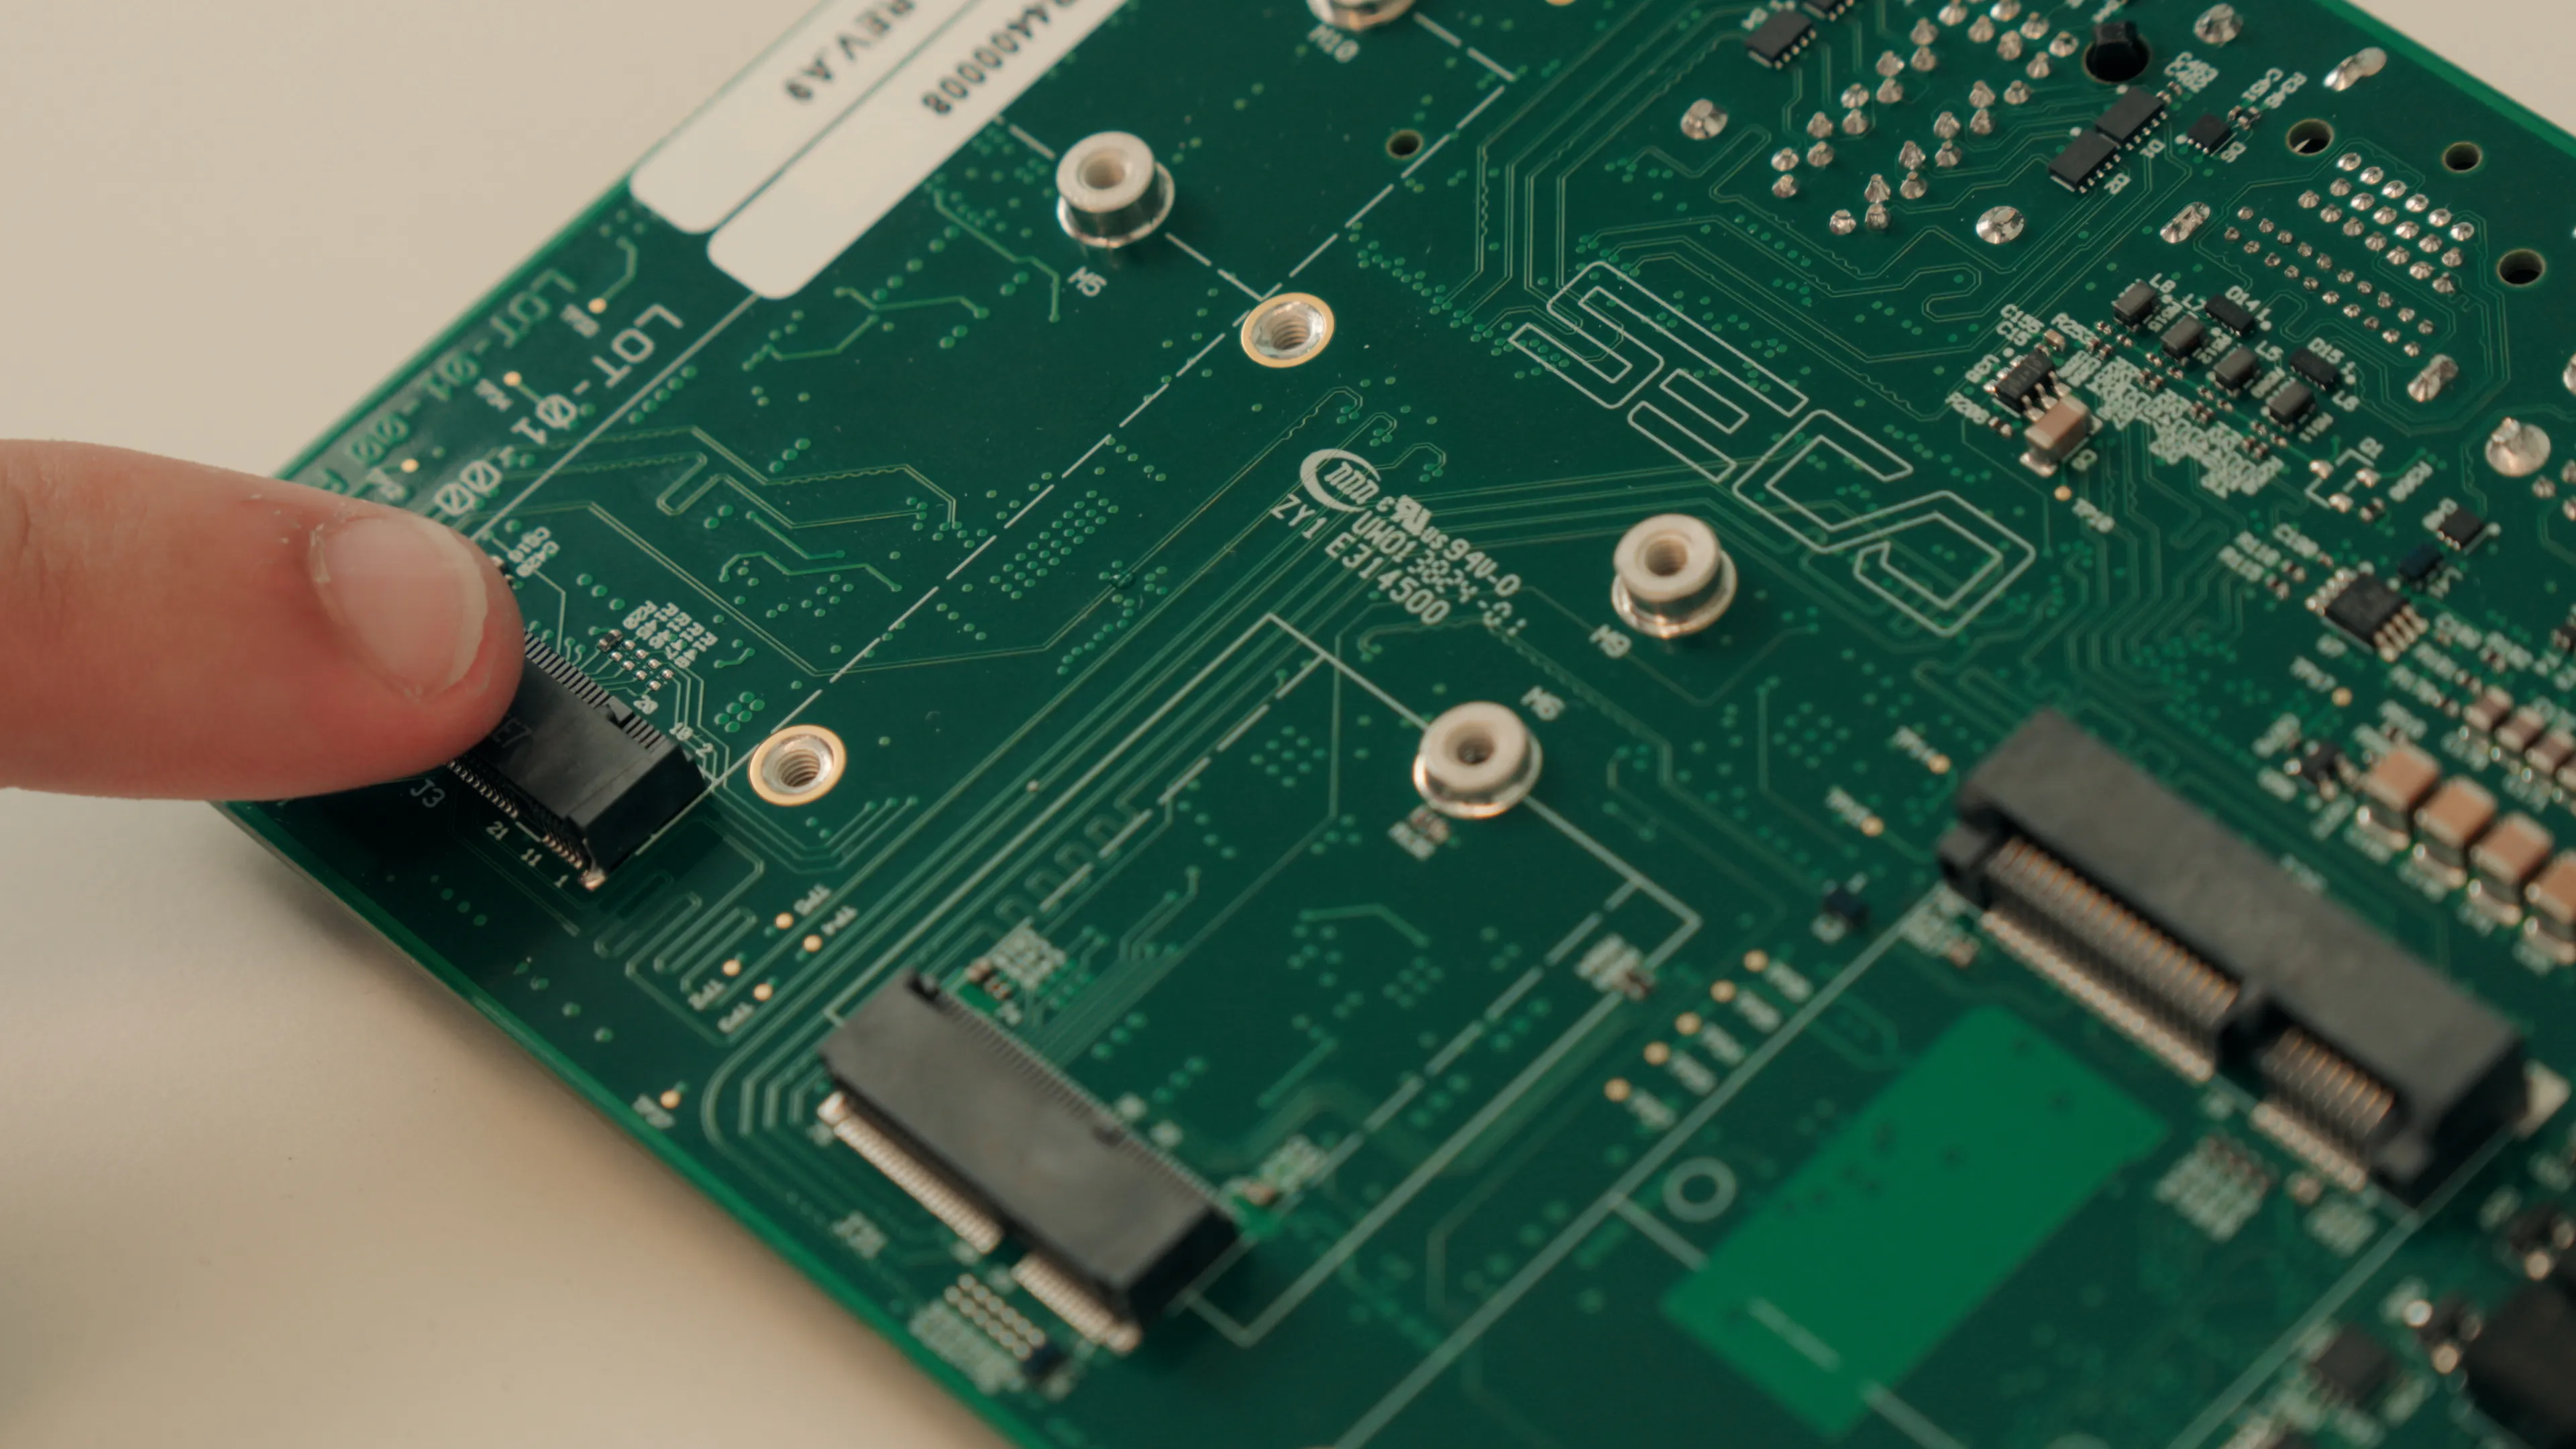
-
1x SPI Flash
-
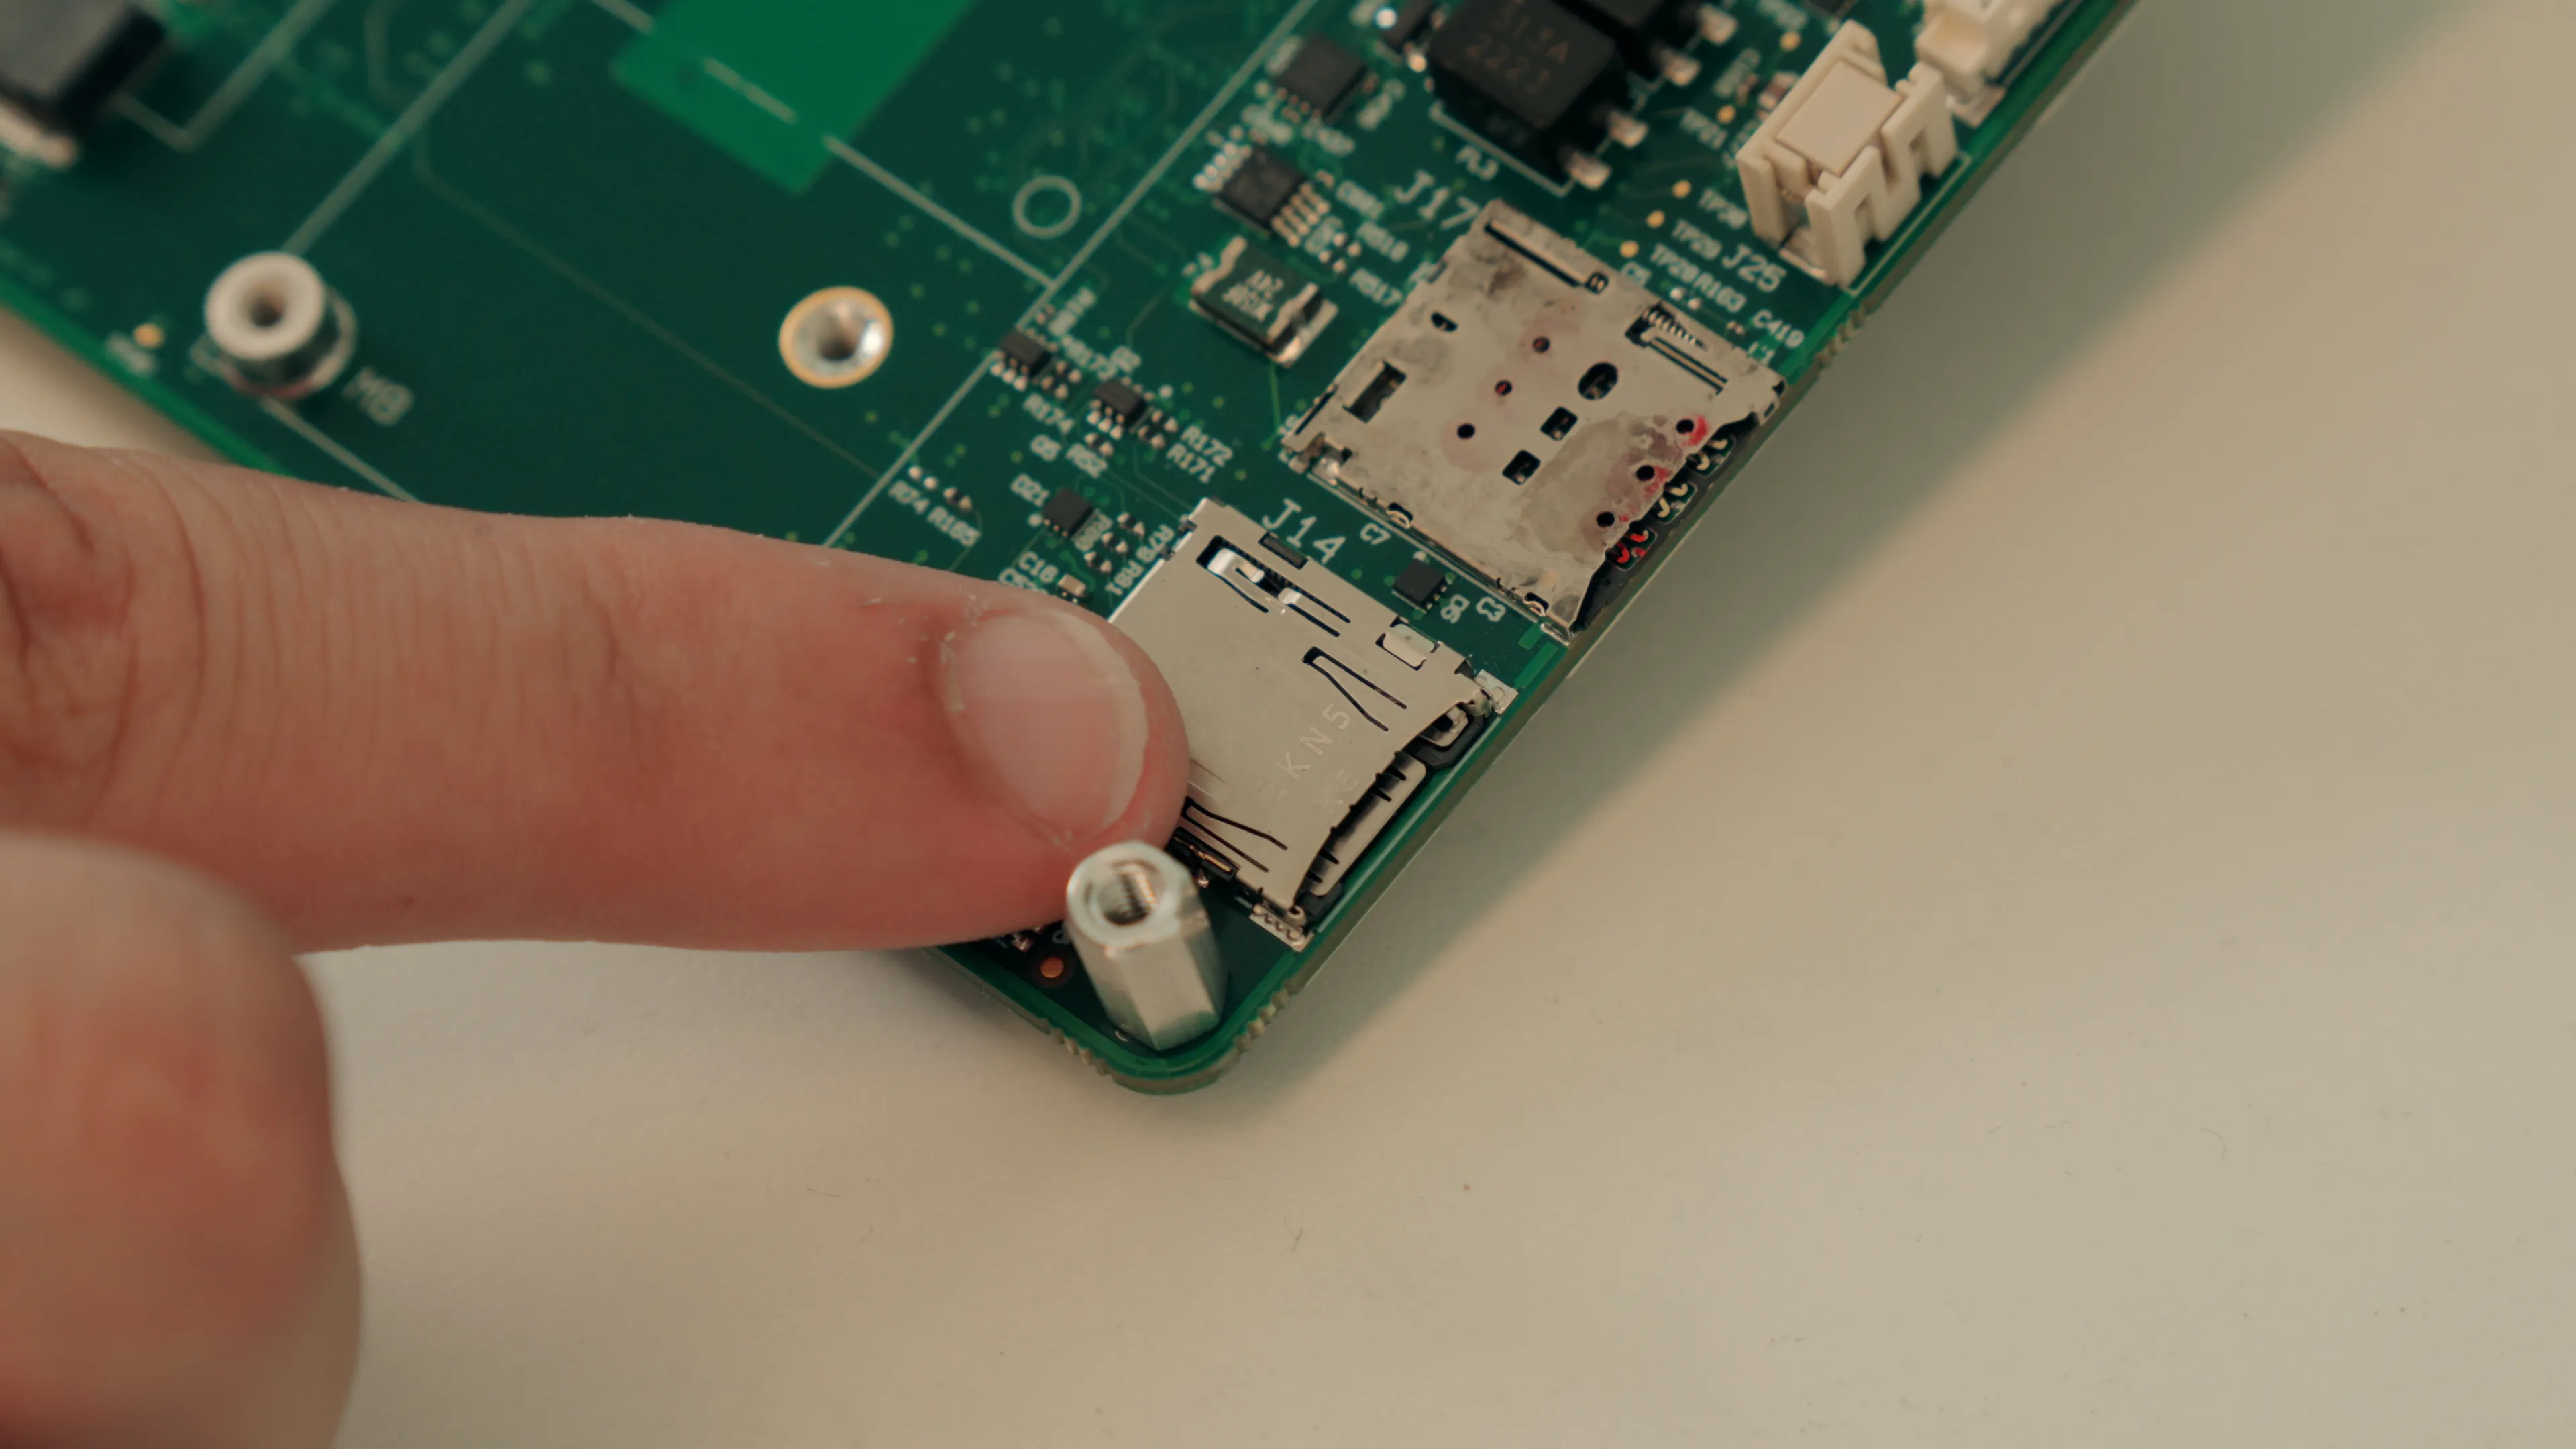
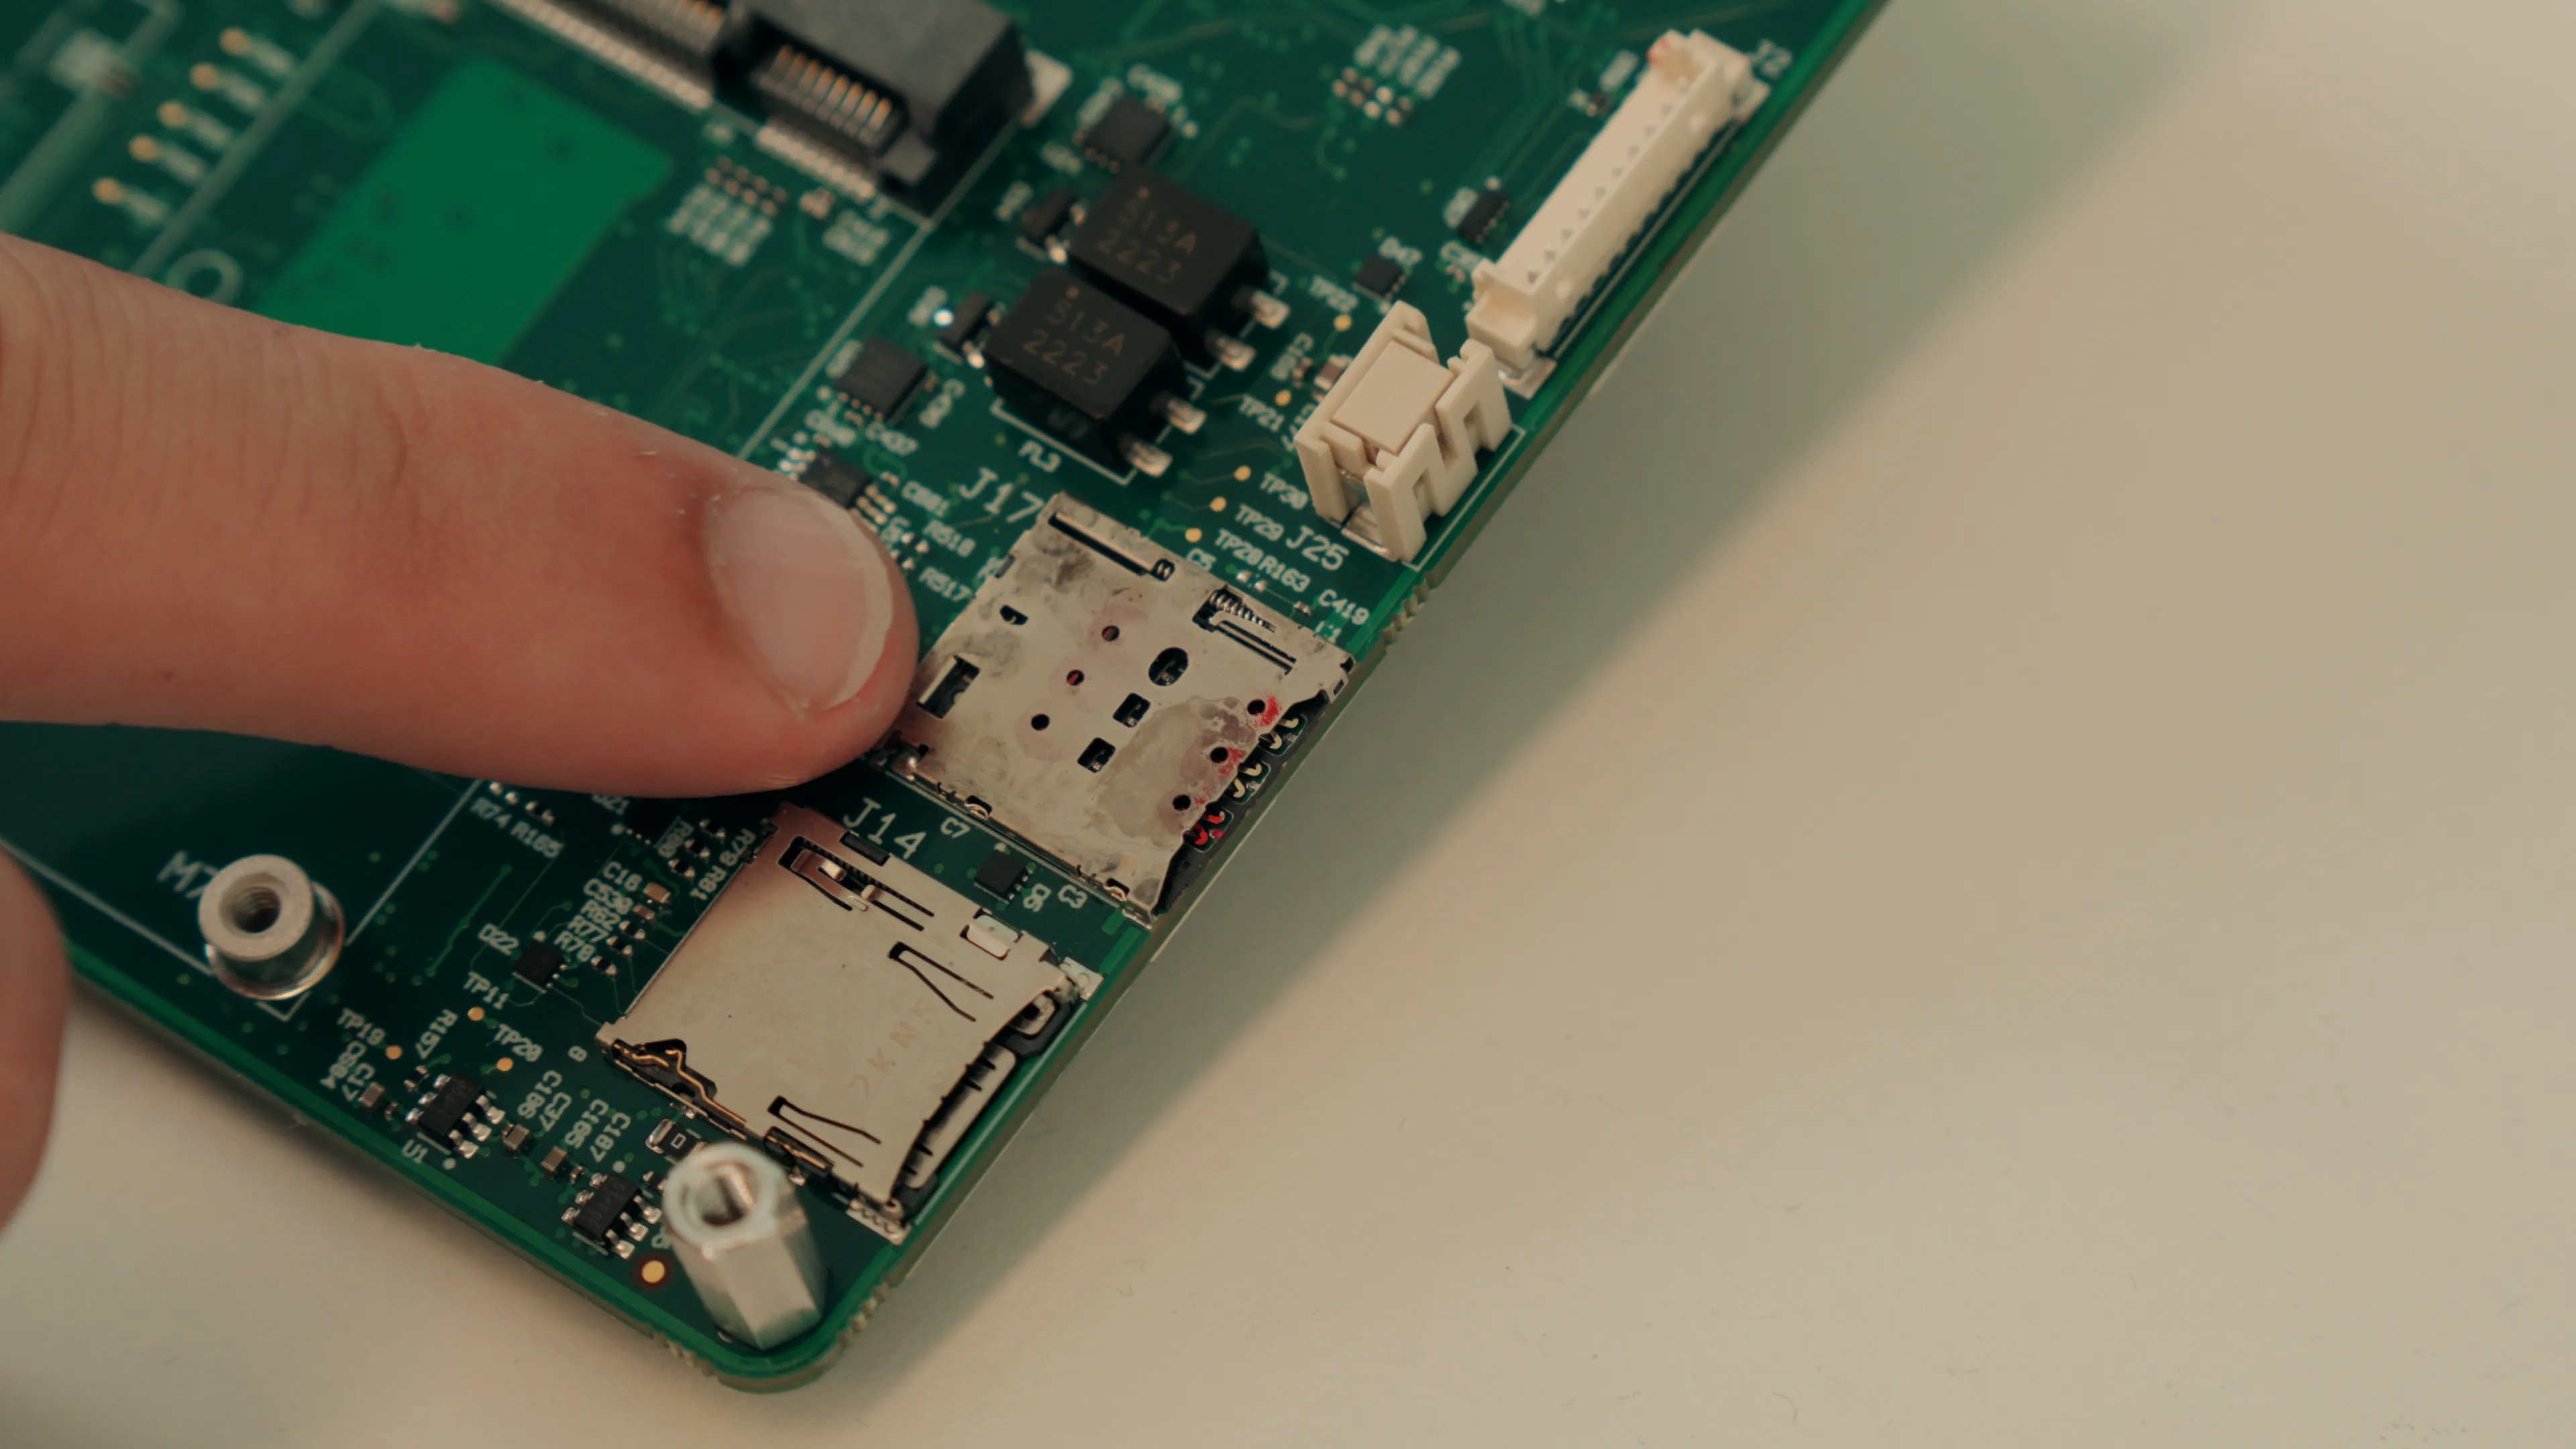
MicroSD slot
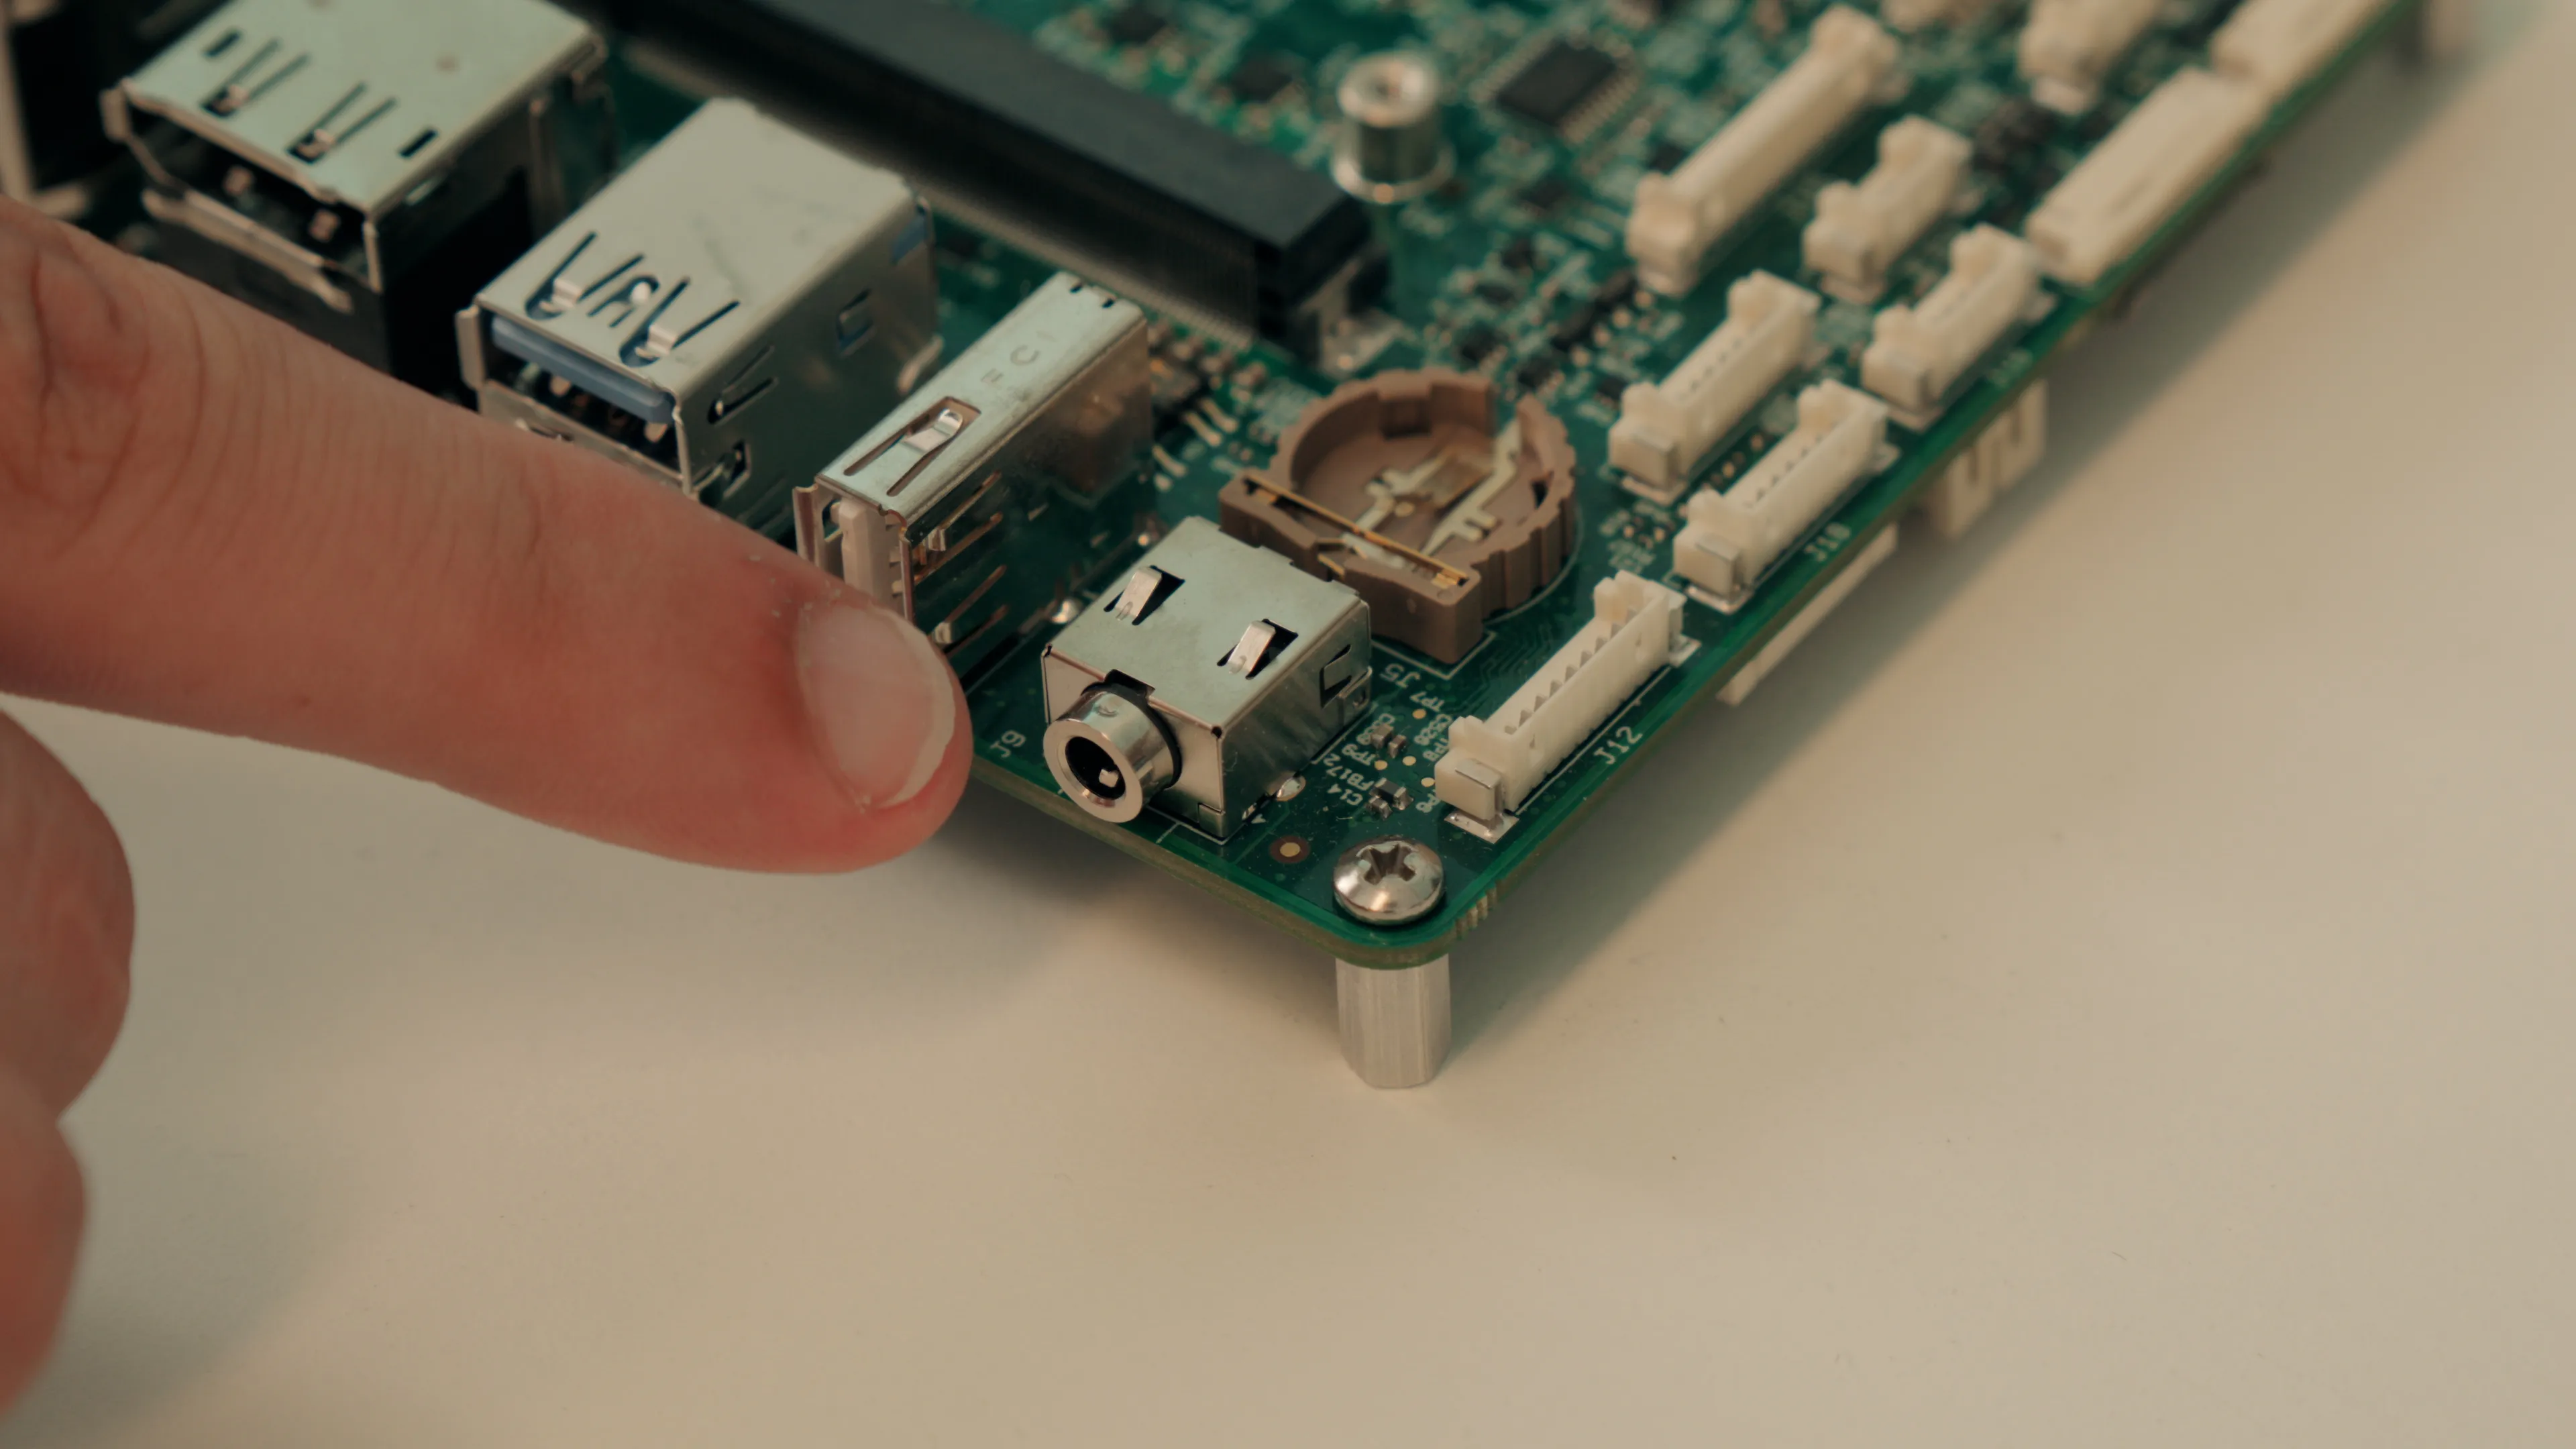
Networking
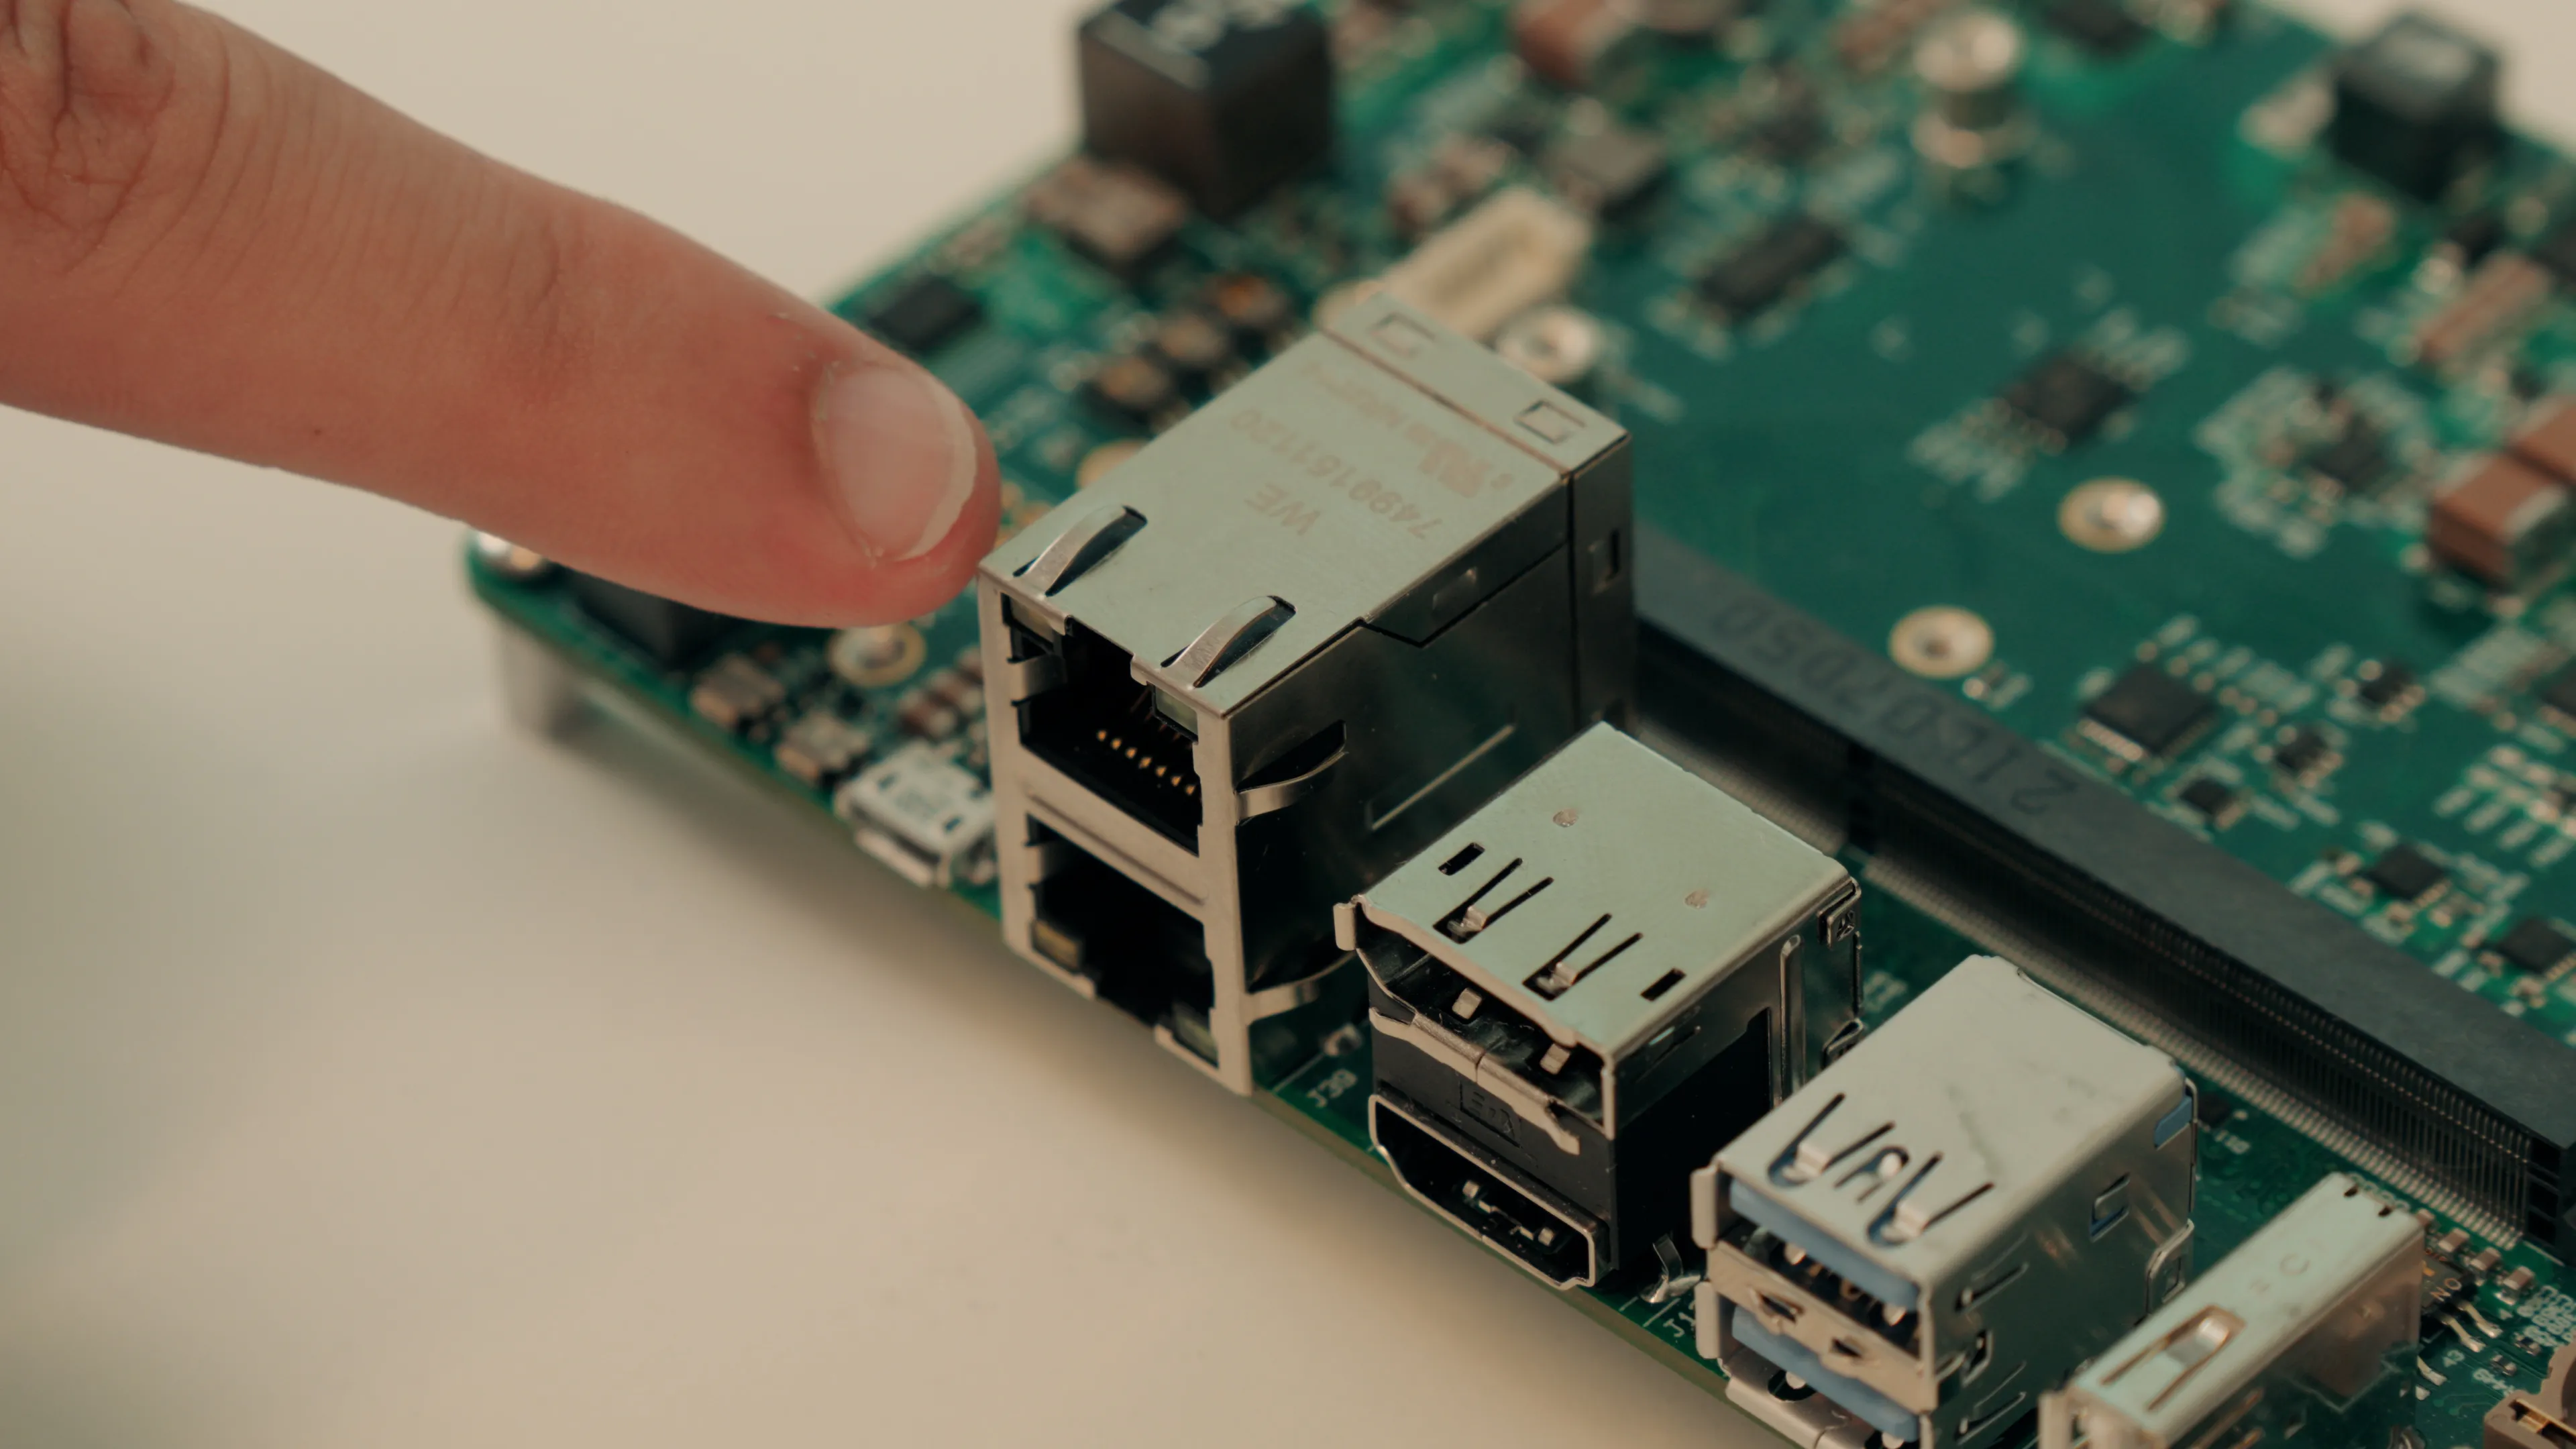
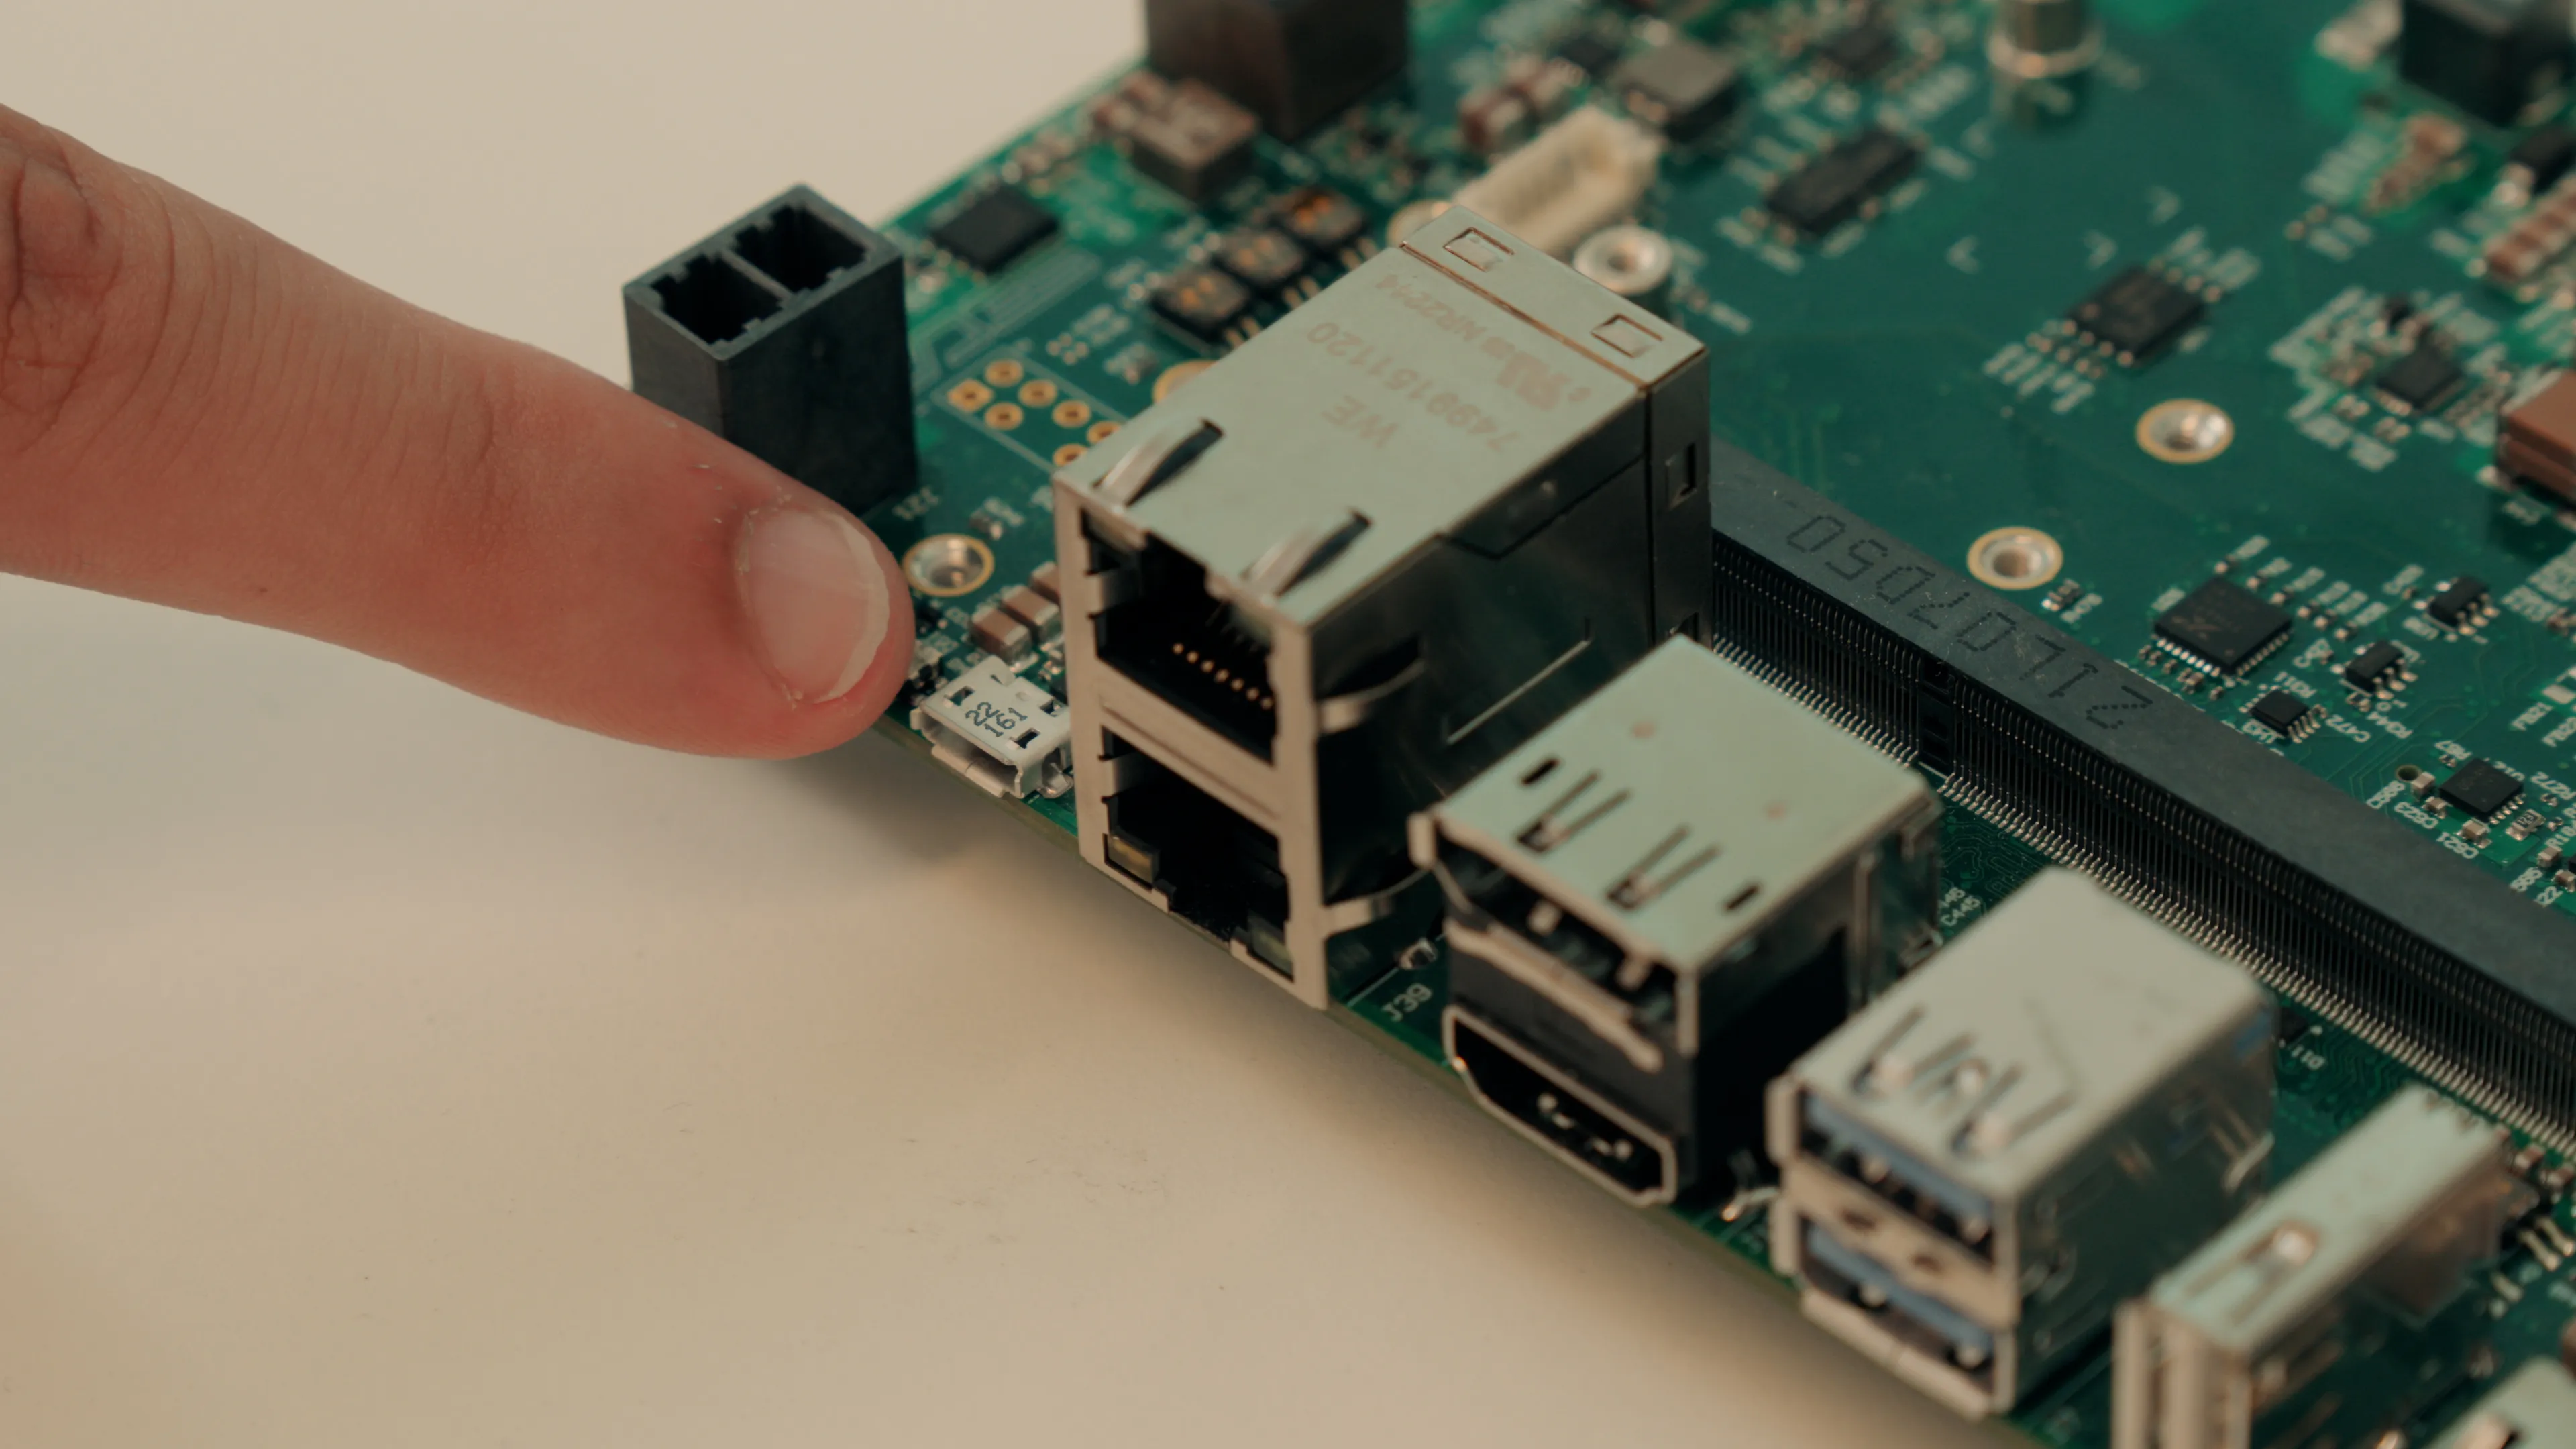
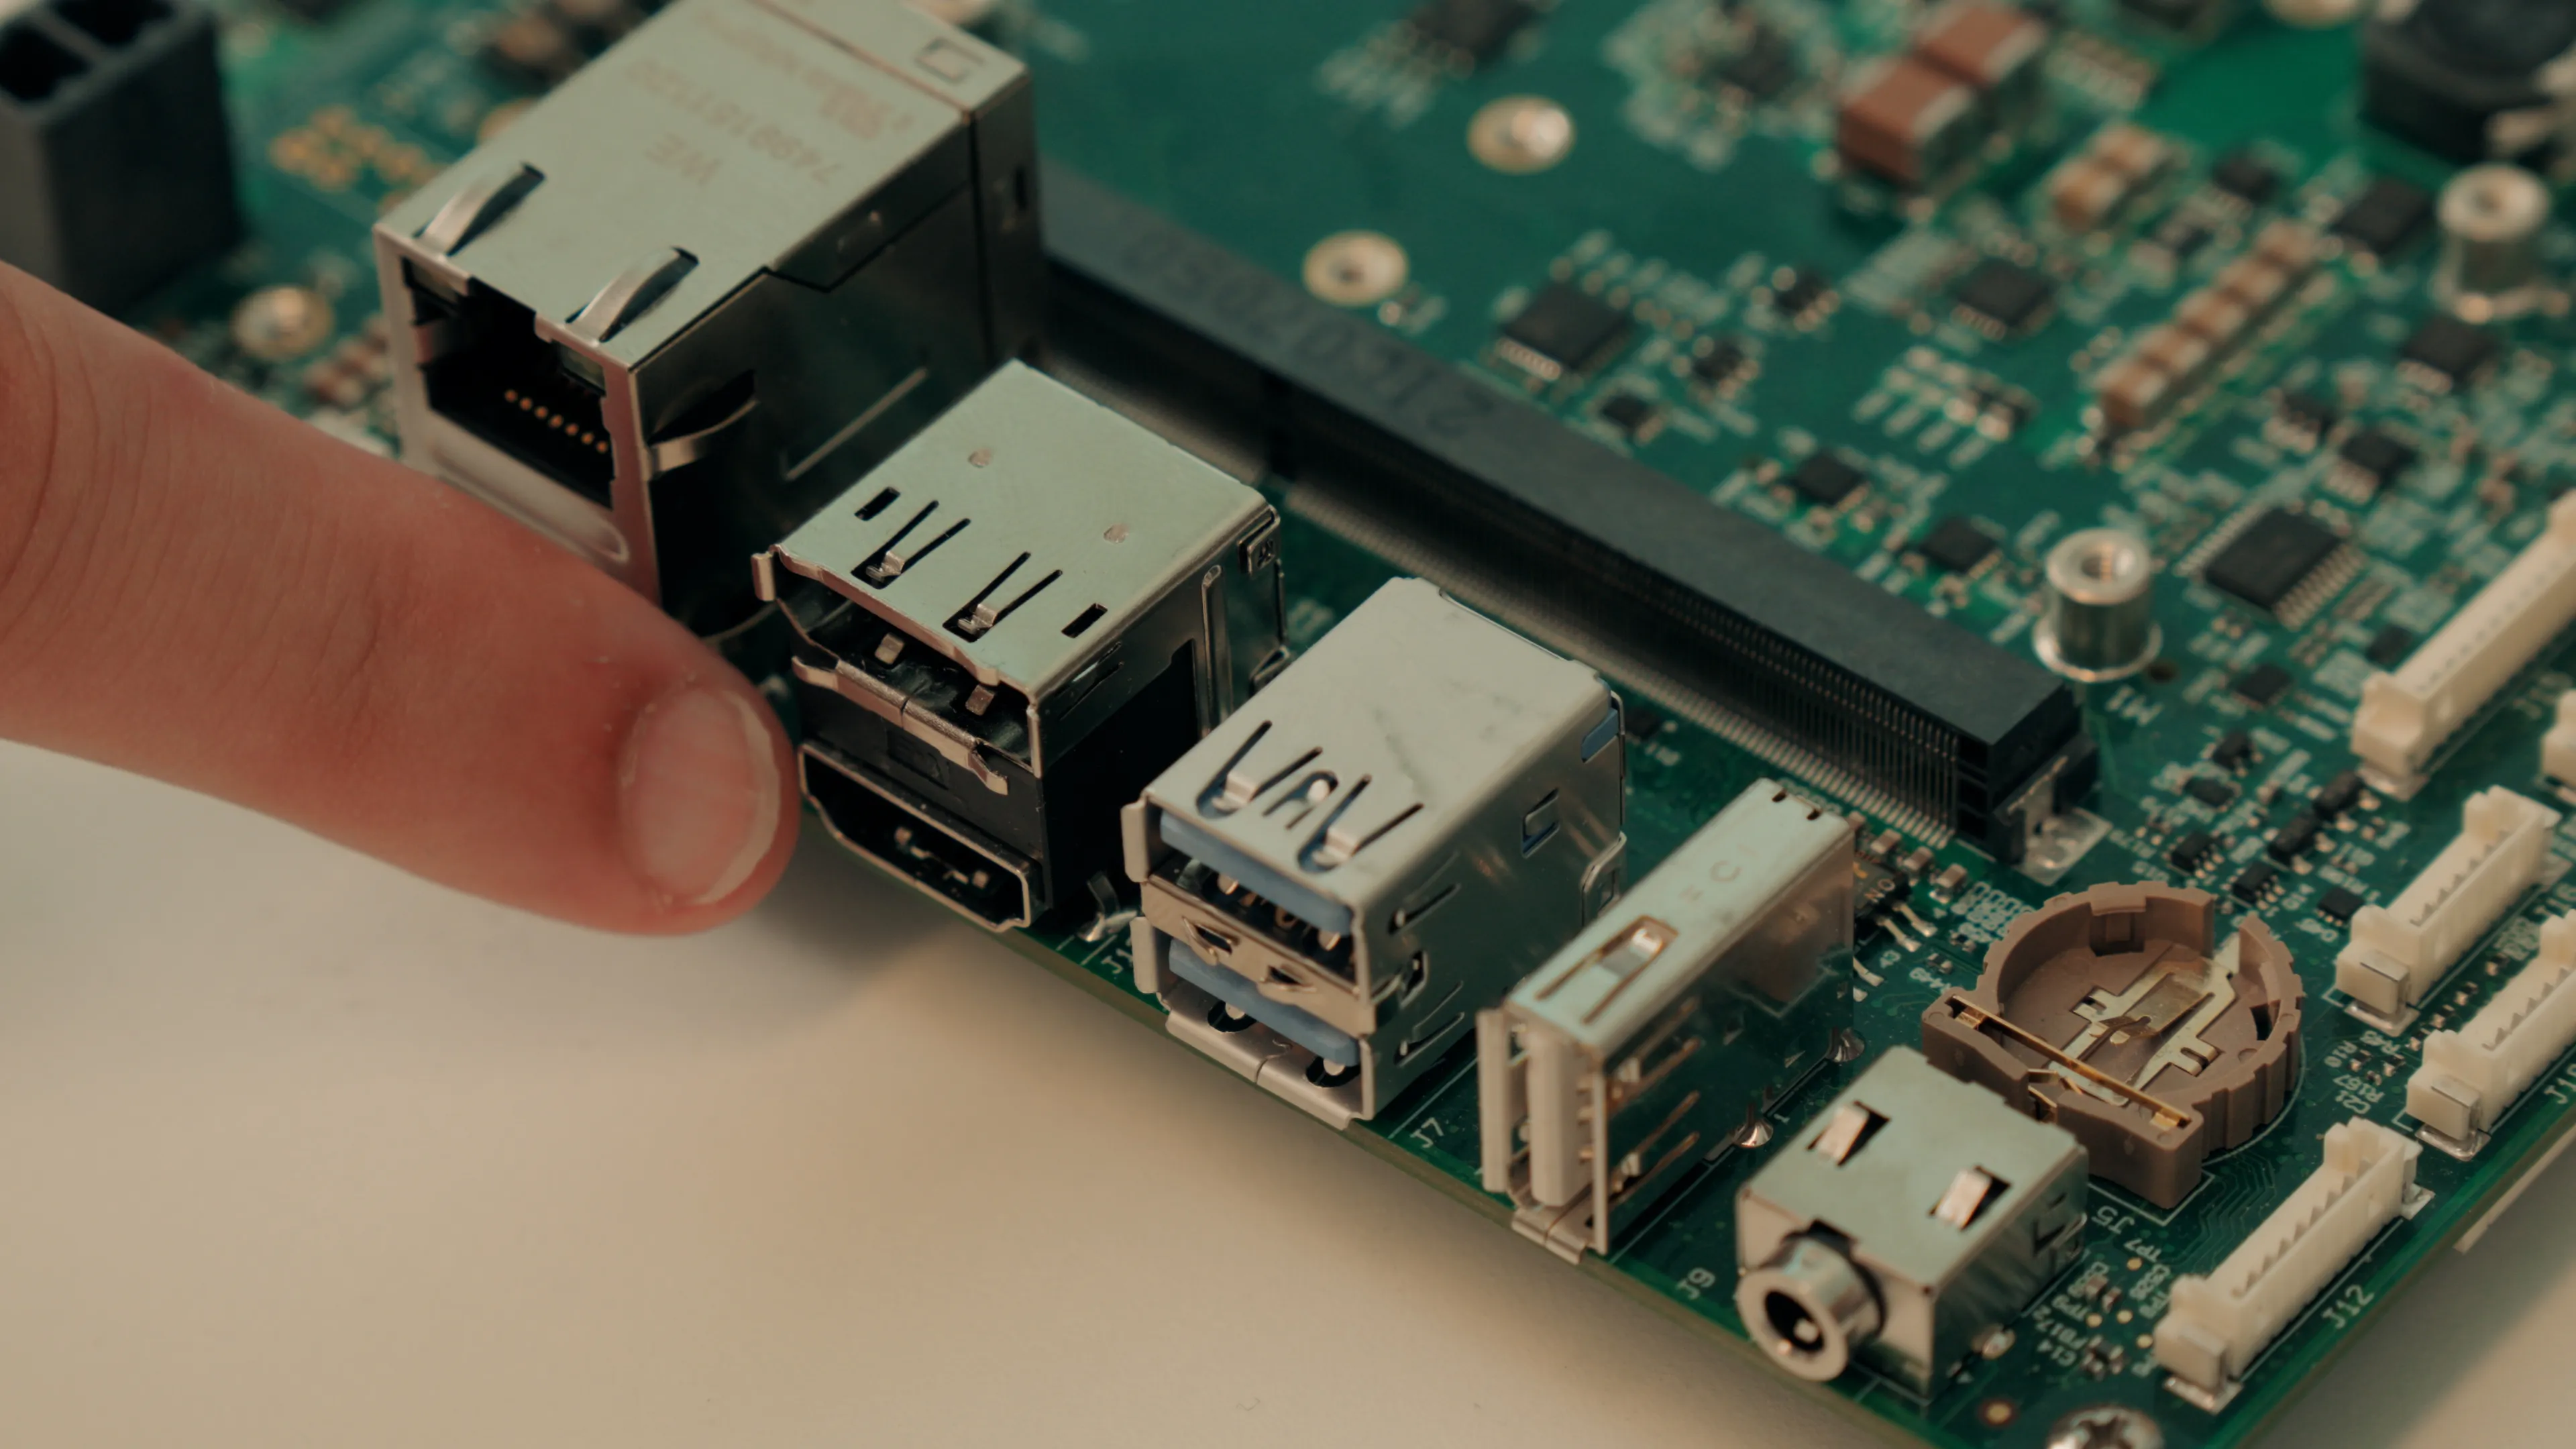
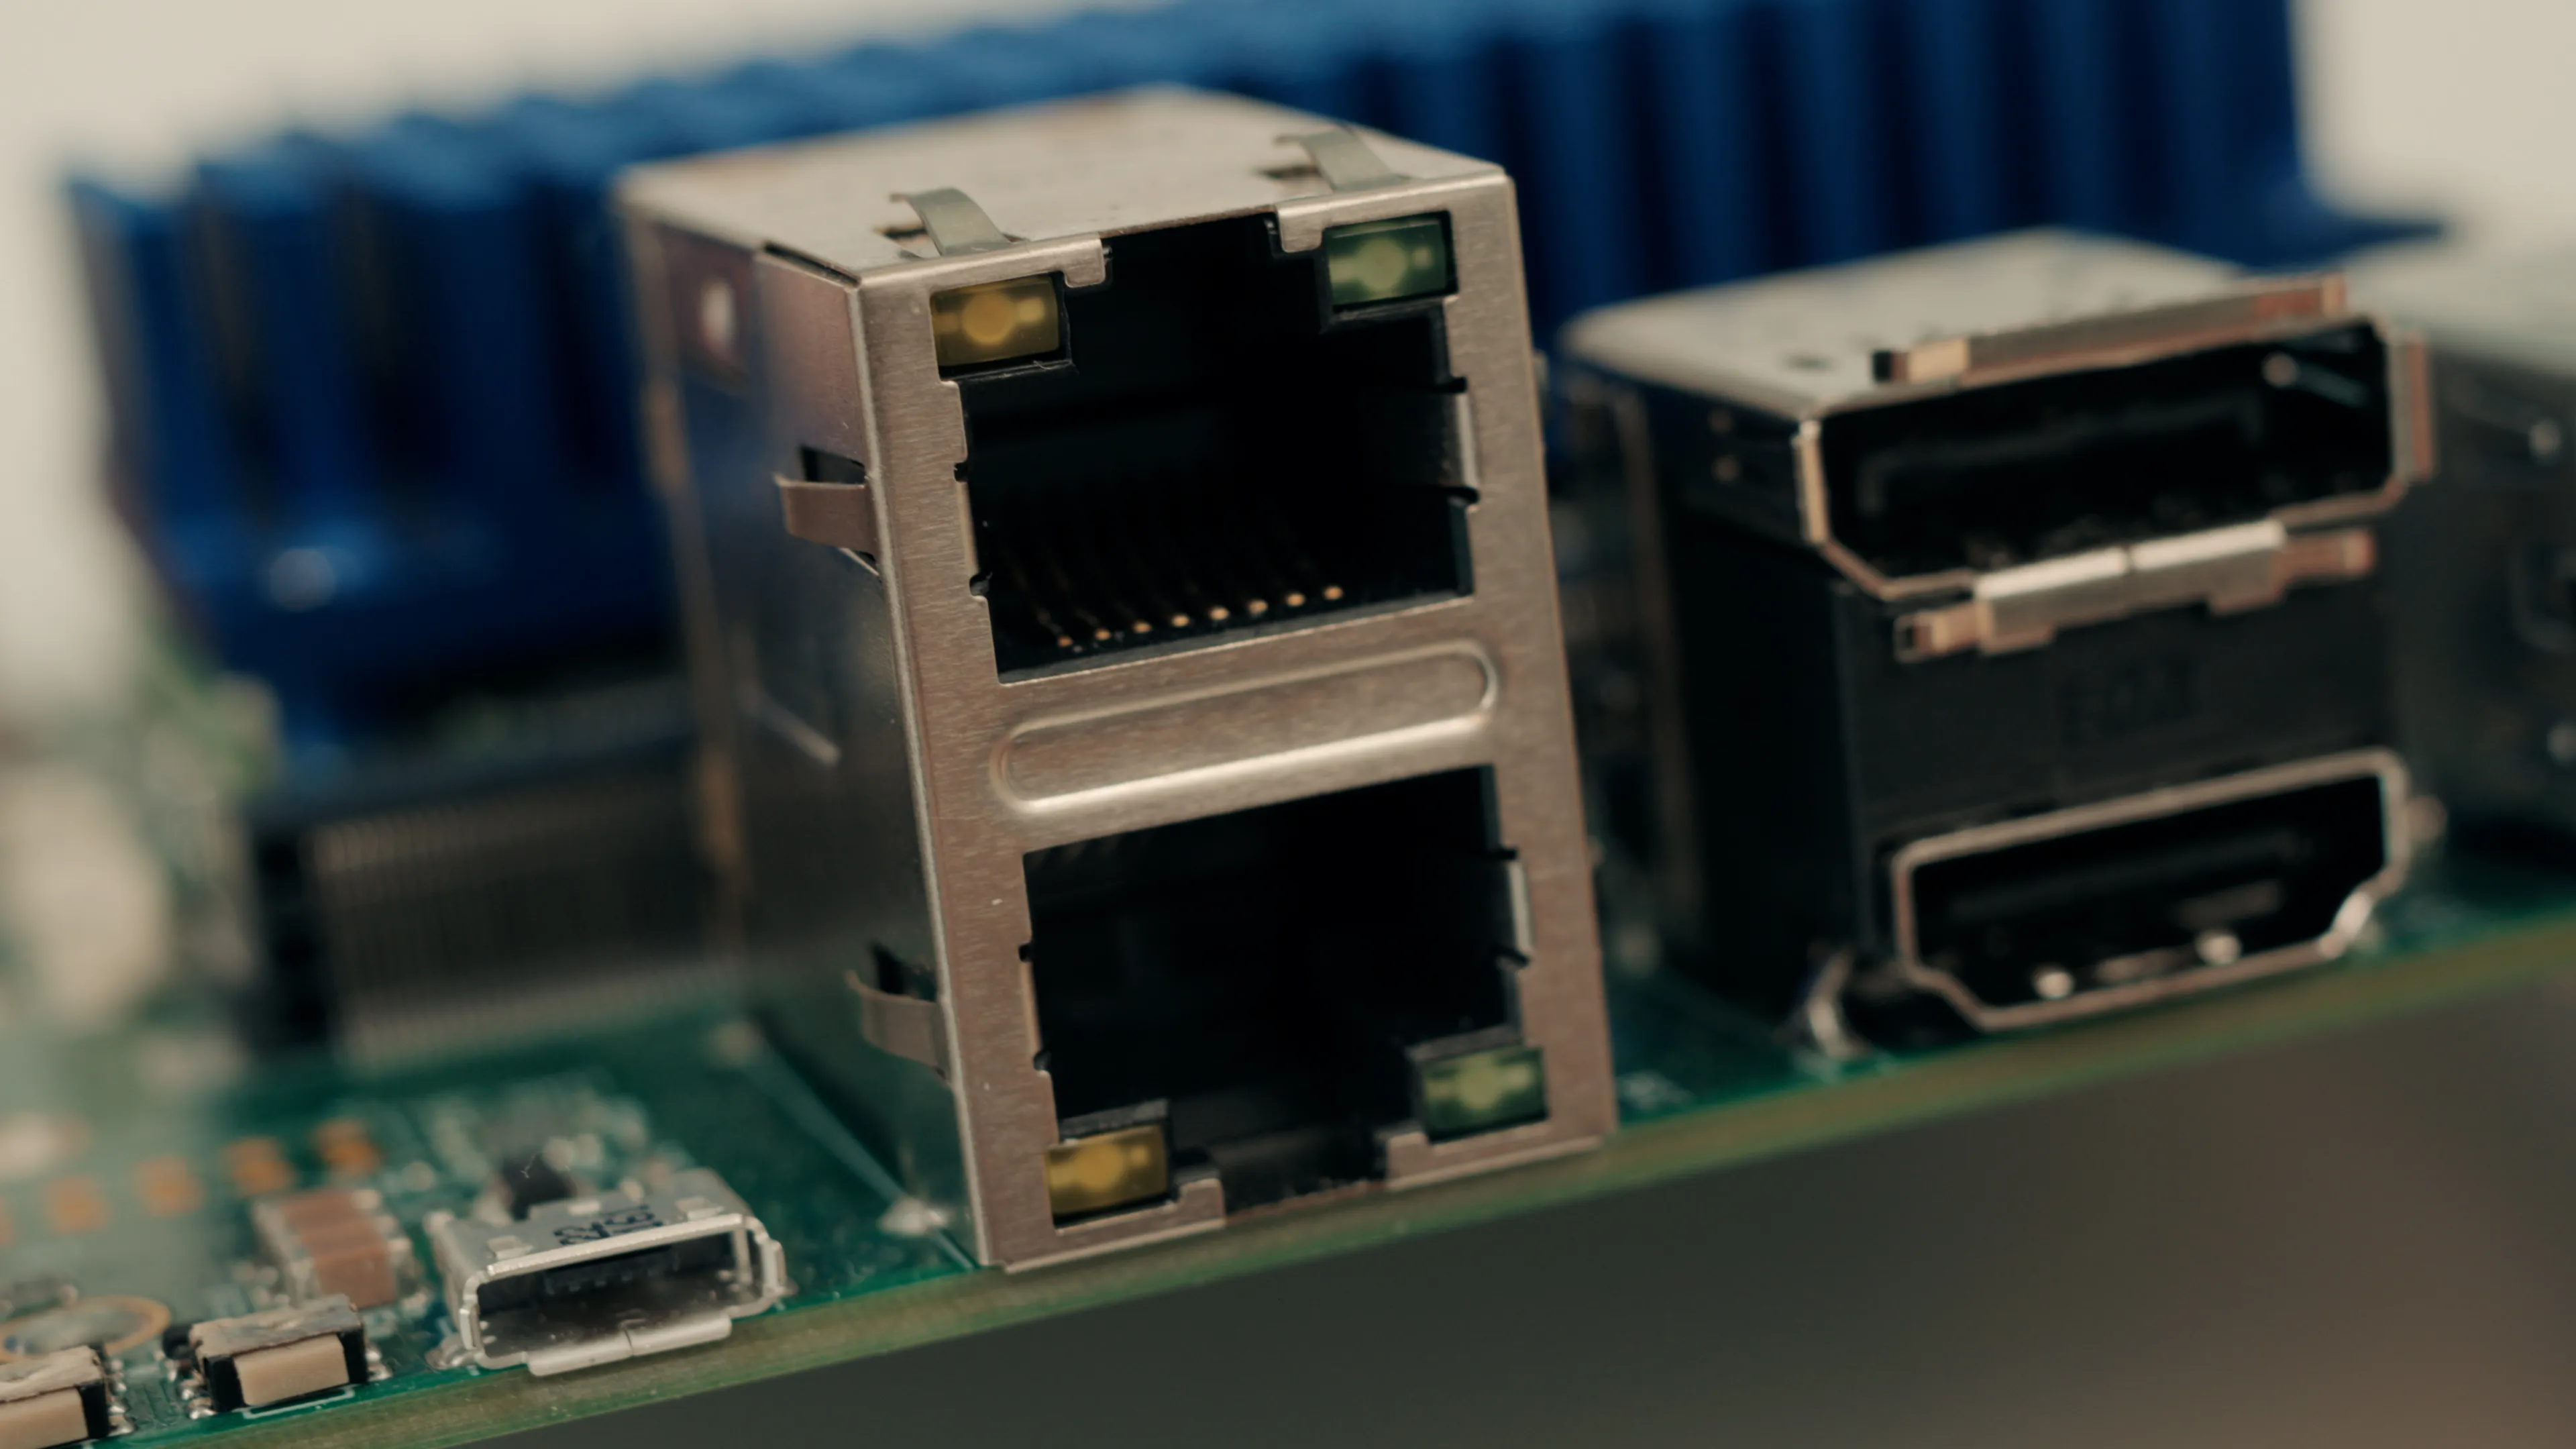
- 2x Gigabit Ethernet RJ-45 (via dual-stack connector)
- 1x M.2 Key E 2230 (Wi-Fi/ Bluetooth)
- 1x mPCle half/full size (cellular modules)
- 1x uSIM slot (configurable for mPCle or M.2 B)
USB
- 2x USB 3.0 Type-A
- 1x USB 2.0 Type-A
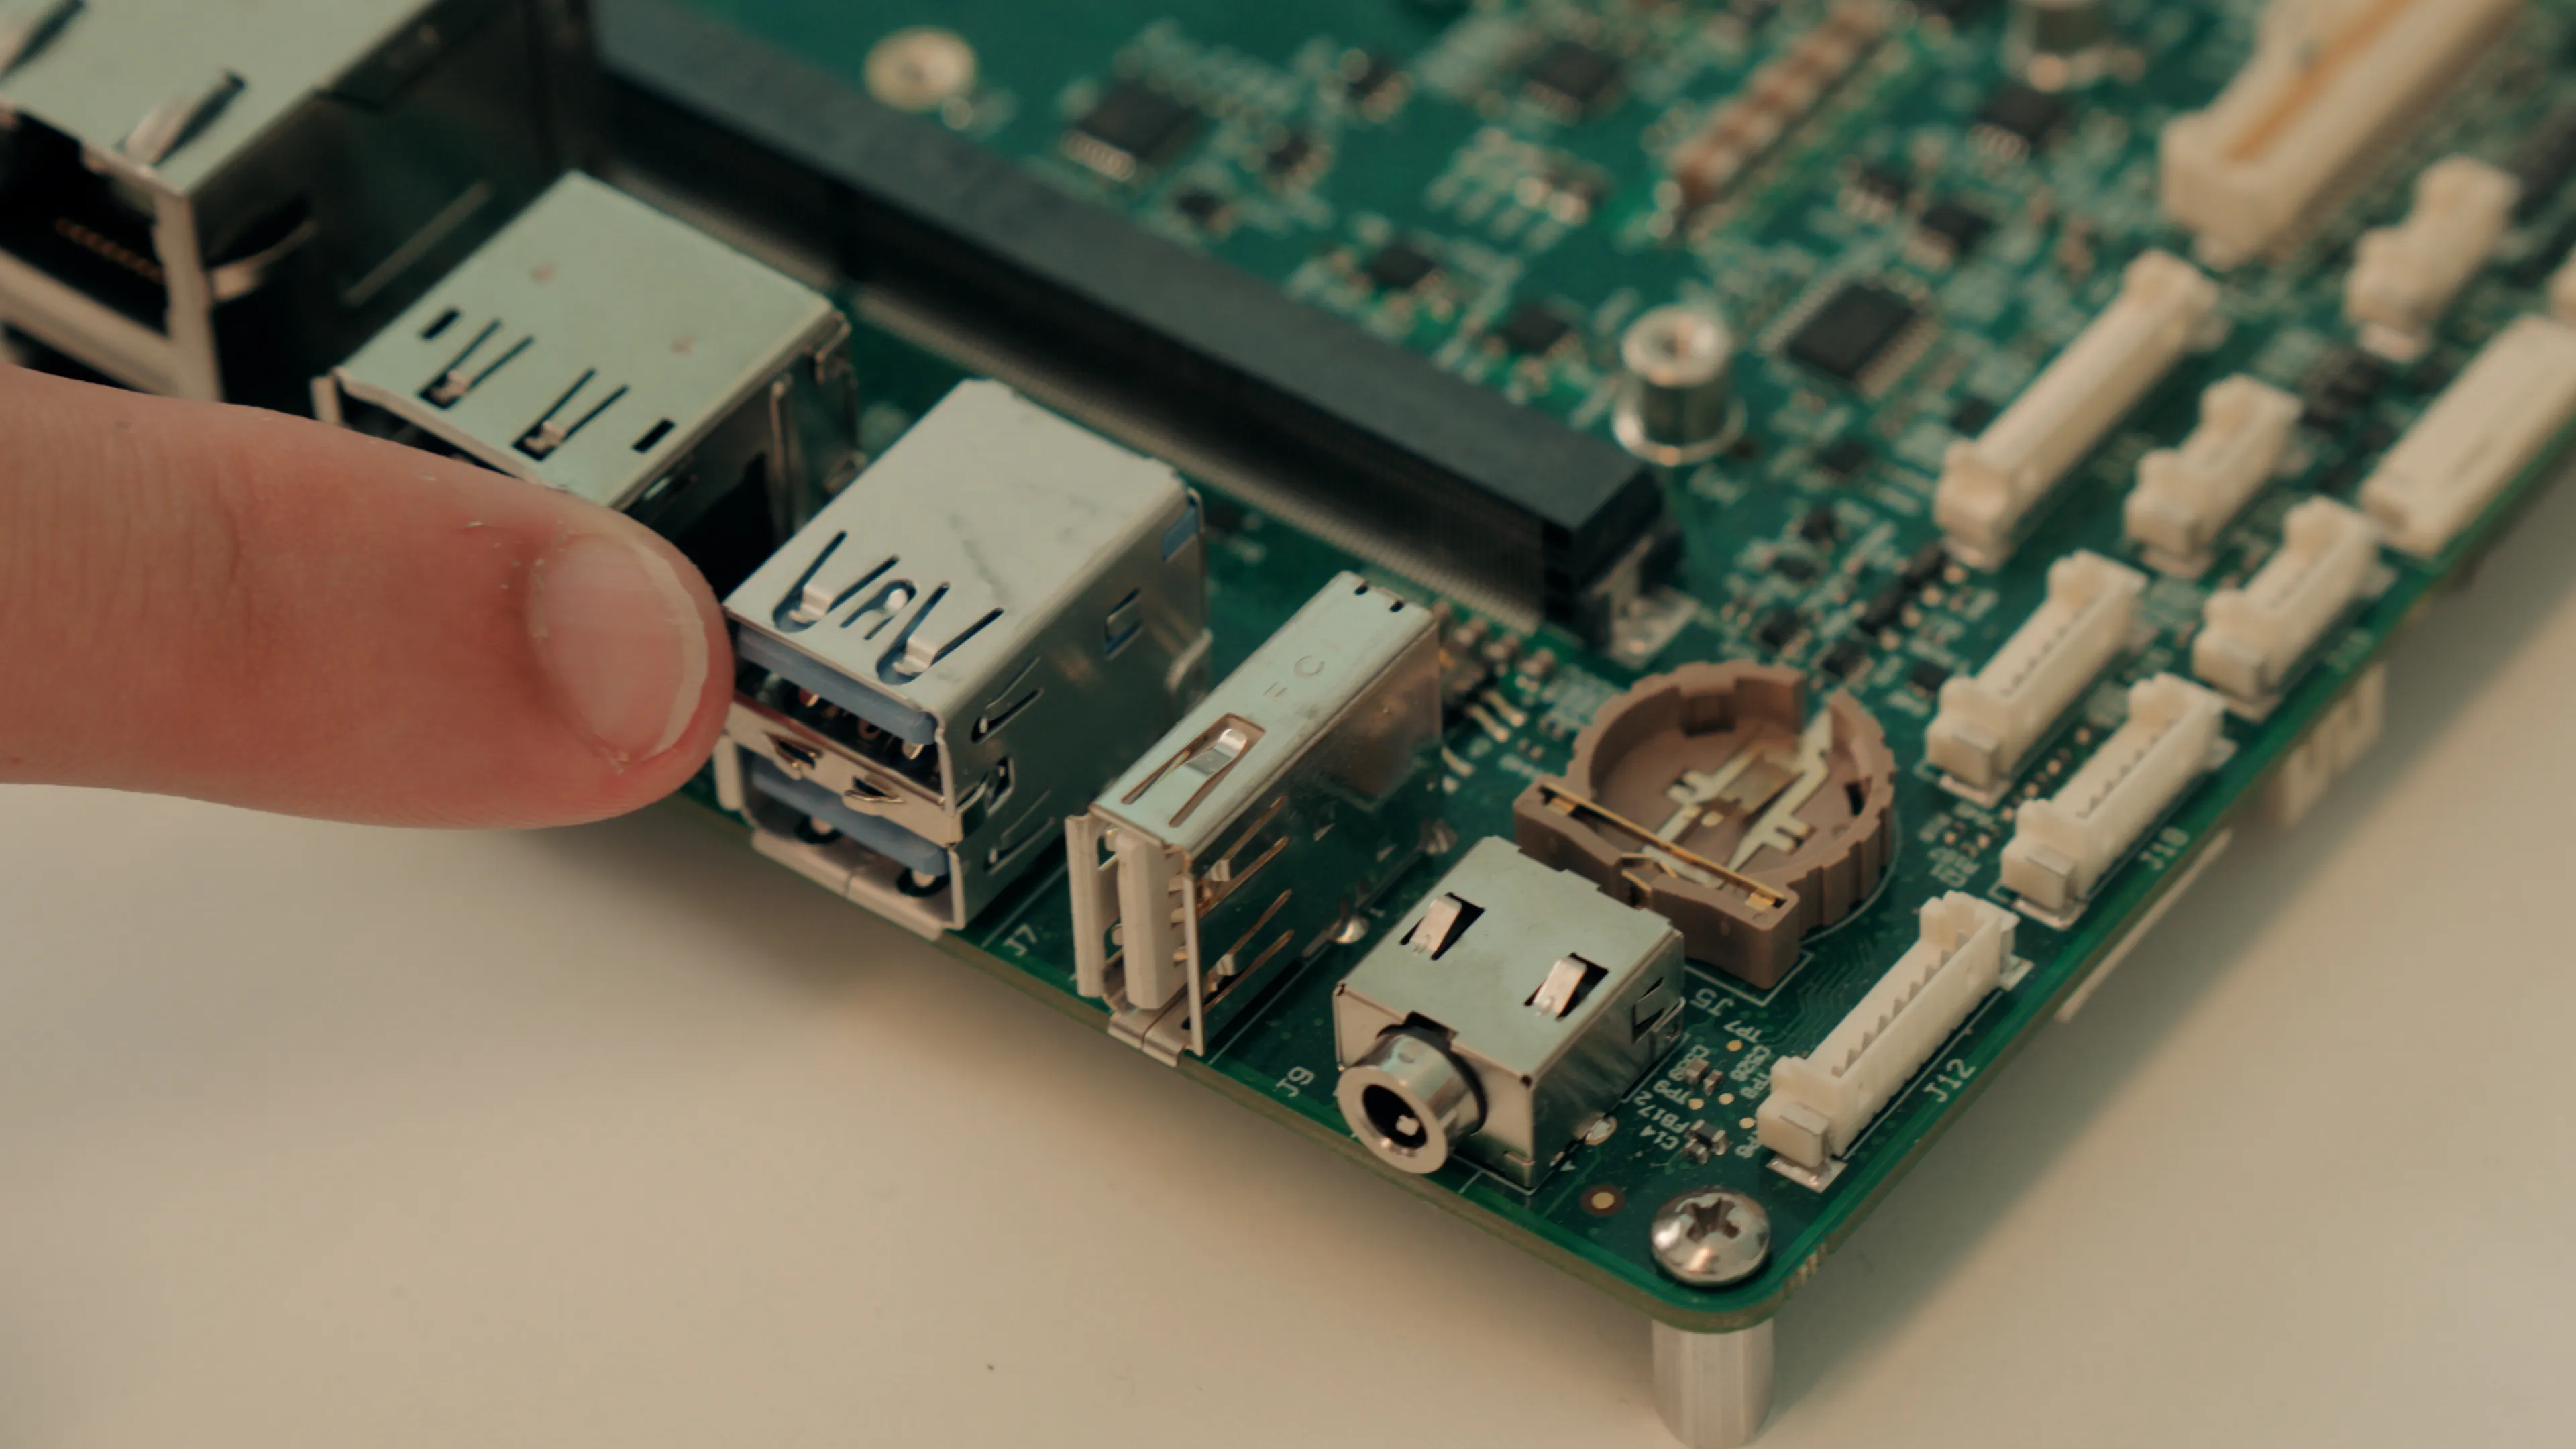
- 1x USB OTG Micro-AB
Video Outputs
- 1x HDMI®
- 1x DisplayPort (optional, shared with HDMI)
- 1x LVDS or eDP (optional, dual-channel)
- 2x MIPI CSI-2 (4-lane and 2-lane)
Audio
- 1x TRRS jack (stereo out + mono mic in)
- Integrated audio codec: TLV320AIC3204
- I2S / HDA header
Serial & Debug
- 1x RS-232 / RS-422 / RS-485 header
- 1x Debug UART (TX/RX)
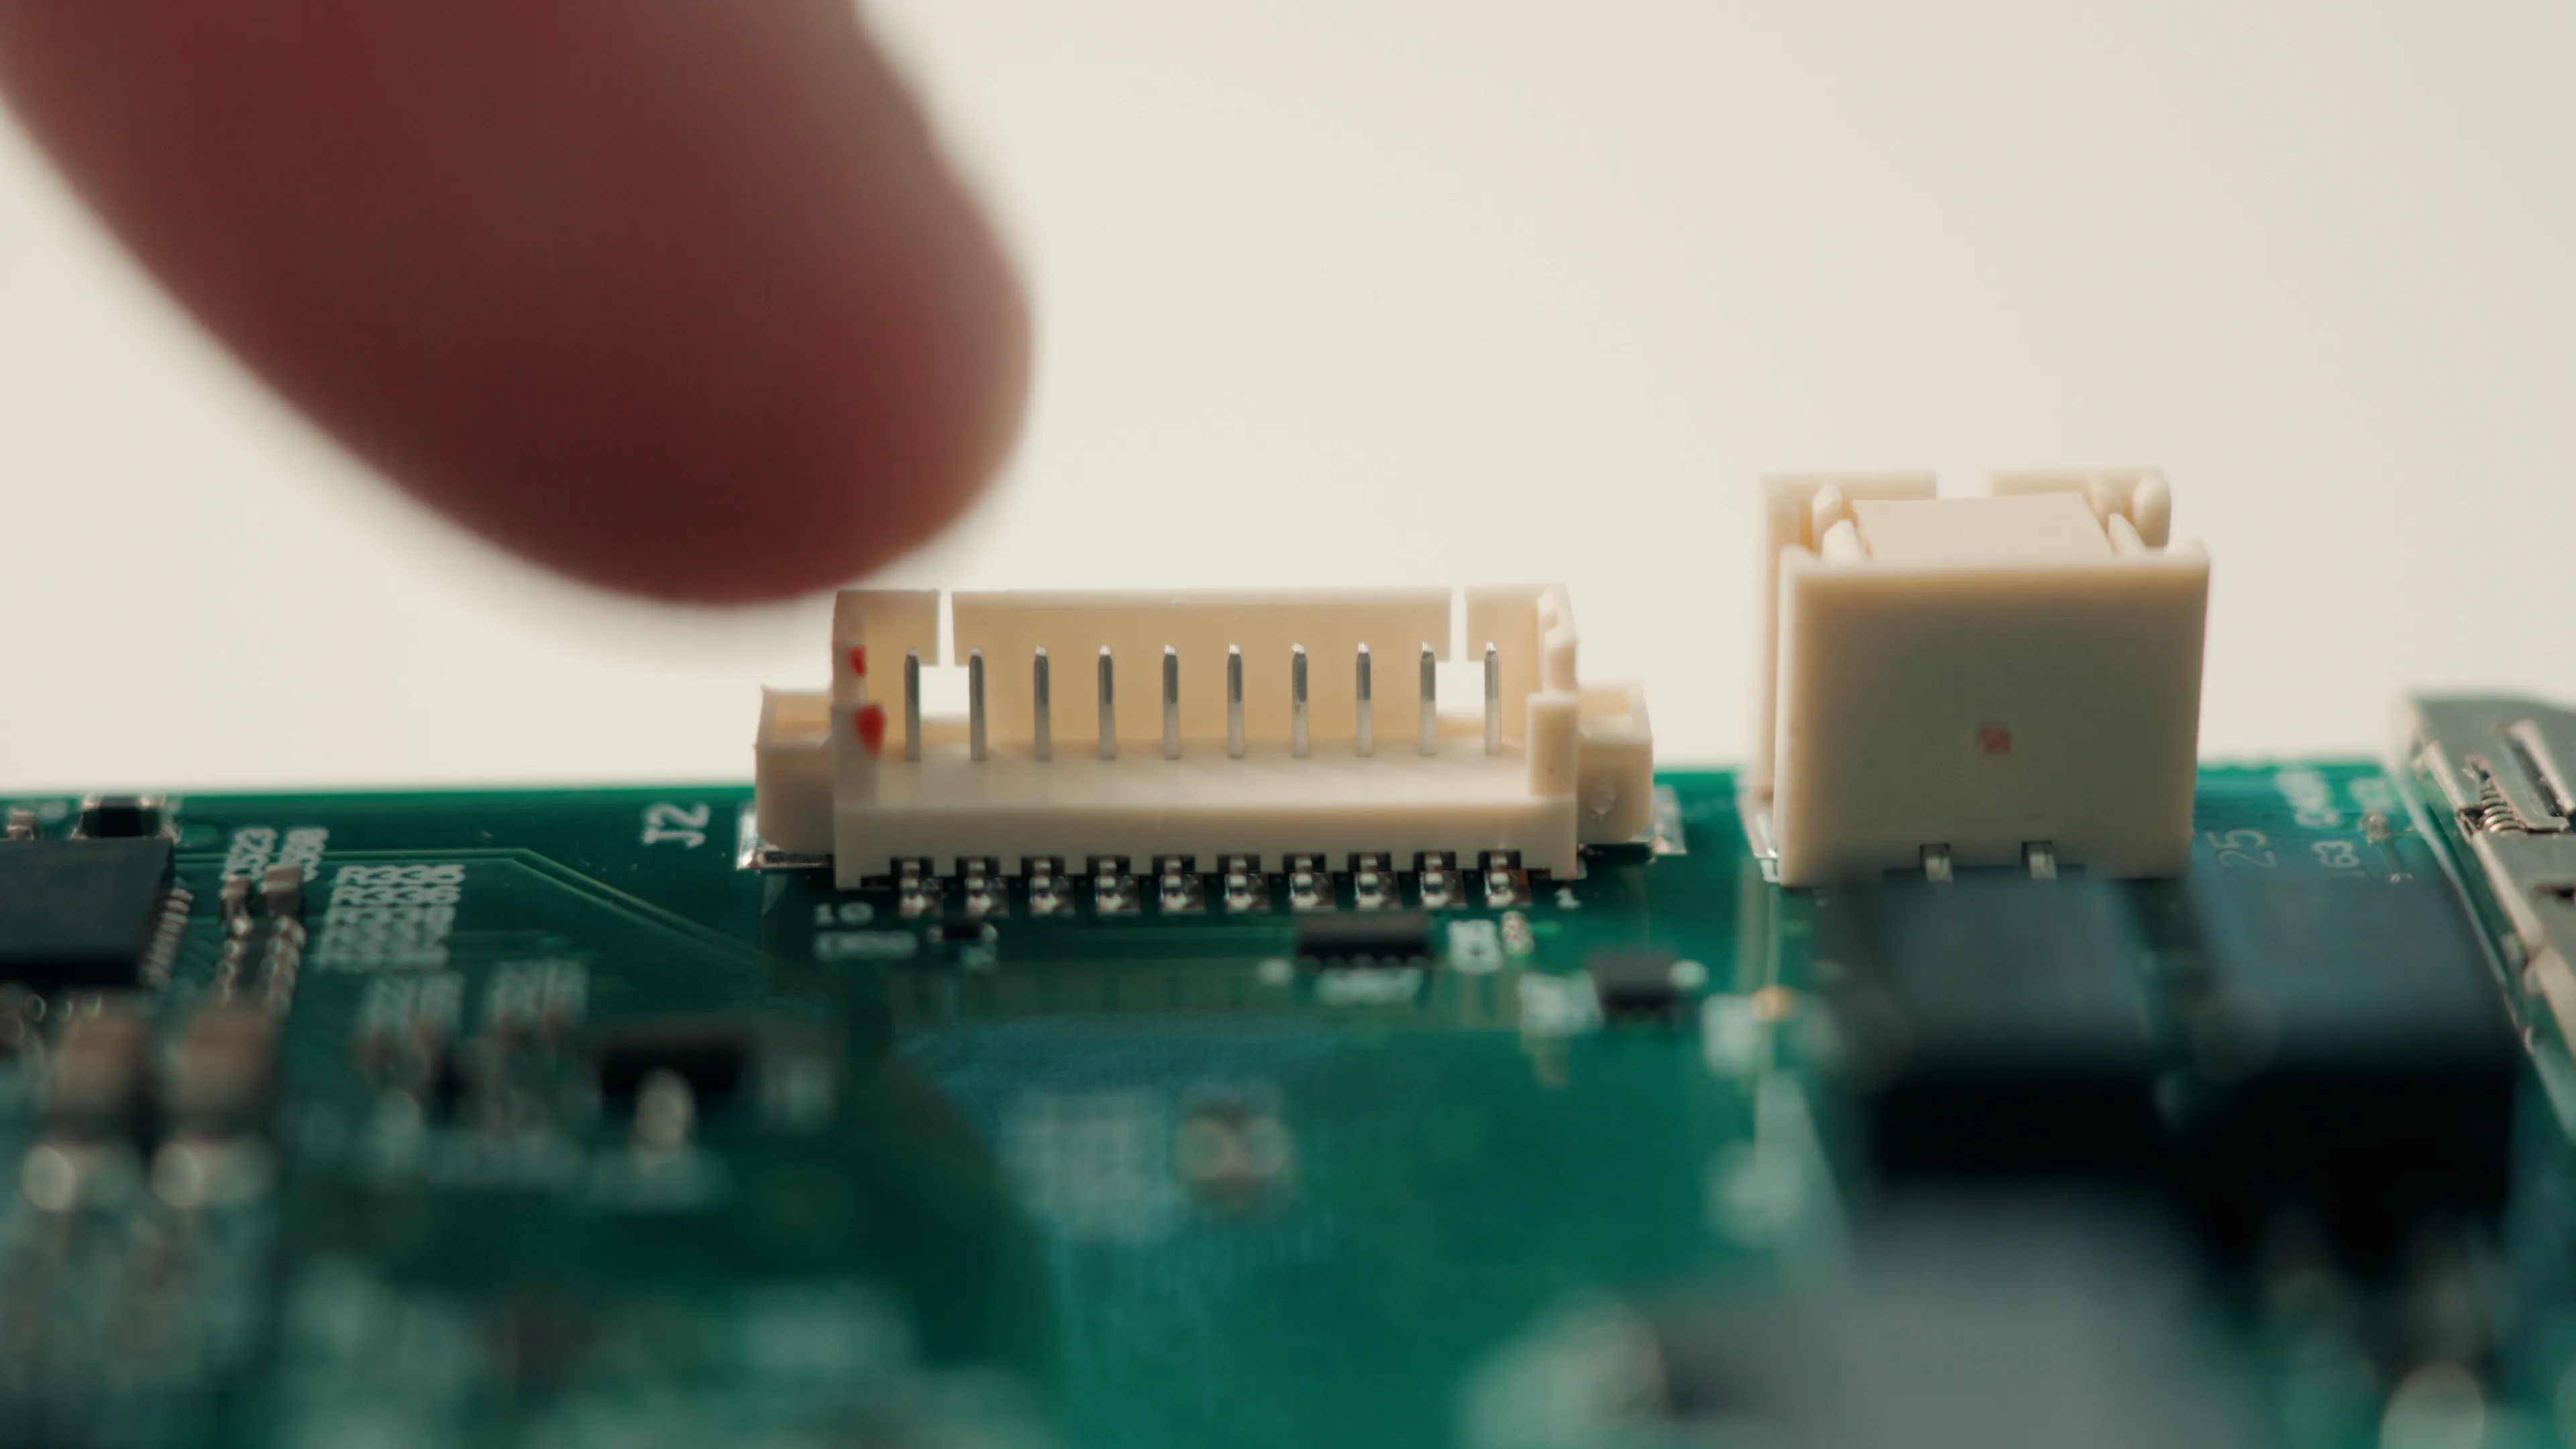
- 1x Expansion Header with optional I2C, SPI, UART
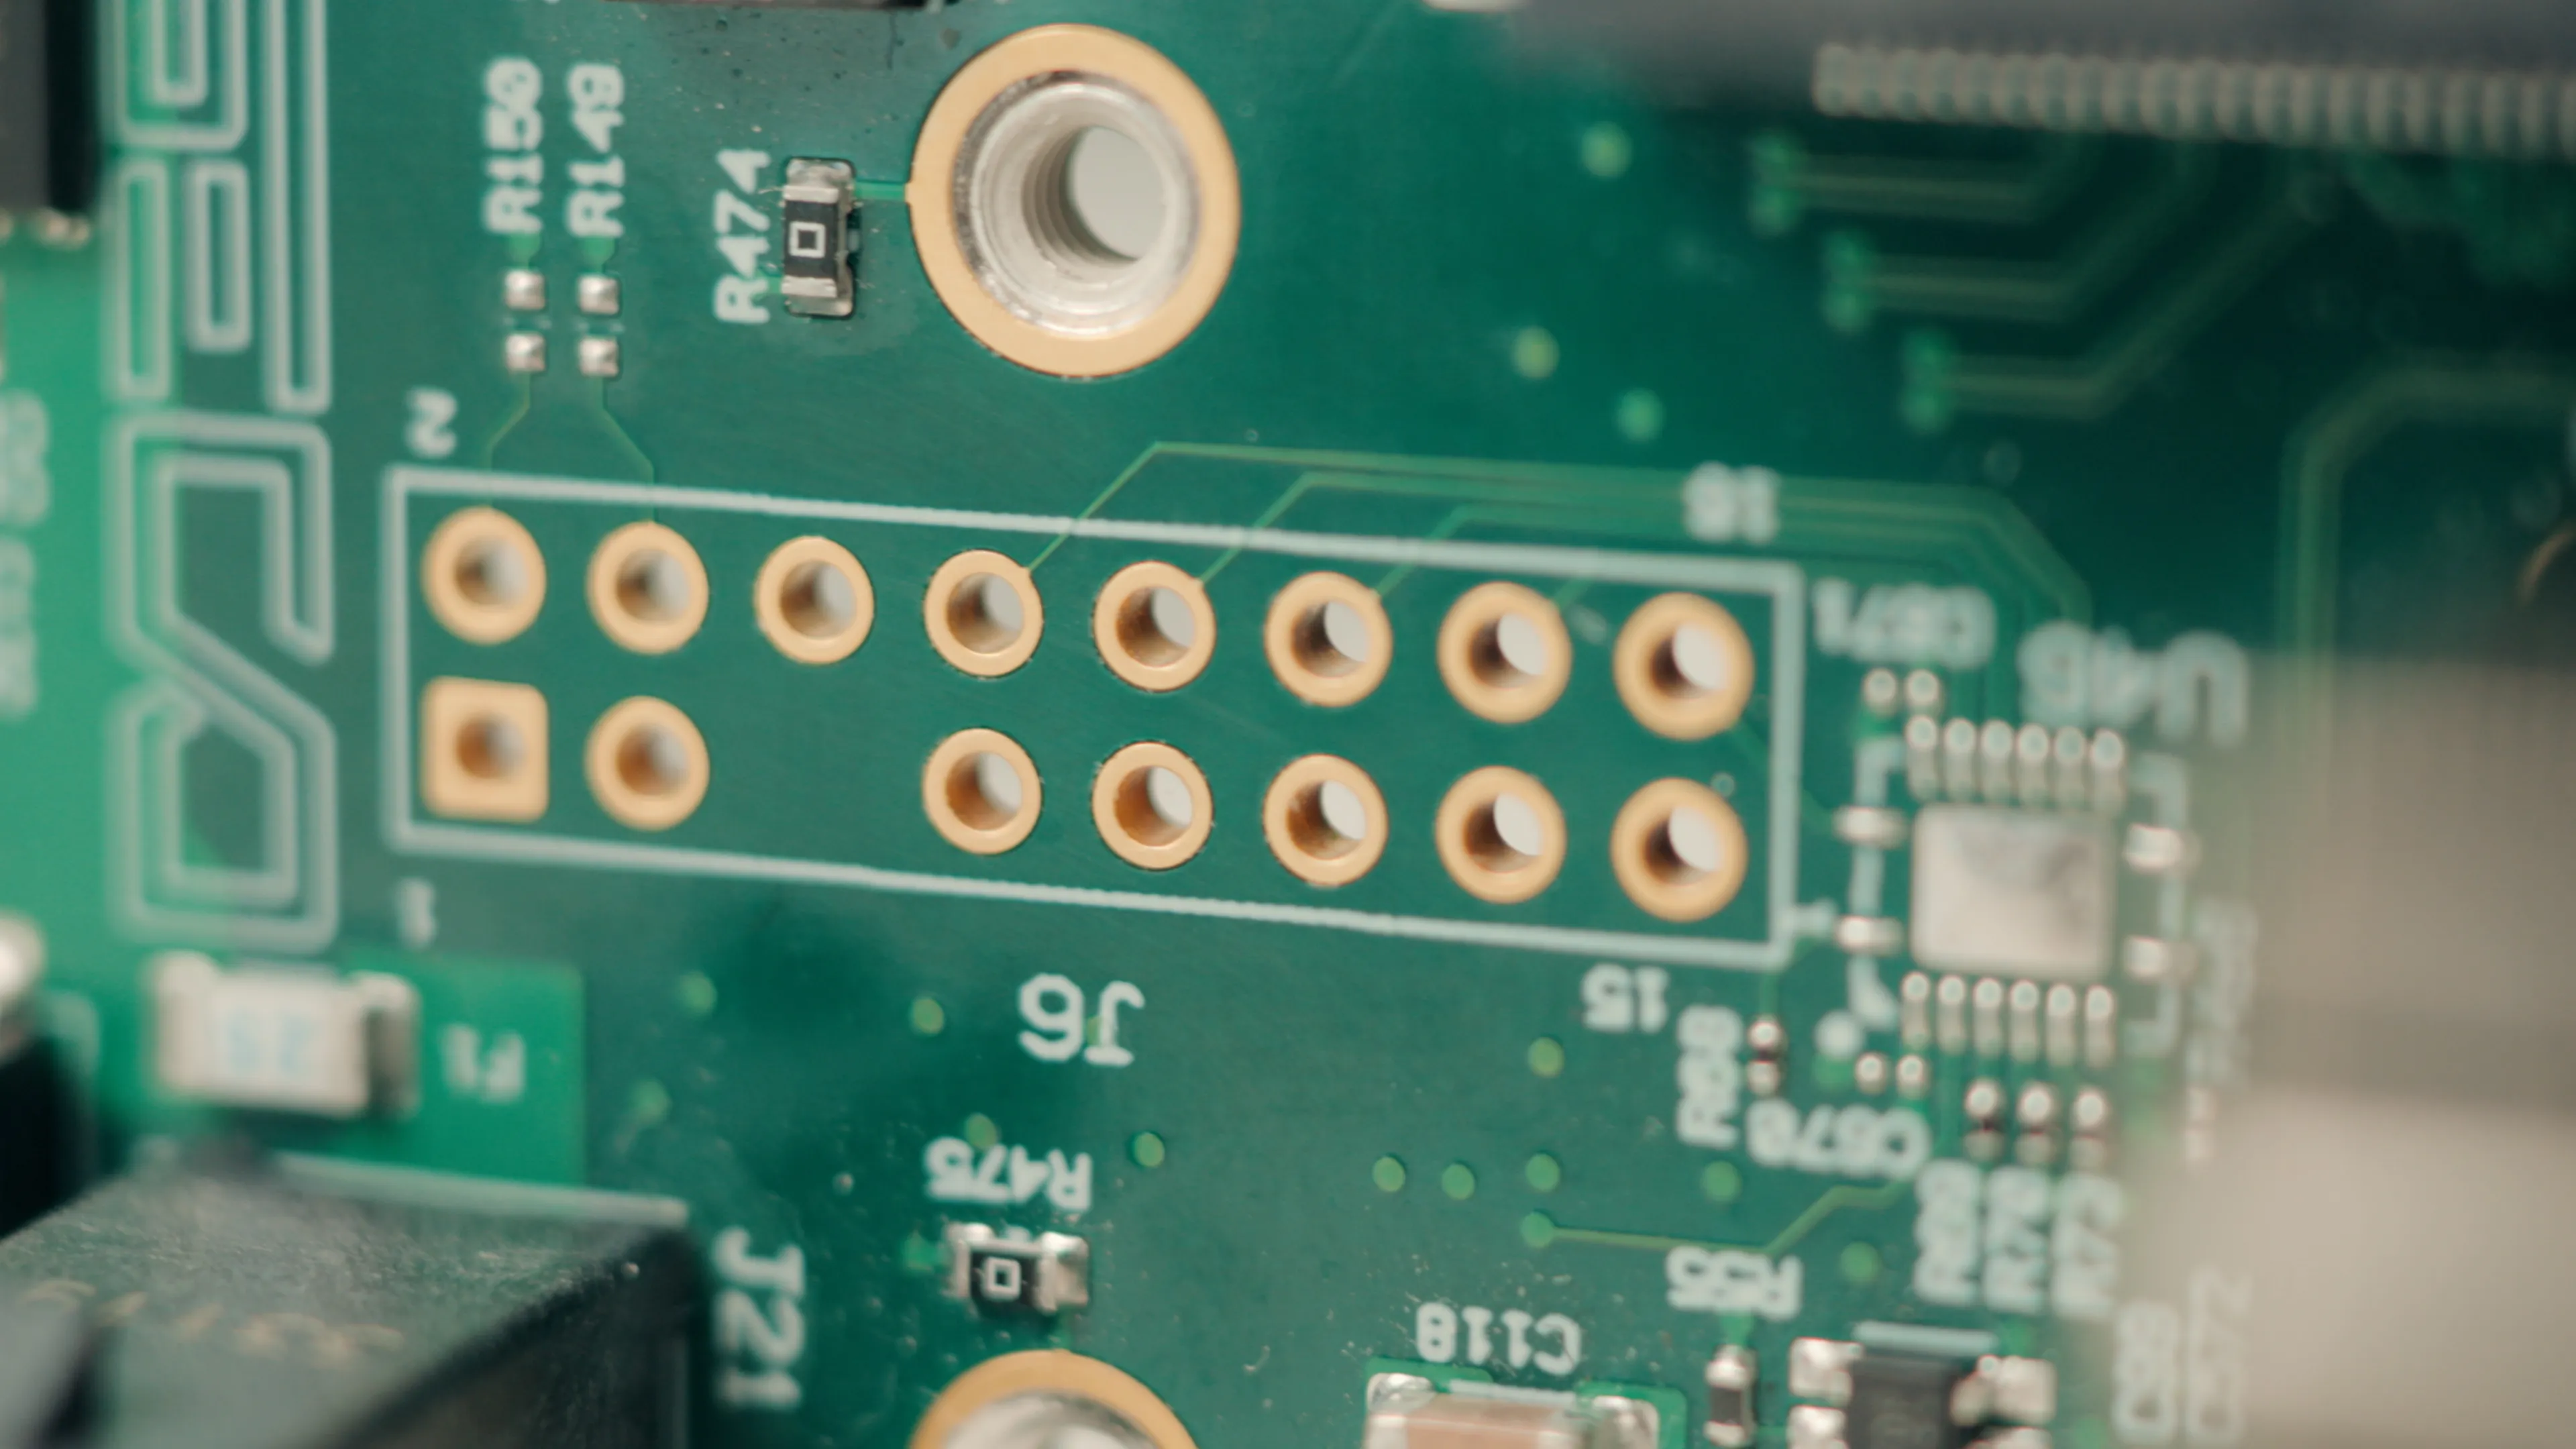
GPIO & I/O
- 8x GPIO via header
- 1x Power output (5V @1A, 3.3V @1A)
- Boot mode selection switch
- Front panel header (fan, LED, power/reset button)
Physical Installation
Mounting
Ensure all cables are disconnected.
The board can be integrated into industrial enclosures compatible with the 3.5" form factor.
Connecting Peripherals and Power
- Power: Connect a 9–24V power supply to the Molex 2P connector (0768290102).
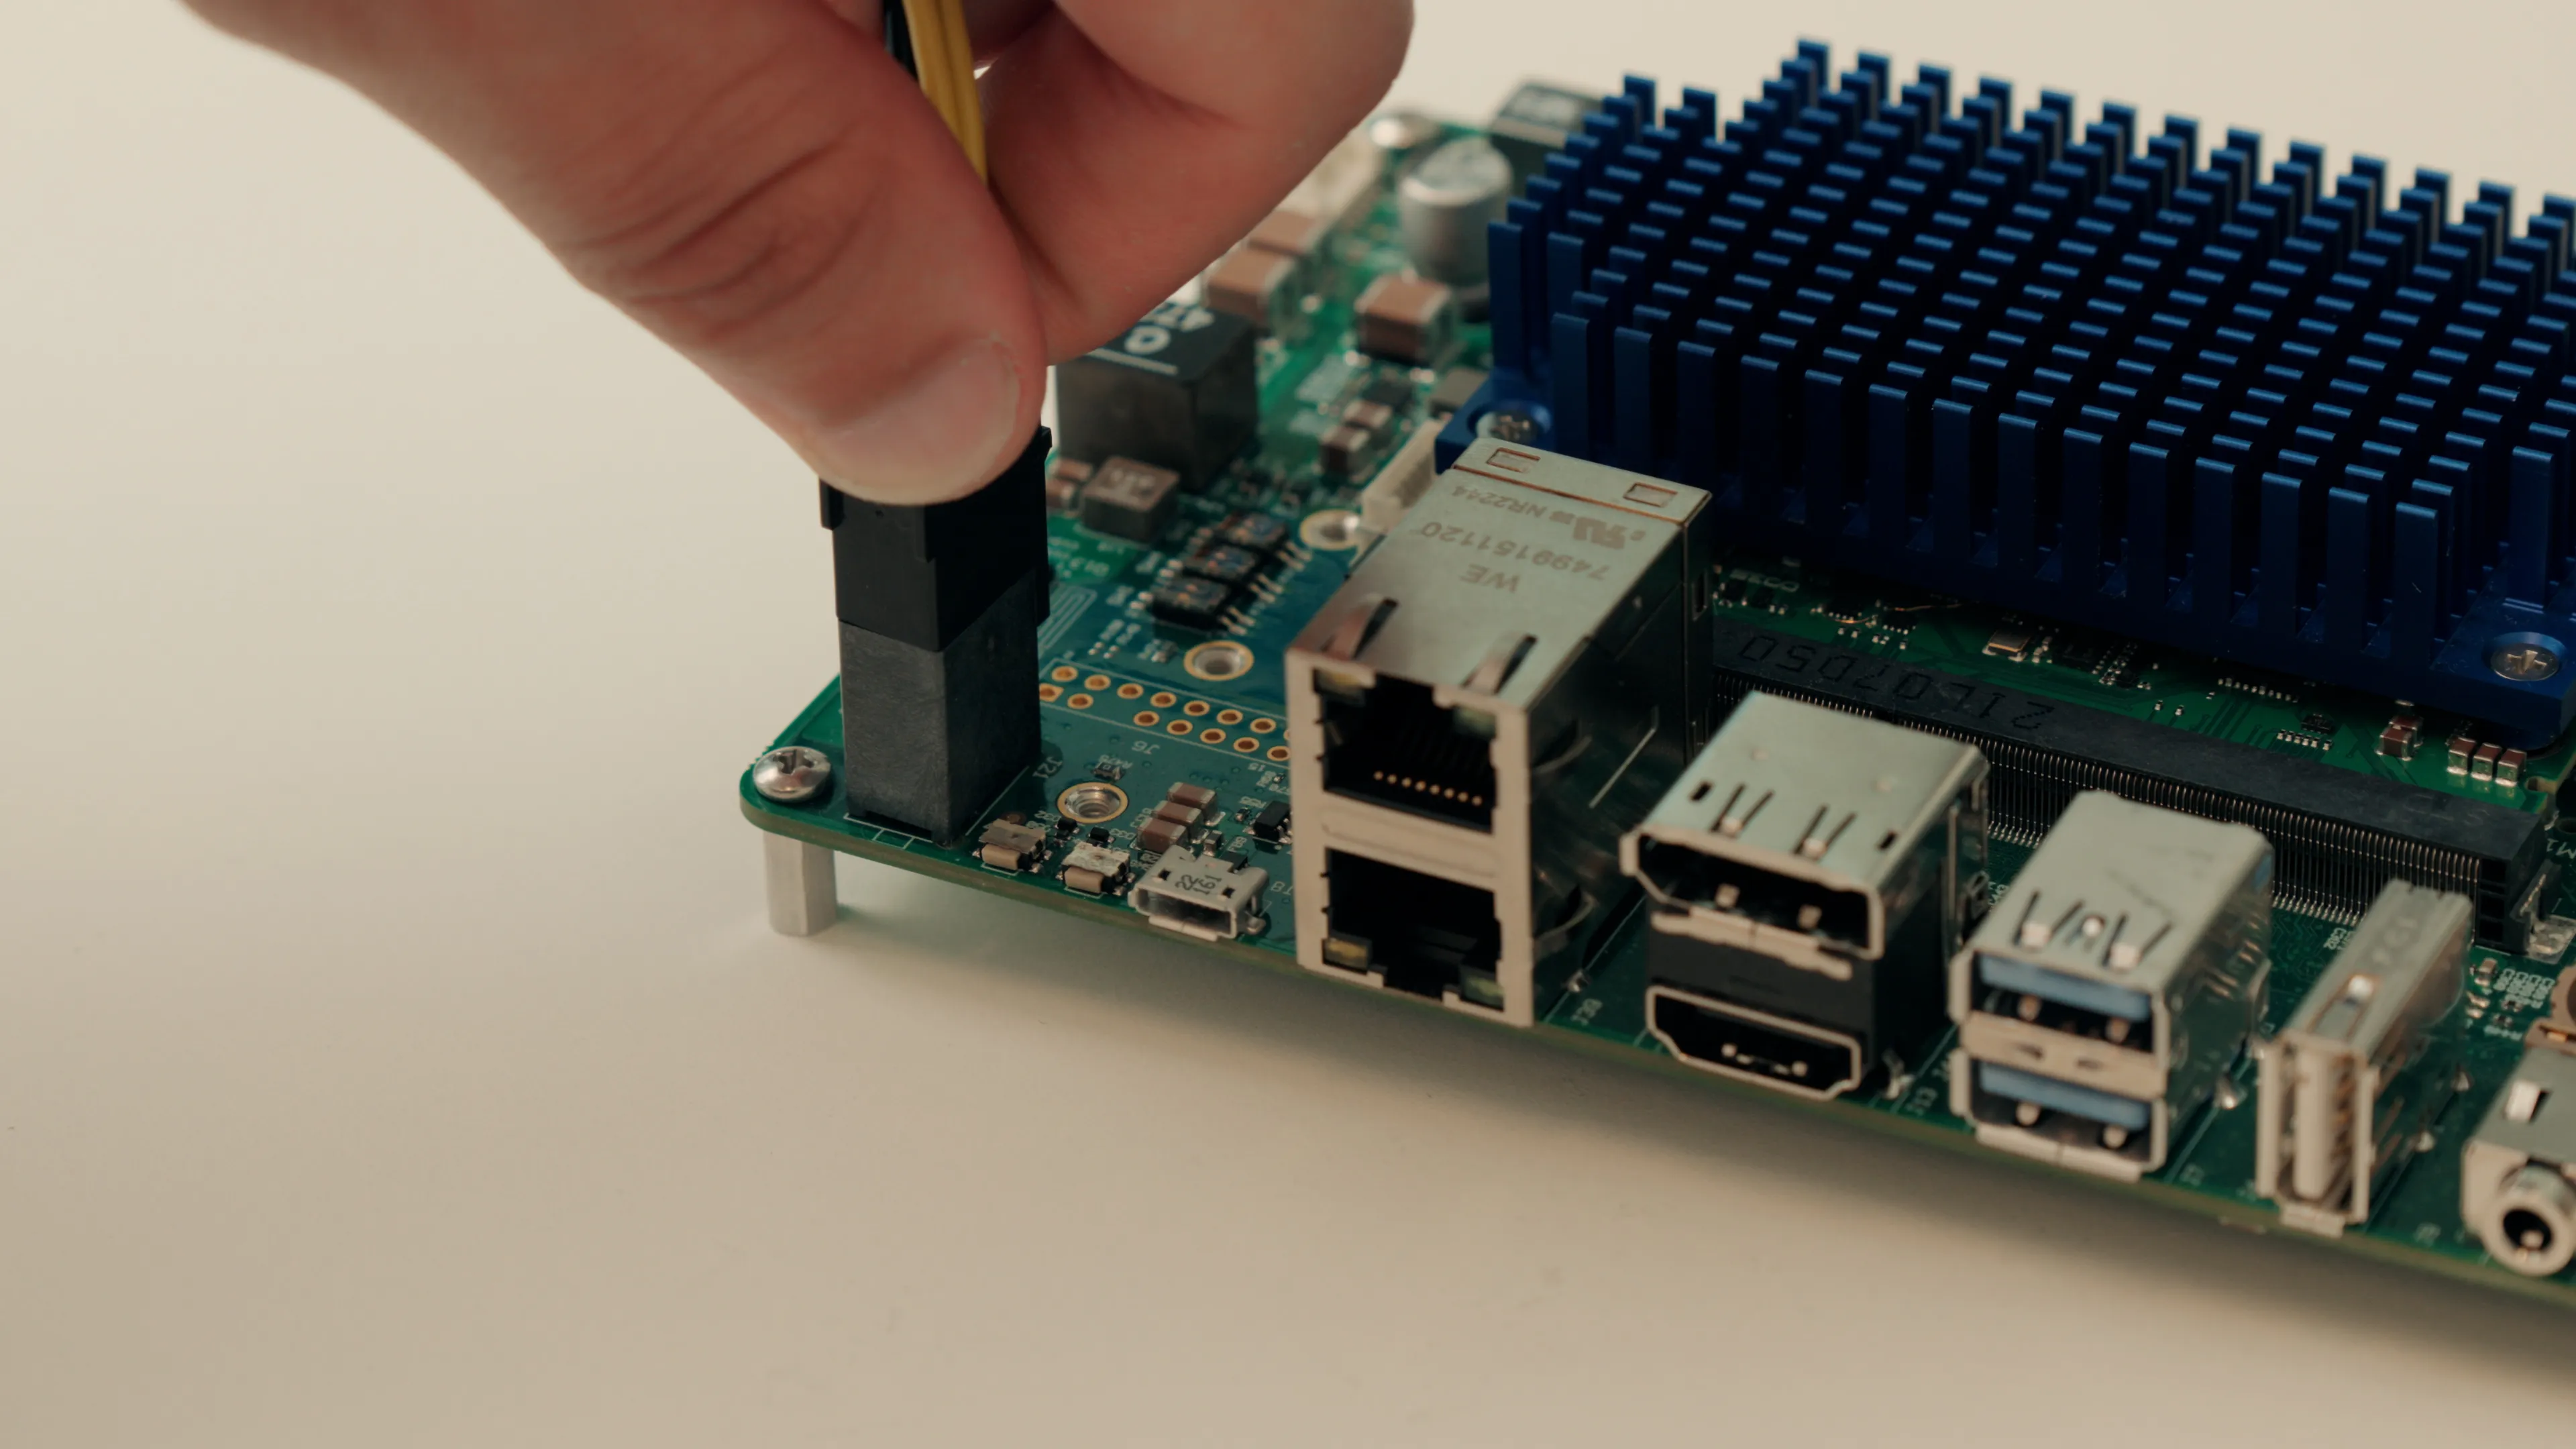
- Display: Connect a monitor via HDMI port.
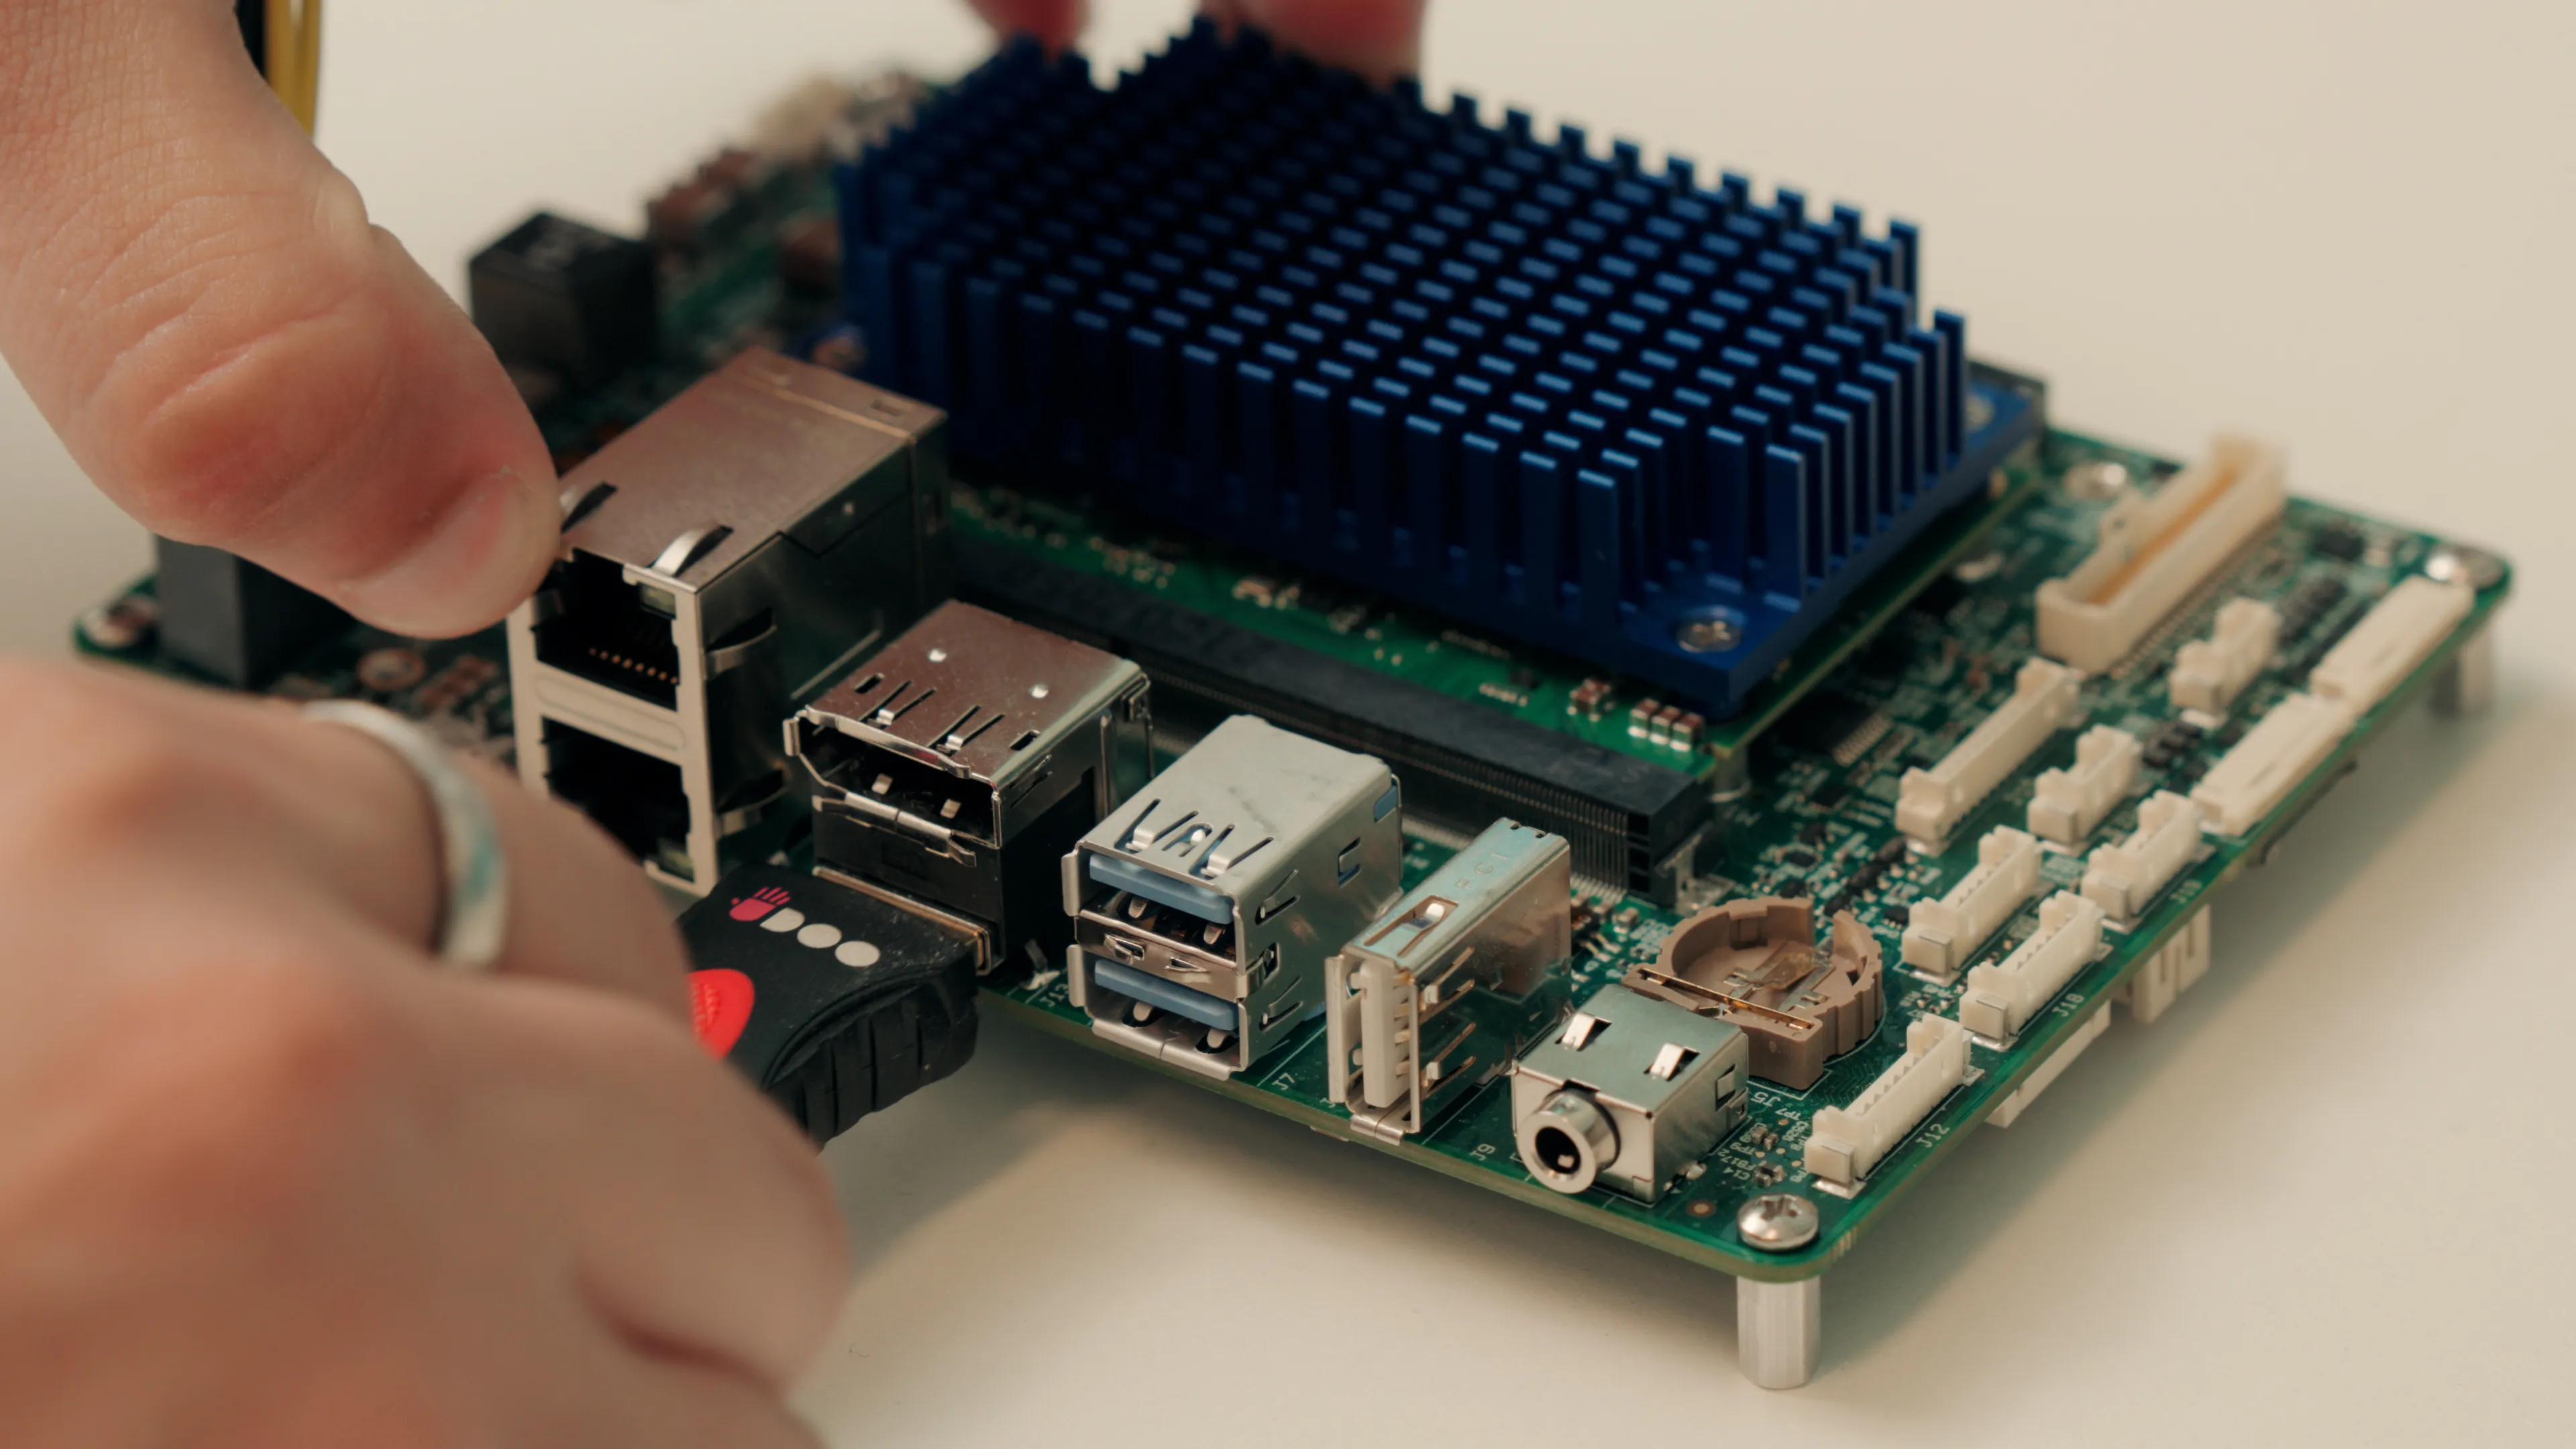
- Input: Connect USB keyboard and mouse.
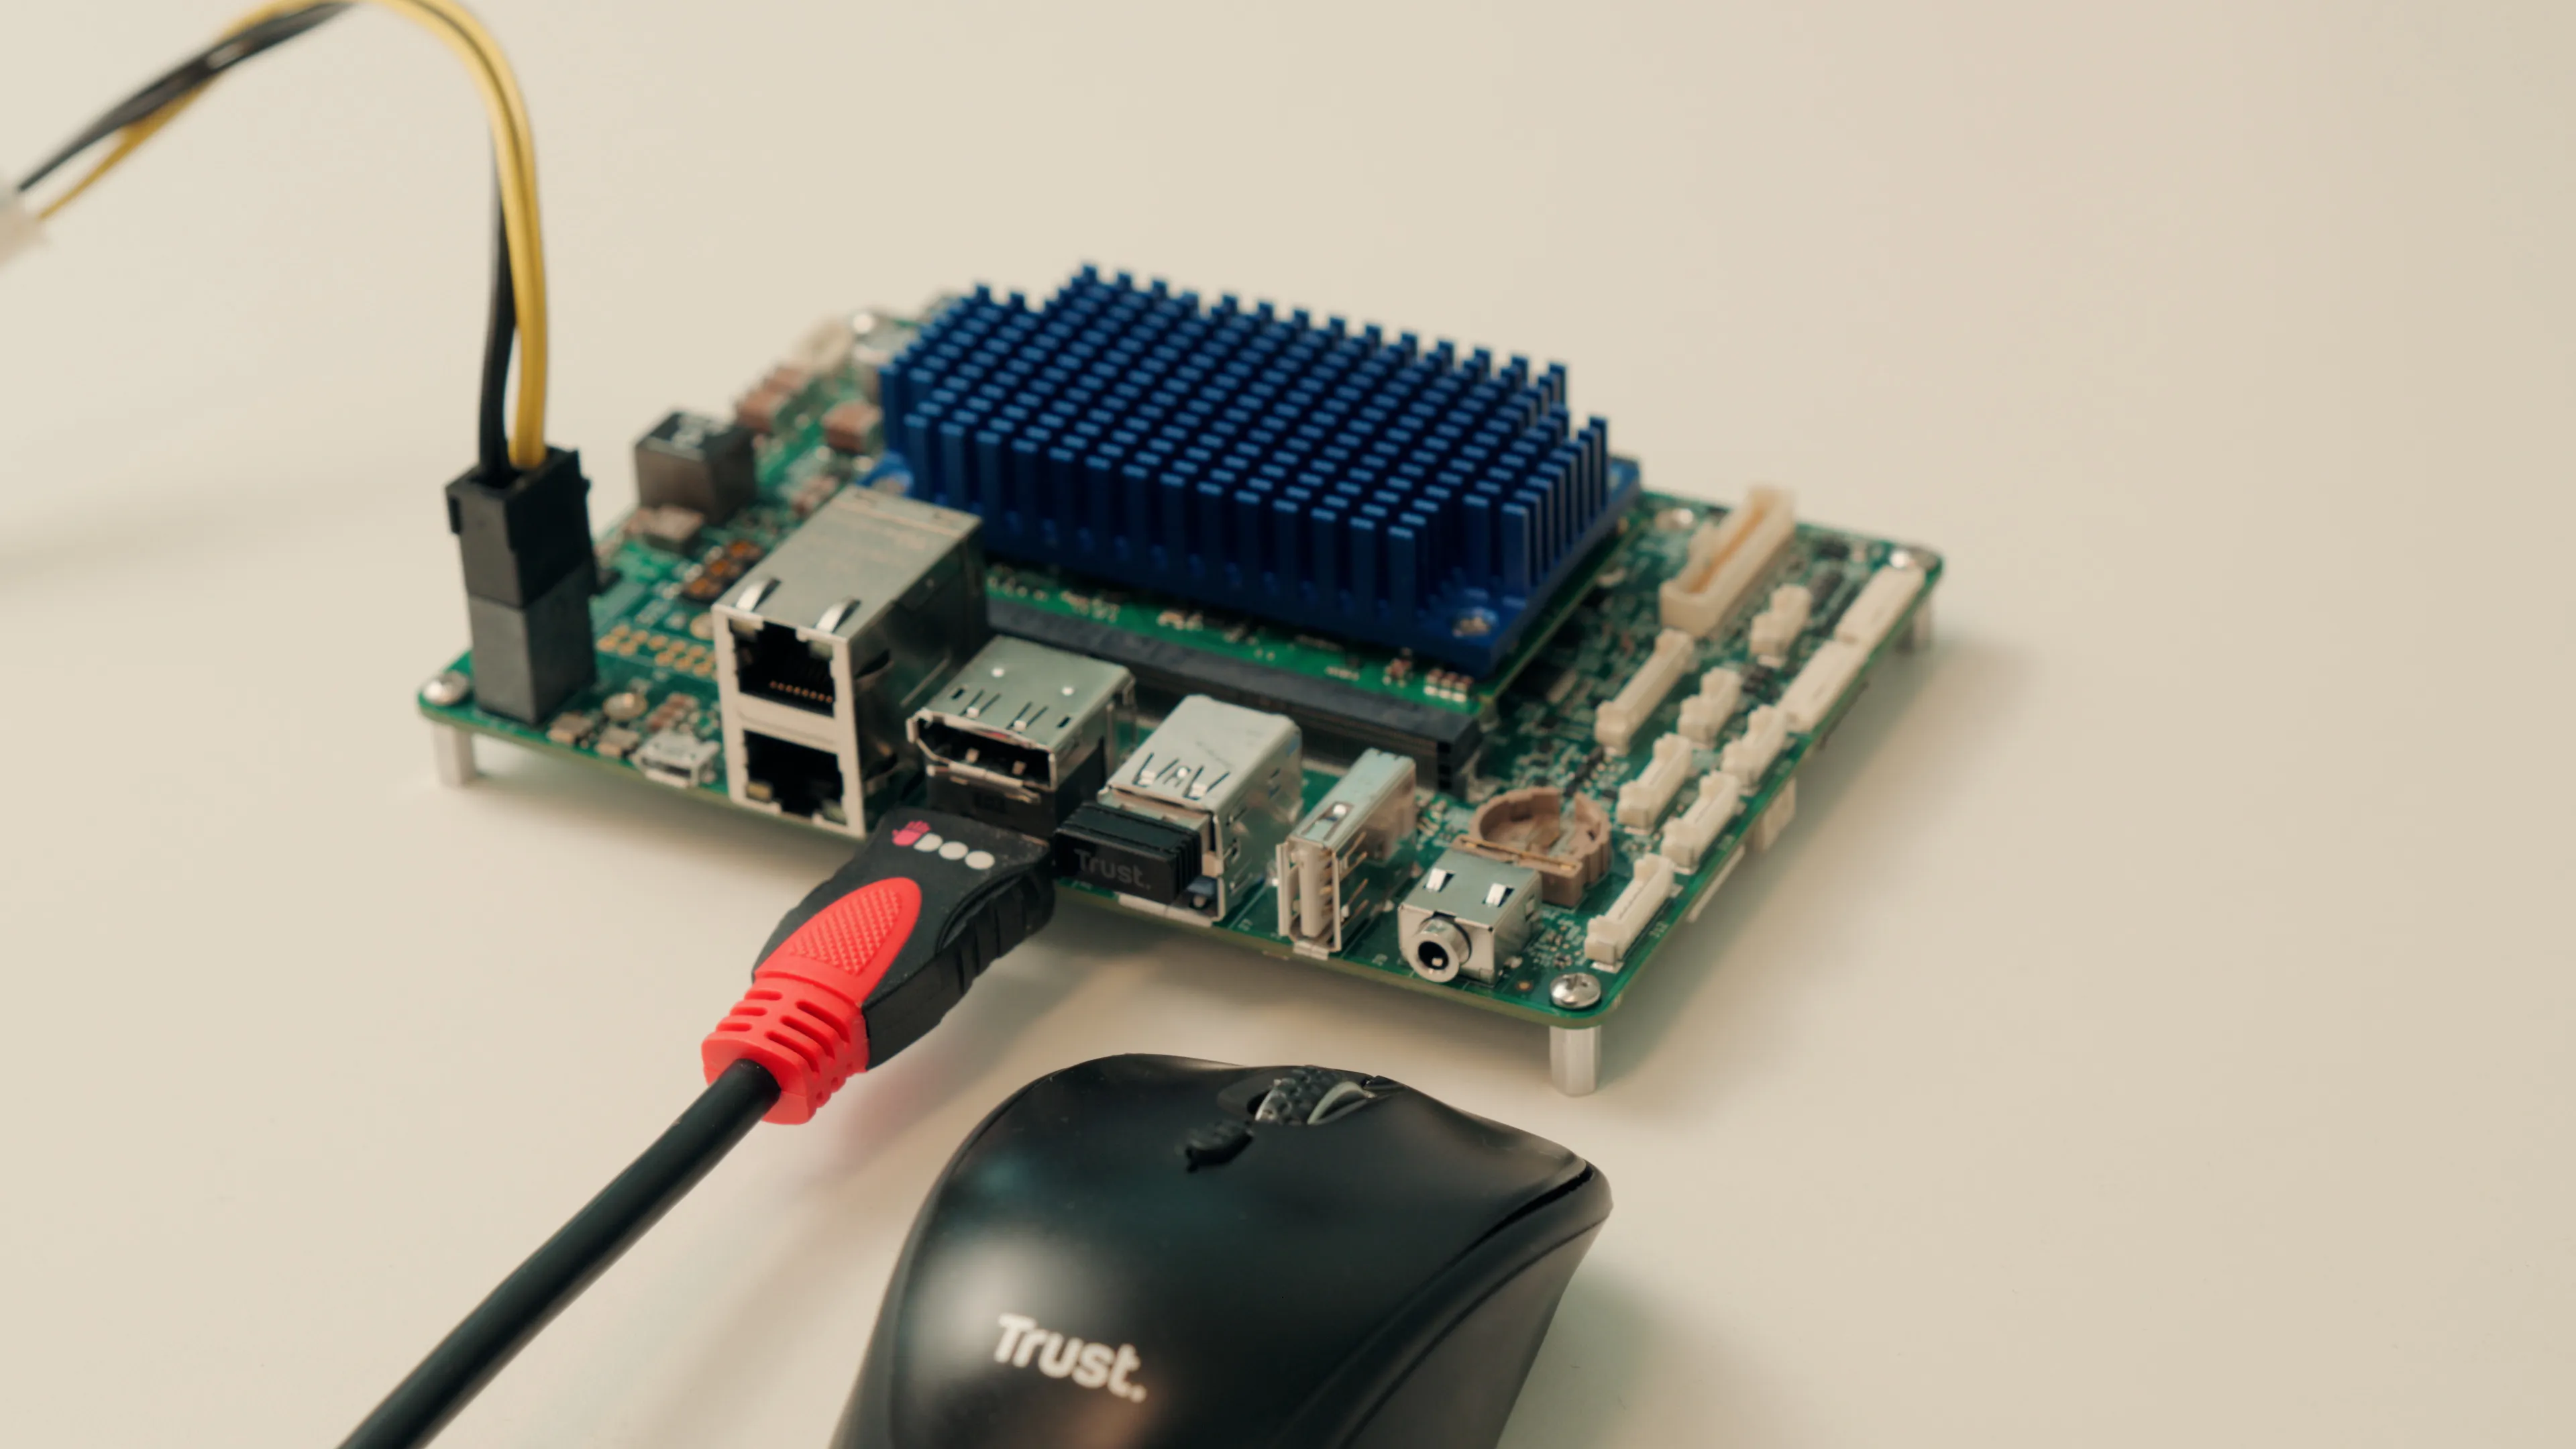
- Network: Connect via Ethernet or install wireless M.2/mPCle modules.
First Boot & OS Setup
On startup:
- The system initializes based on the boot switch configuration.
- Booting is supported from eMMC, SSD (via M.2), or MicroSD.
- If no OS is pre-installed, load the OS image of your choice onto a bootable USB drive.
- Supports standard operating systems for SMARC modules, such as Embedded Linux or Windows IoT.
Power Management & Thermal Considerations
- Supported voltage: 9–24VDC with built-in protection.
- Cooling depends on the installed SMARC module: provide passive or active cooling based on thermal load.
- For harsh environments, use industrial-grade SMARC modules for extended temperature ranges beyond 0°C ~ +70°C.
Next Steps & Support
- Full User Manual: available here
- Software Documentation: If using Clea OS, refer to the Clea Device Manager user guide.
- Optional Accessories: Wi-Fi/LTE modules, mounting brackets, heatsinks.
Need Help?
Contact SECO technical support or visit www.seco.com for detailed documentation, drivers, and updated software tools.