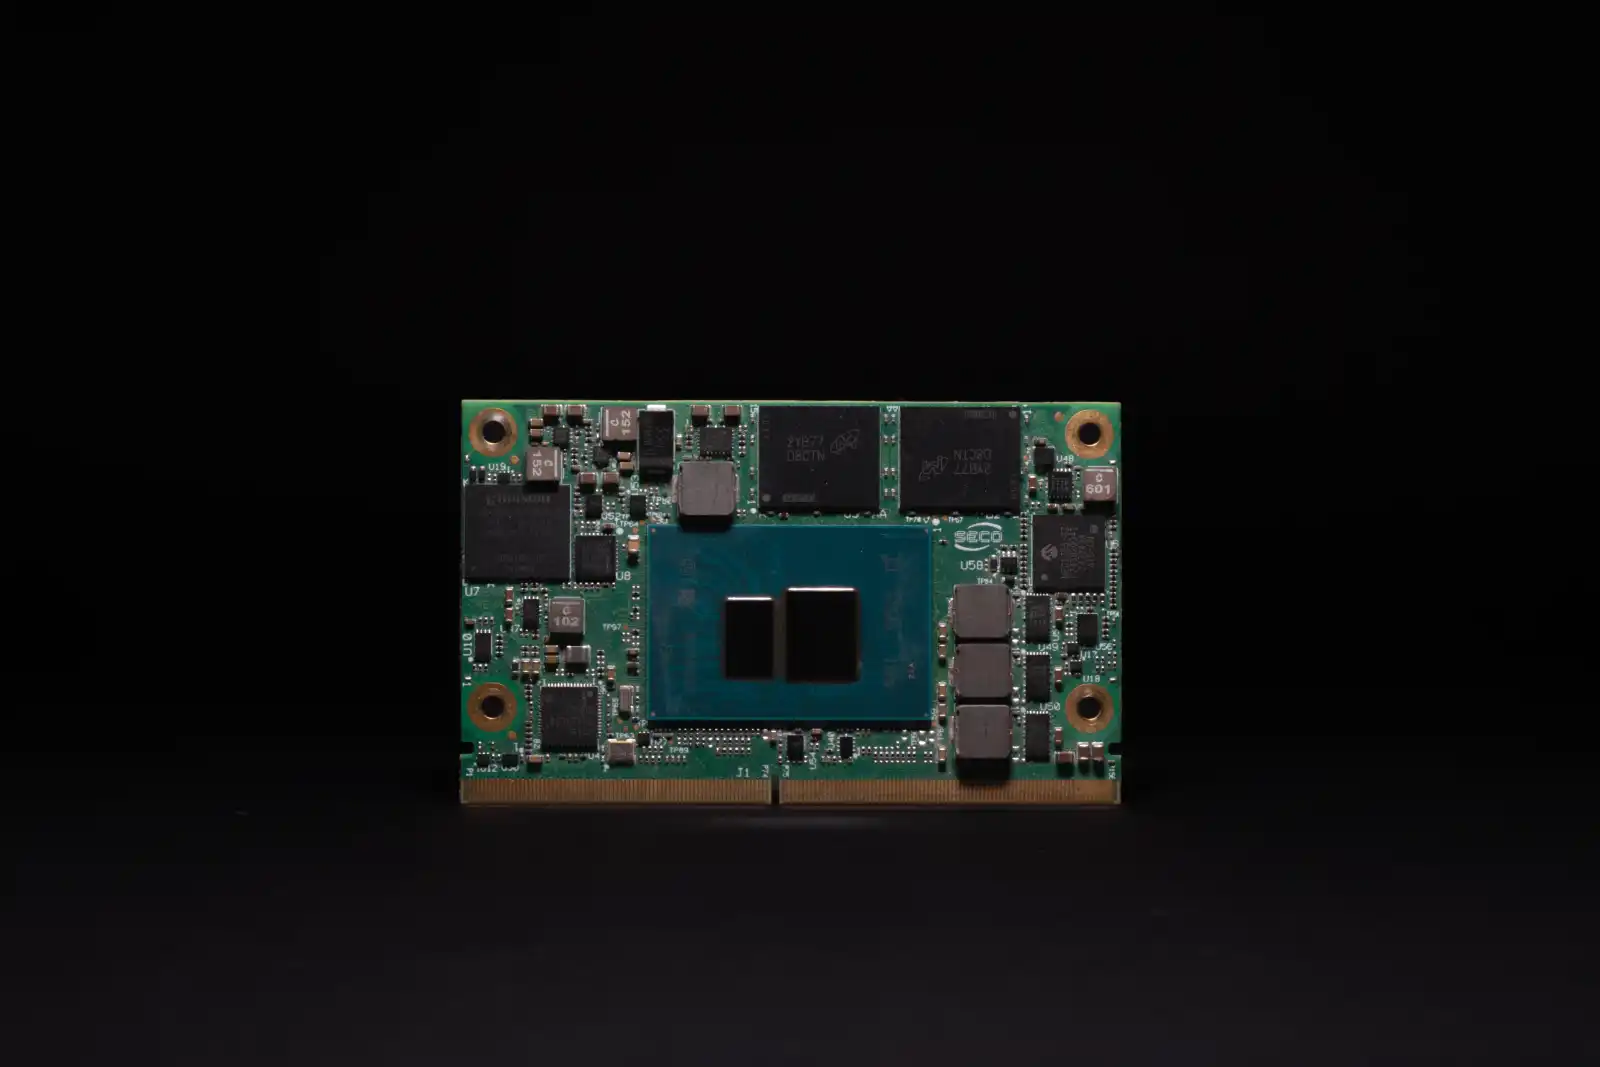
SOM-SMARC-ADL-N / ASL / TWL
Introduction
Welcome to the quick start guide for SECO's SOM-SMARC-ADL-N, ASL, and TWL modules, powered by Intel® Atom® processors x7000E Series, Intel® Core™ i3 processor, Intel® Processors N Series (Codename: Alder Lake N), Intel Atom® Processors x7000RE Series (Codename: Amston Lake) and Intel® Intel® Core™ i3 processor, Intel® Processors N Series (Codename: Twin Lake).
These compact SMARC 2.1.1 compliant modules provide the ideal balance between performance and power efficiency for industrial edge applications.
Designed for OEMs, electronic engineers, and edge developers, the SOM-SMARC family offers:
- Up to 8 efficient Intel cores
- Integrated Intel UHD Graphics (Xe architecture)
- Support for up to three independent 4K displays
- Multiple camera inputs via MIPI CSI
- Future-proof networking with up to 2x 2.5 GbE with TSN/TCC
- Configurations available for commercial (0 ~ +60 °C) and industrial (-40 ~ +85 °C) environments
What's in the Box
Each package includes:
- 1x SOM-SMARC-ADL-N, ASL or TWL module (depending on your chosen configuration)
- Technical documentation
- Passive heatsink or thermal solution (if included with the order)
Before You Start
Requirements
To integrate and test your SOM-SMARC, you will need:
-
A compatible SMARC 2.1.1 carrier board (such as SECO's CARRIER-SMARC-E71 in the DEV-KIT-SMARC)
-
DC power supply (9V–24V depending on carrier specifications)
-
HDMI/DisplayPort monitor
-
USB keyboard and mouse
-
Boot media (eMMC, SSD on M.2, or MicroSD with OS image)
-
Ethernet cables or wireless modules
[IMAGE – Example setup with carrier board, display, and peripherals]
Safety & Handling
- Always power off the system before inserting or removing the SOM module.
- Ensure proper ESD protection when handling the board.
- Use adequate cooling depending on workload and environment.
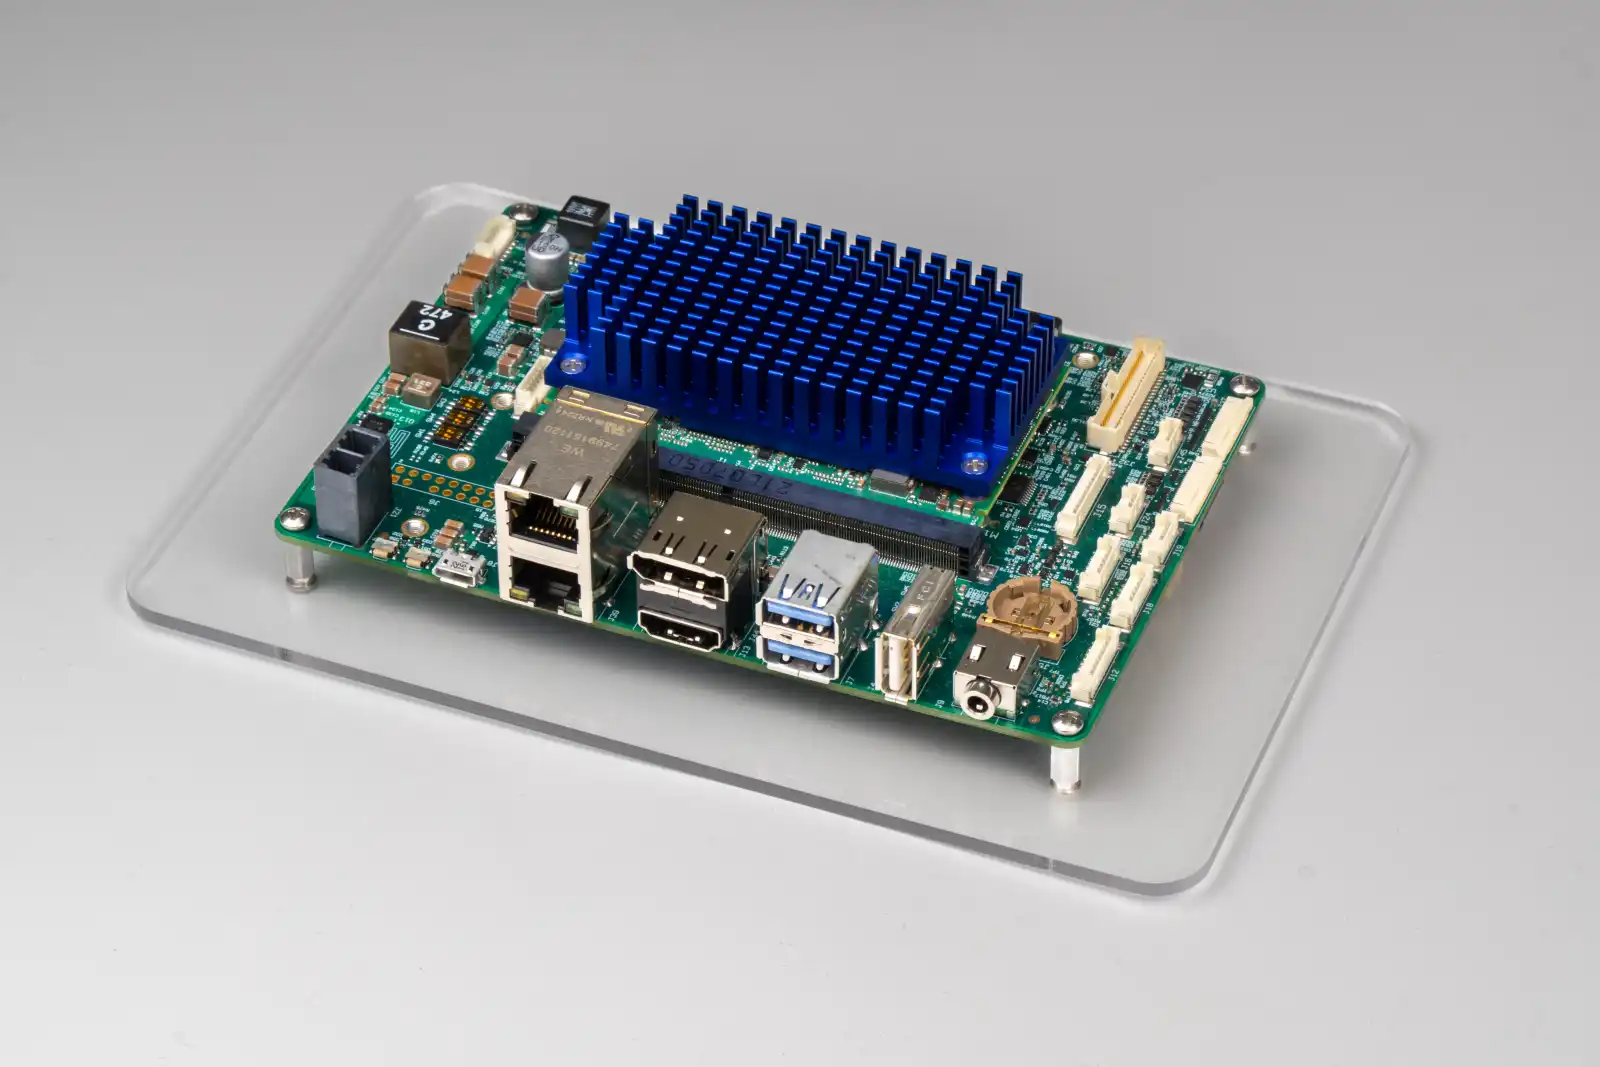
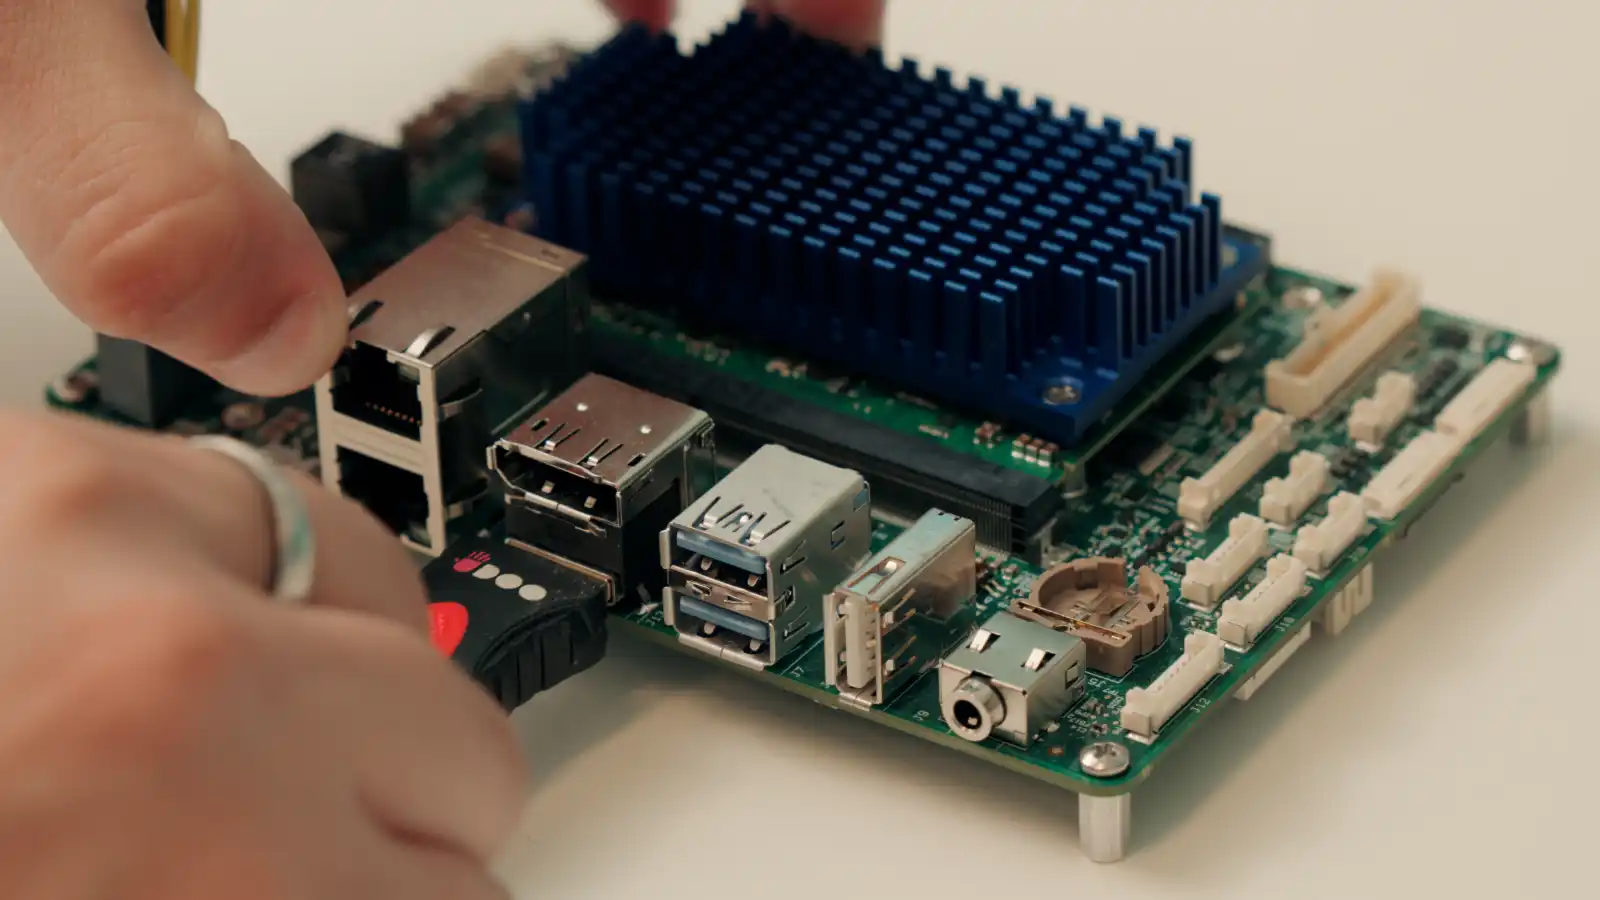
Using a carrier board – CARRIER-SMARC-E71
To evaluate the SOM-SMARC modules, SECO provides the DEV-KIT-SMARC, which centers on the CARRIER-SMARC-E71 carrier board in a compact 3.5-inch form factor.
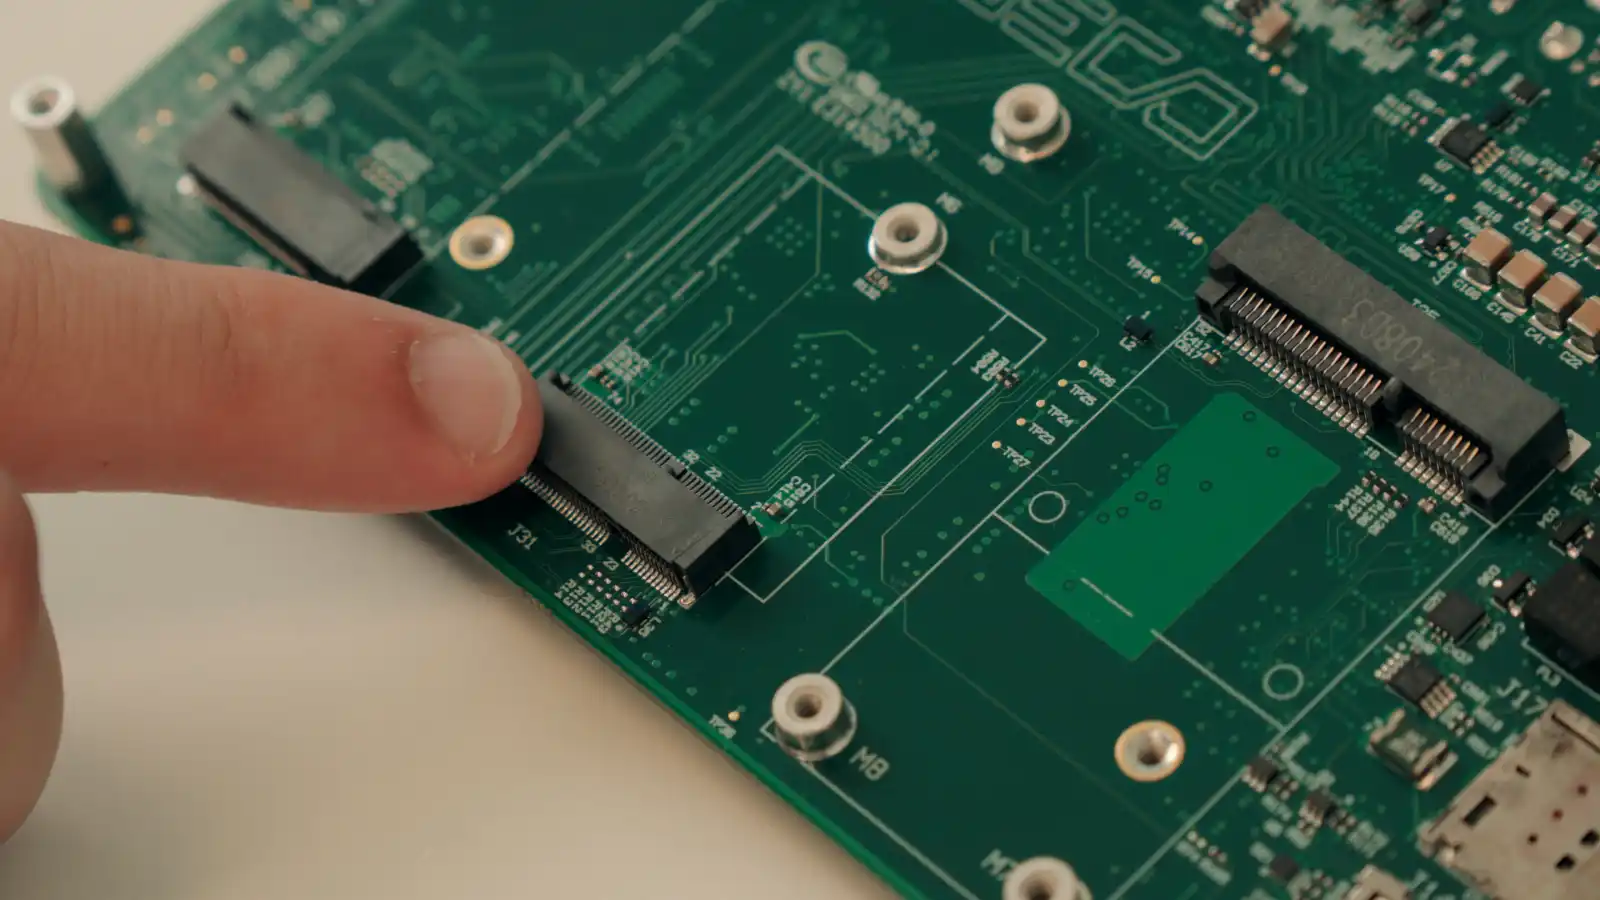
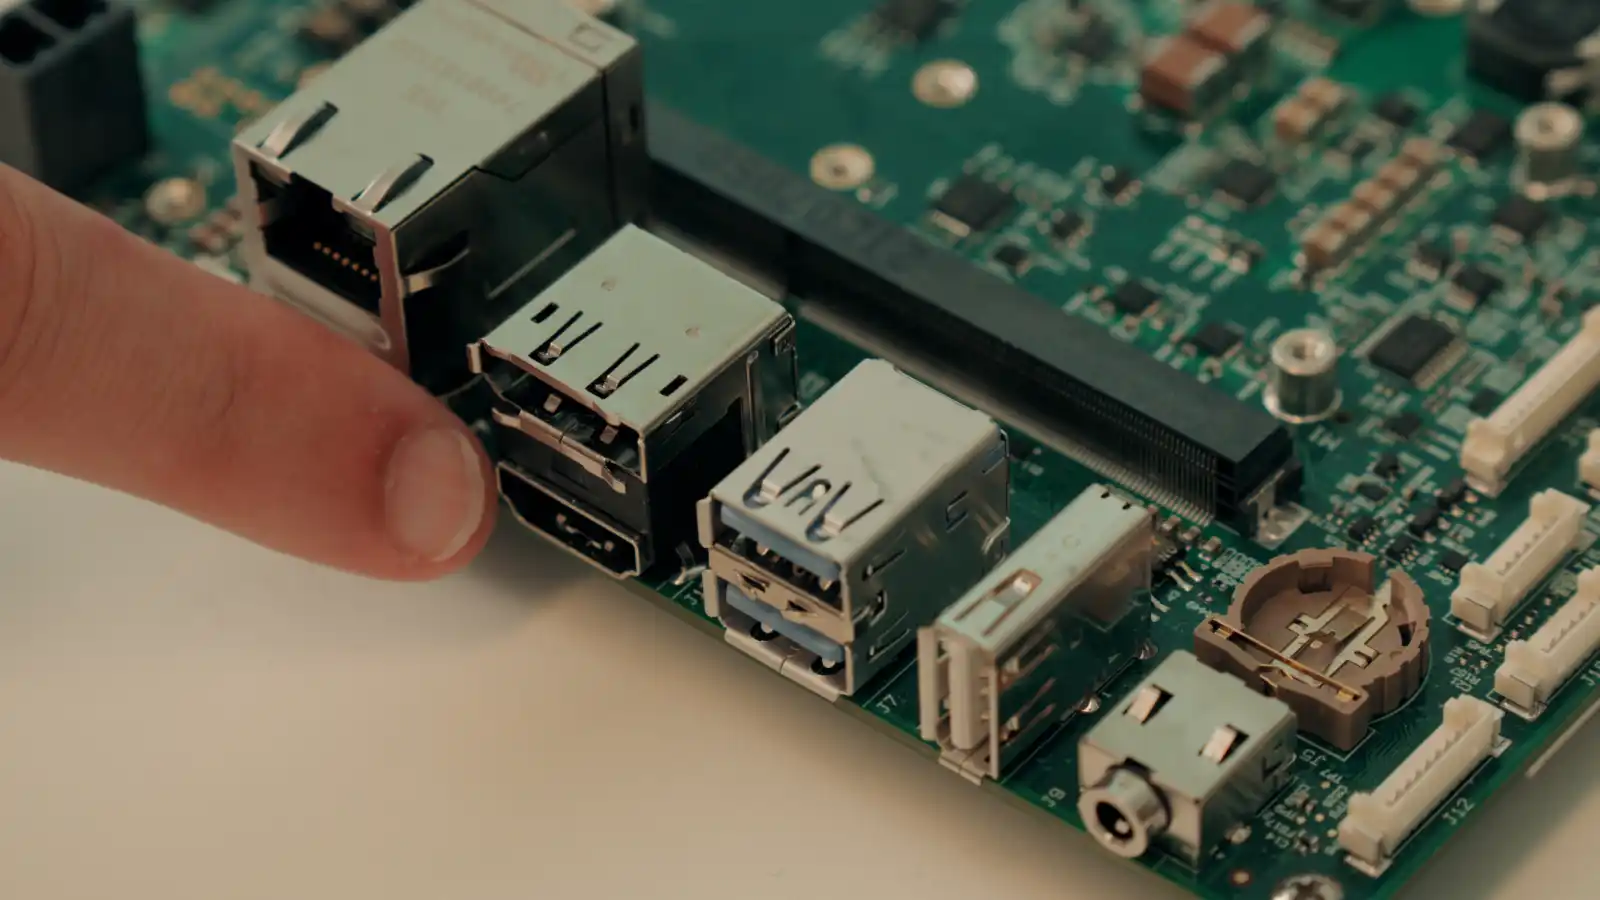
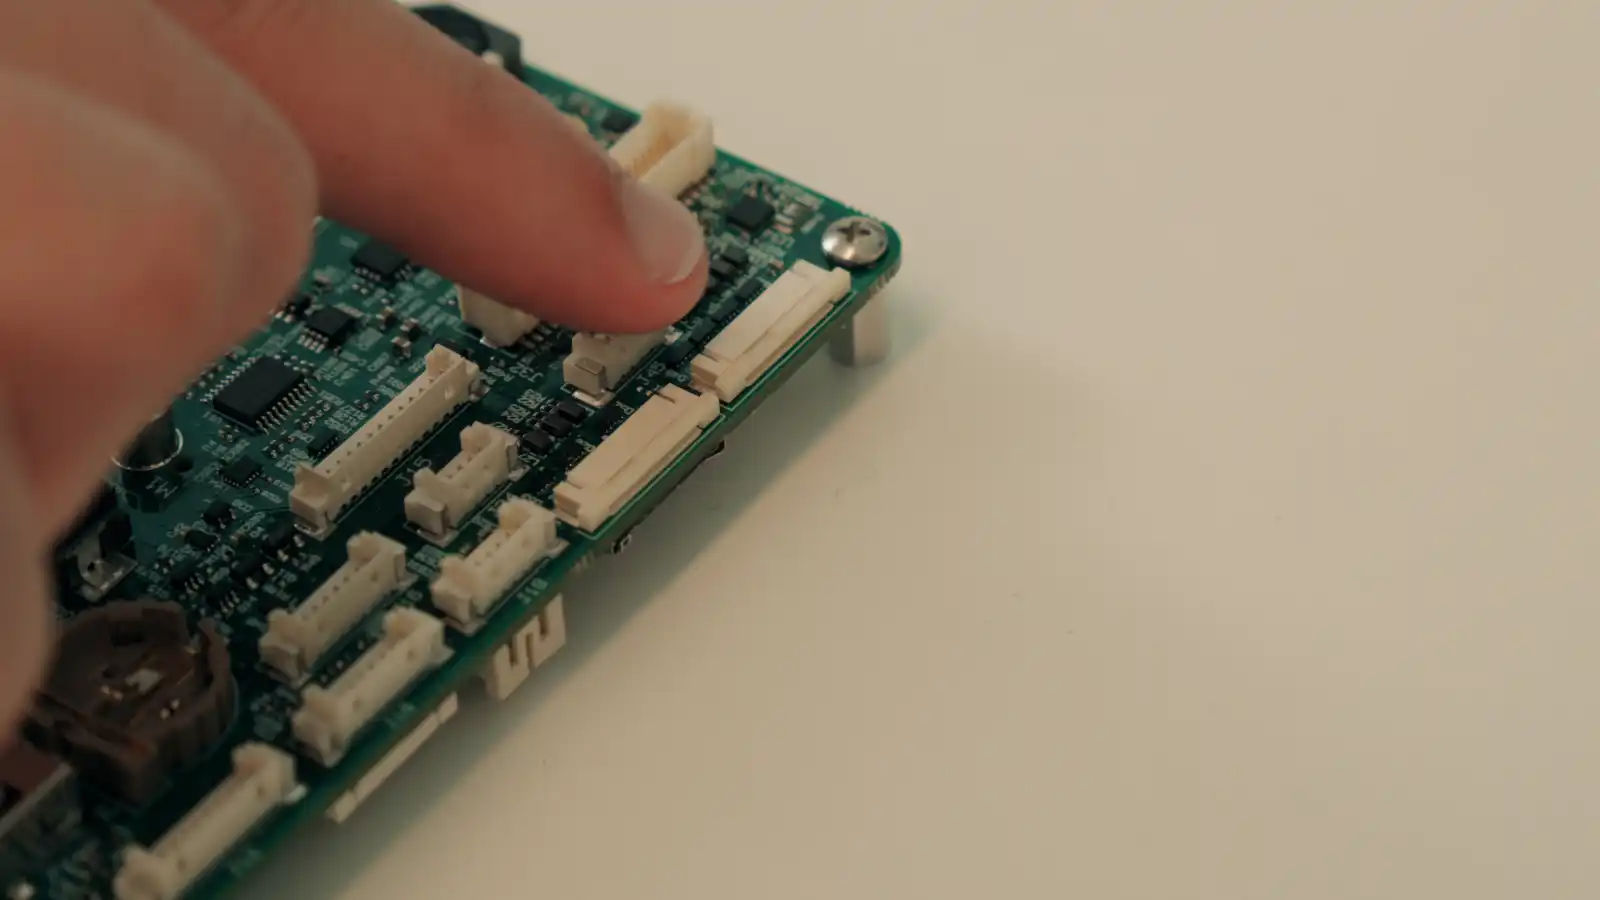
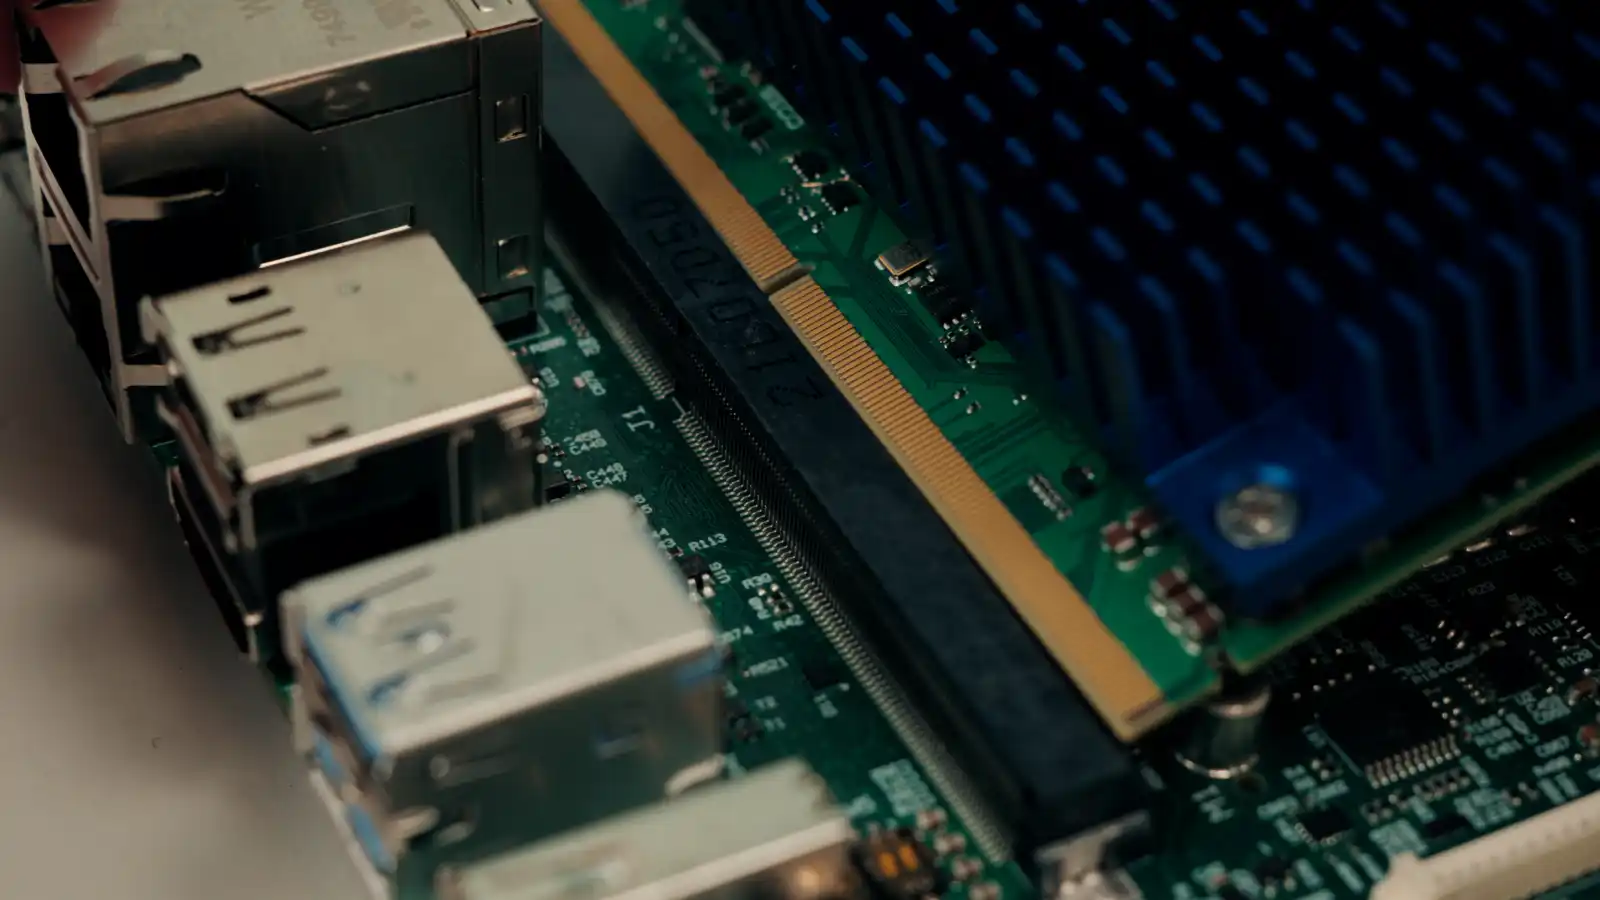
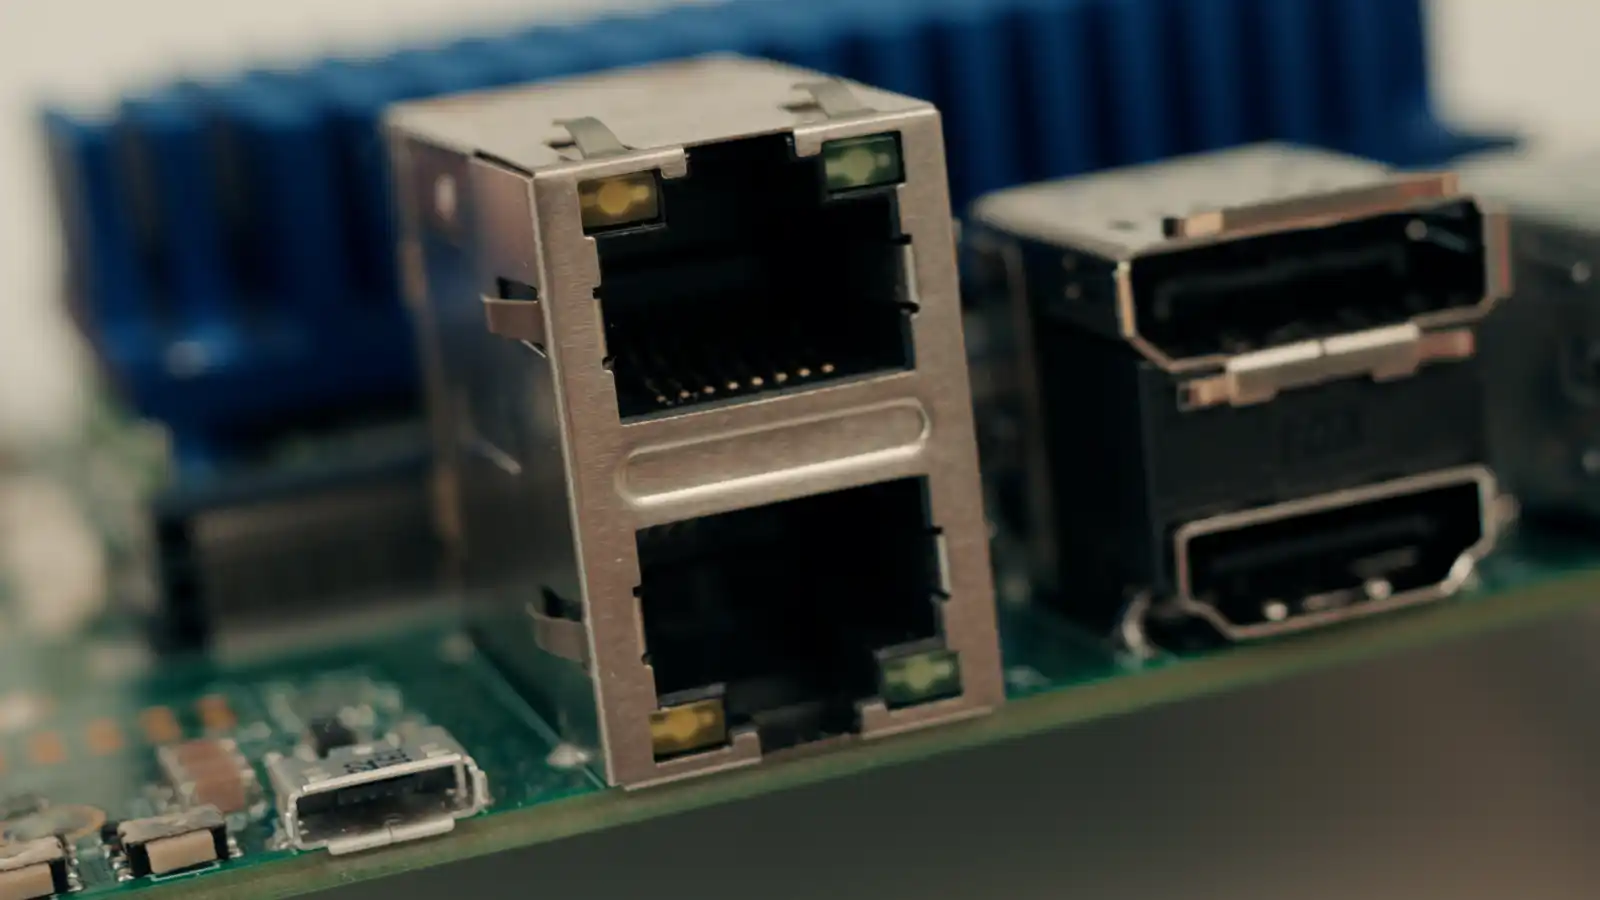
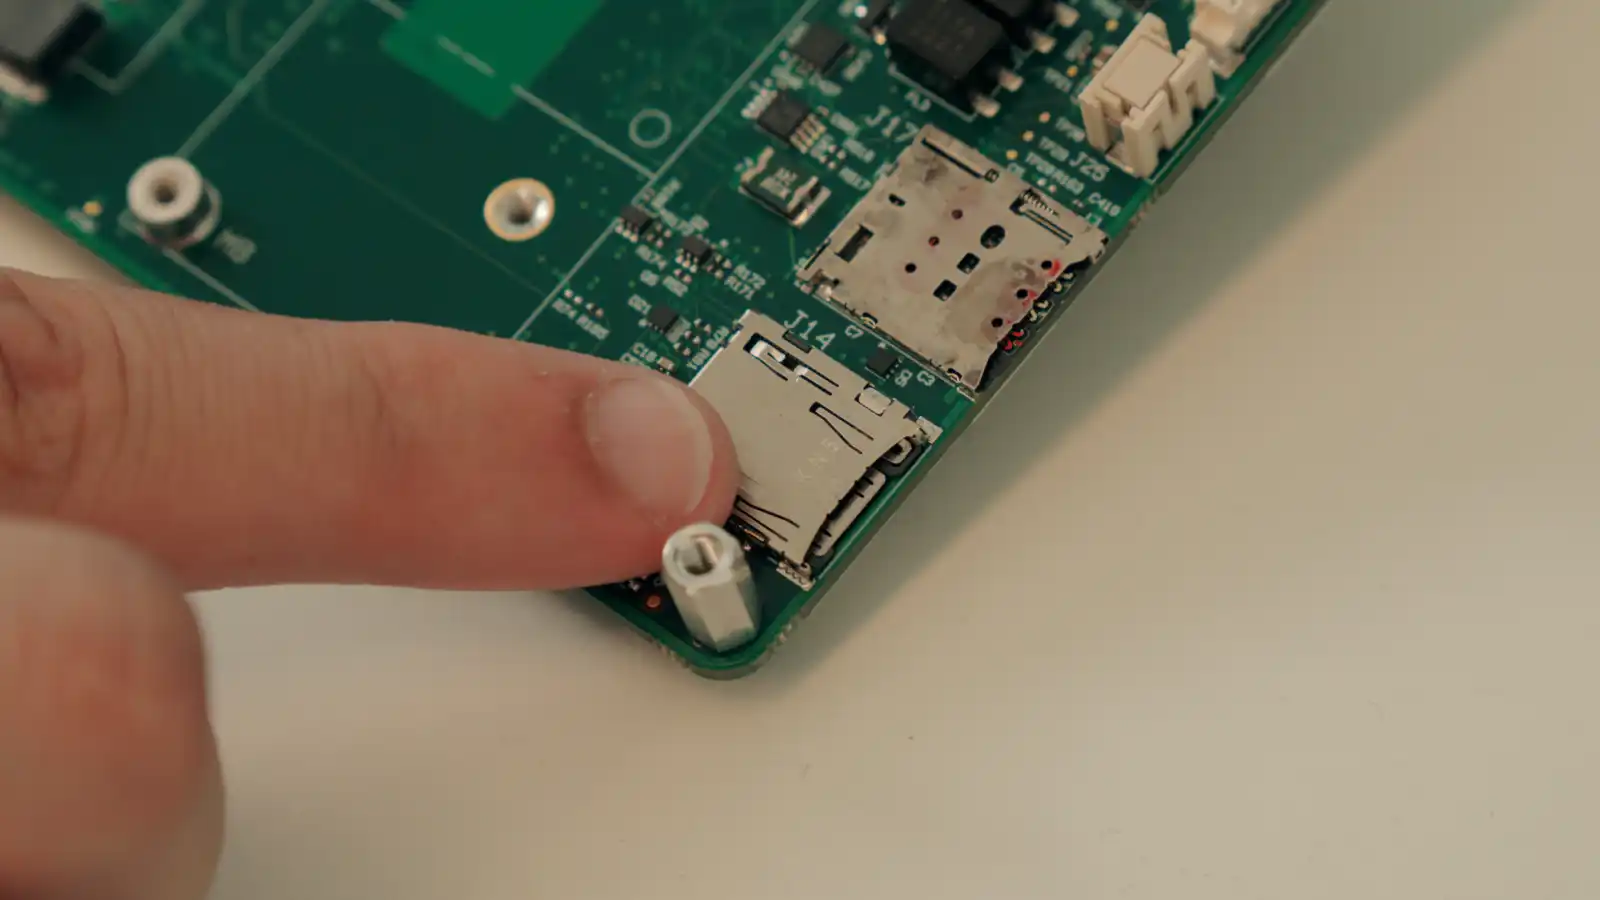
The CARRIER-SMARC-E71 is feature-rich for early development and exposes the full range of SOM interfaces, including:
- M.2 Key B for storage (SSD)
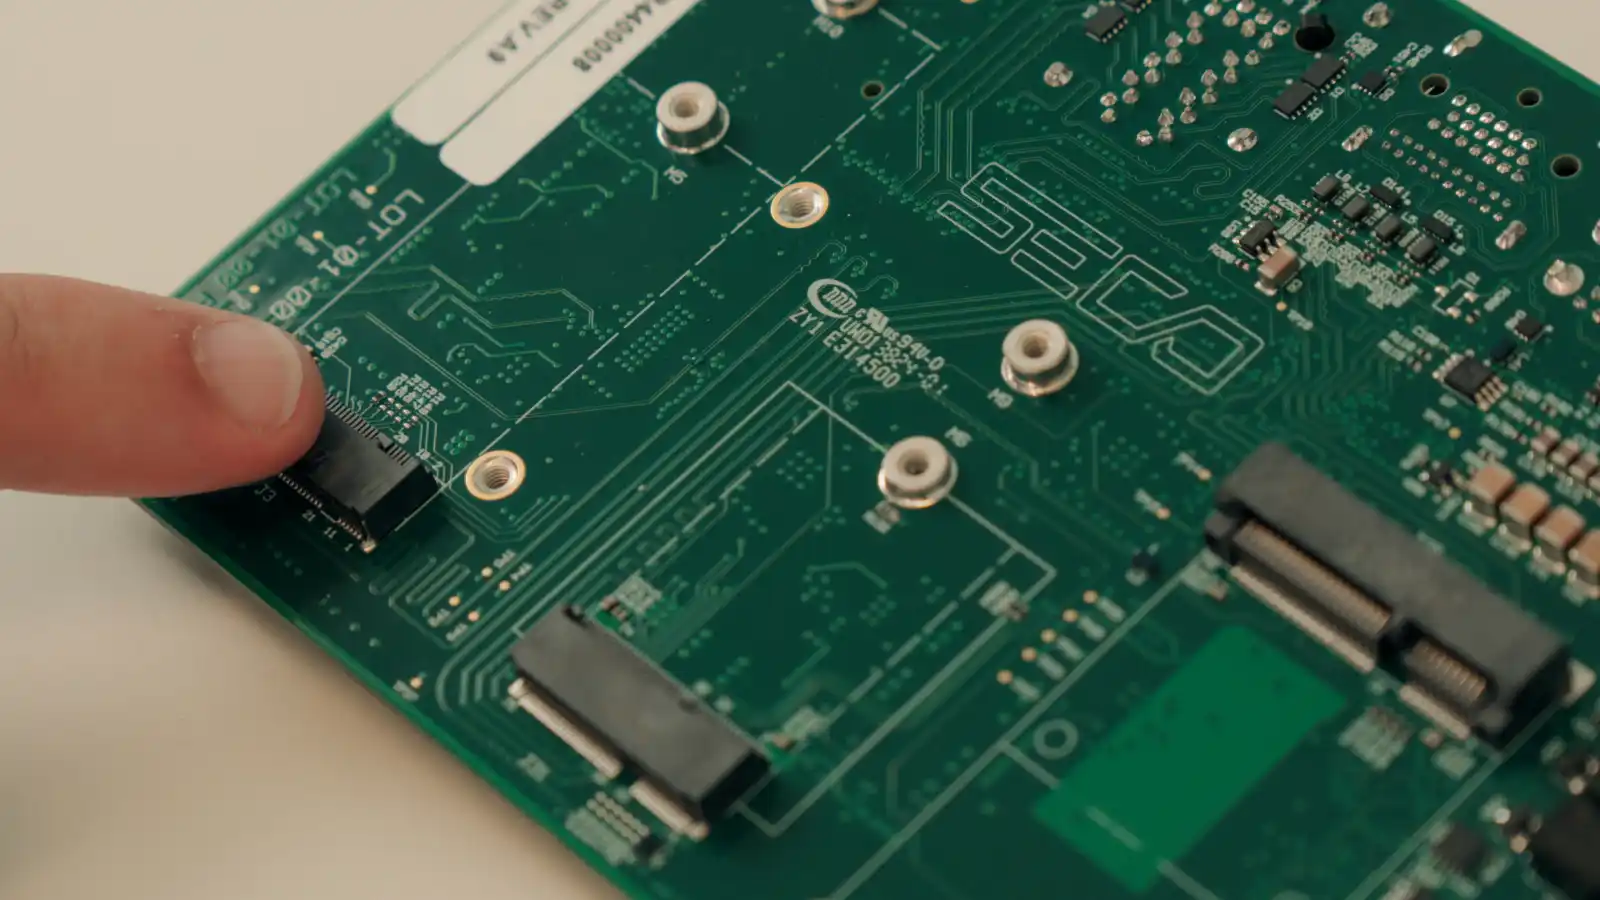
- M.2 Key E and mini PCIe for wireless and cellular connectivity
- Dual stacked RJ45 connectors for two independent Ethernet ports
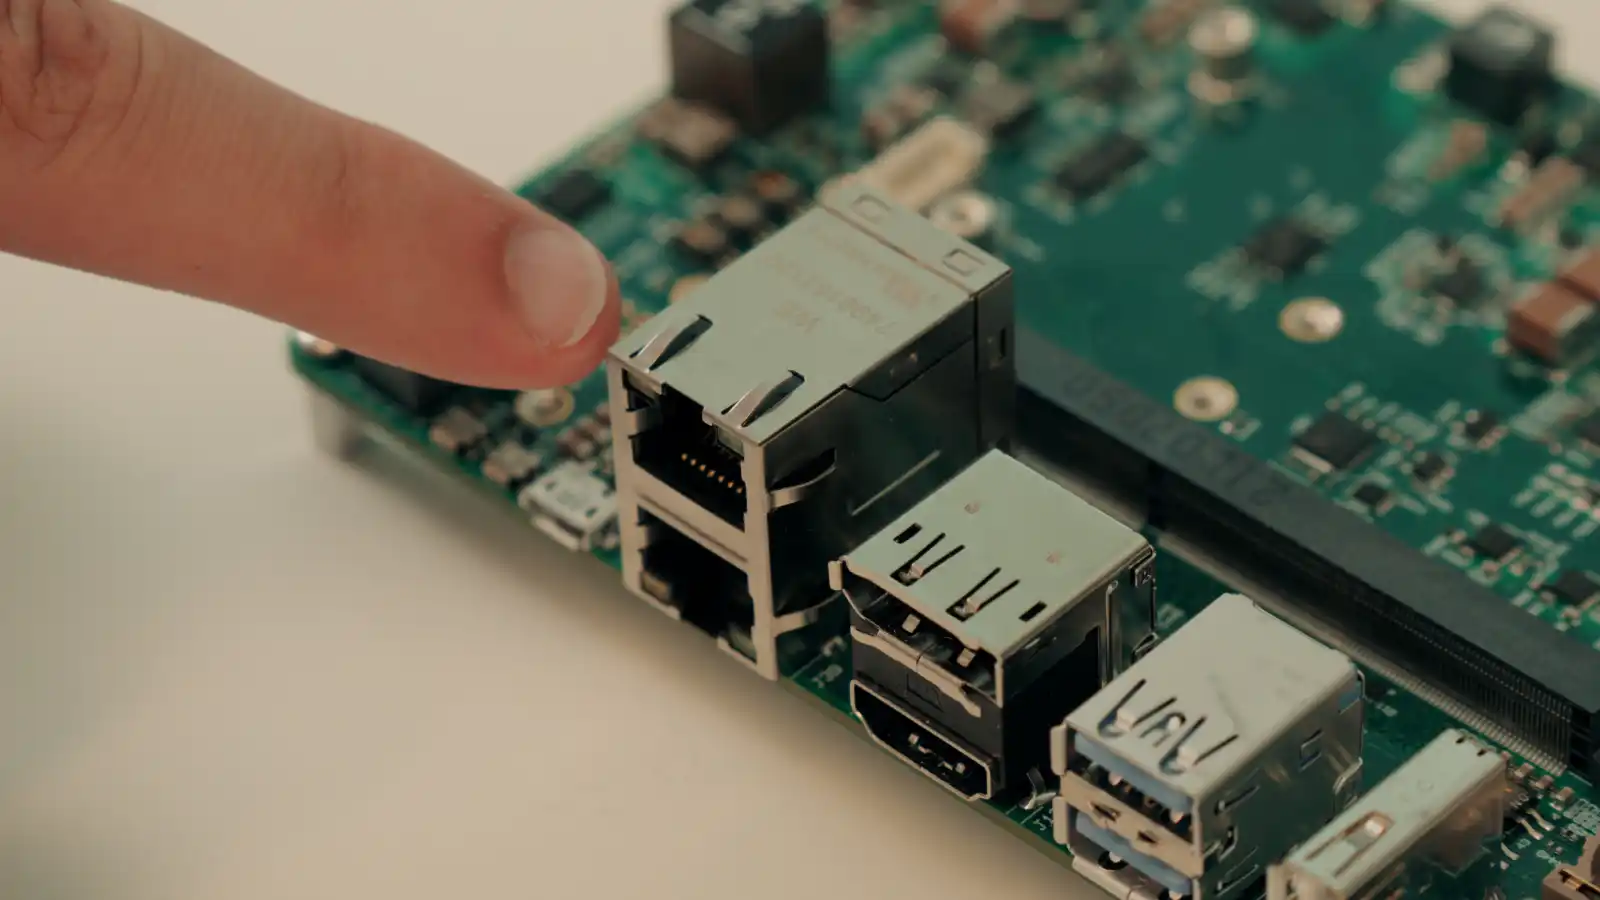
- HDMI and DisplayPort outputs
- LVDS or eDP internal display options
- CSI-2 camera inputs for vision applications
- USB host and USB OTG ports

- Audio with integrated codec
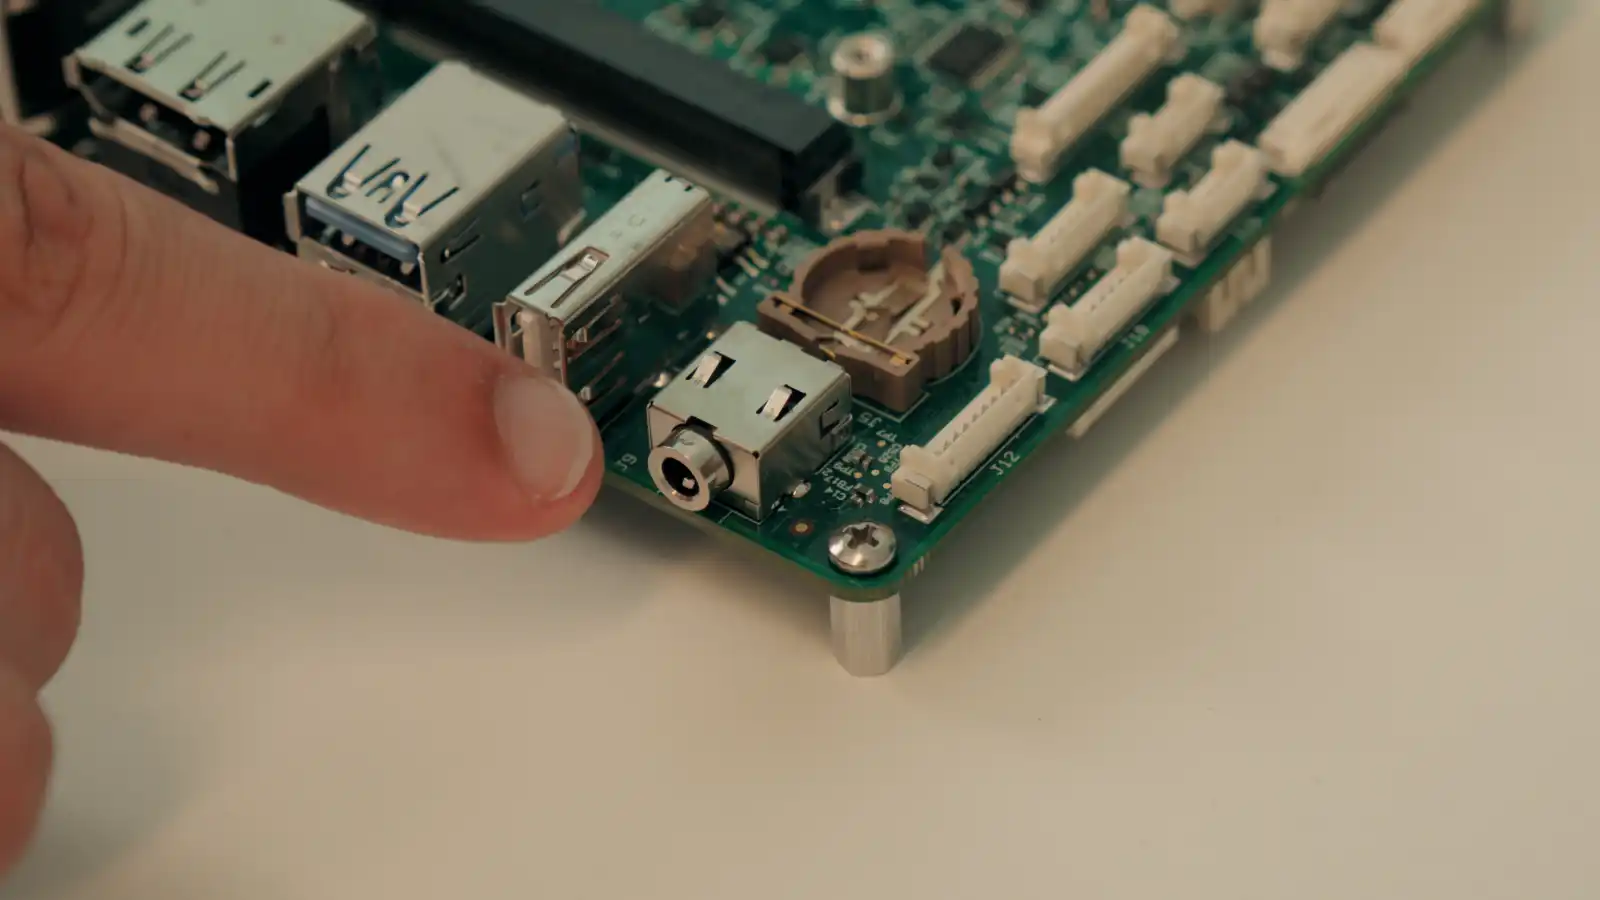
- GPIO expansion header
- Debug UART for system monitoring and troubleshooting
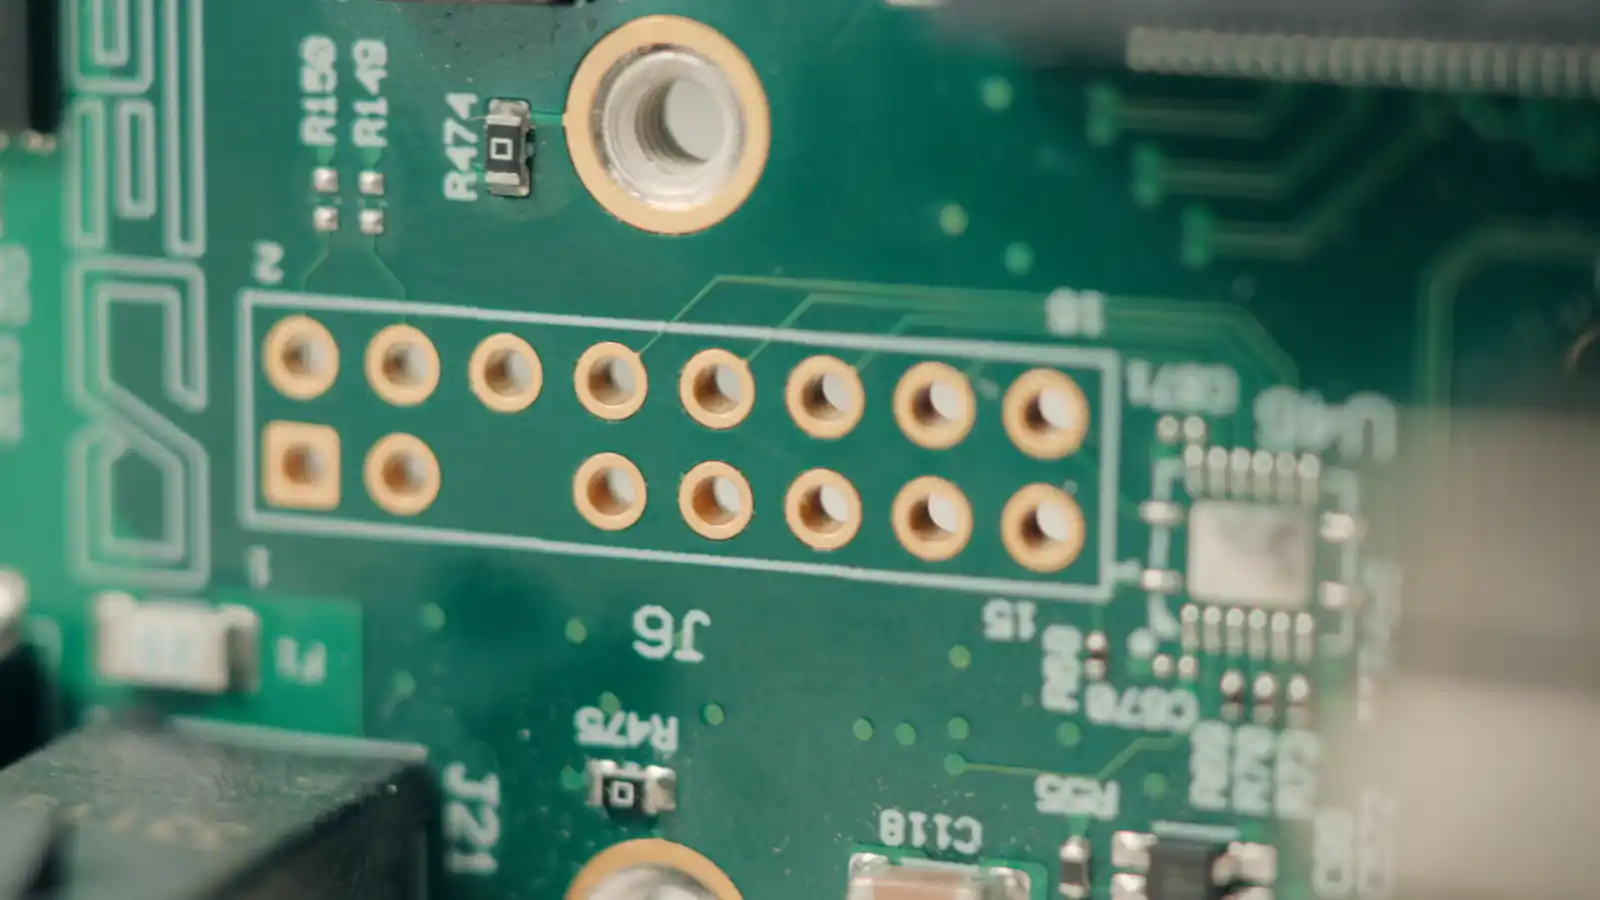
- Additional design touches to accelerate bring-up, such as boot mode selection switches and onboard control buttons
This setup enables developers to prototype rapidly, test real-world scenarios, and validate performance without the need for custom hardware design from the start.
For a detailed overview of the carrier board features, refer to its GET STARTED
Hardware Overview

- Form Factor: SMARC 2.1.1 standard
- CPU Options:
- Alder Lake-N (Intel N-Series, Core i3 N-class, Atom x7000E-Series)
- Amston Lake (rugged options, up to 8 cores with TSN/TCC, Atom x7000RE-Series)
- Twin Lake (next-generation, upgrade-ready)
- Graphics: Intel UHD Graphics (Xe) with support for 3x 4K displays
- Memory: Up to 16 GB LPDDR5 with In-Band ECC
- Networking: Up to 2x 2.5 GbE with Time-Sensitive Networking
- I/O (via carrier):
- M.2 Key B and E, mini PCIe, MicroSD
- HDMI, DisplayPort, LVDS/eDP
- USB 3.2, USB 2.0, OTG
- MIPI CSI-2 camera inputs
- Audio codec, UART, GPIO
First Boot & OS Setup
Getting your SOM-SMARC module up and running is simple. Follow these steps:
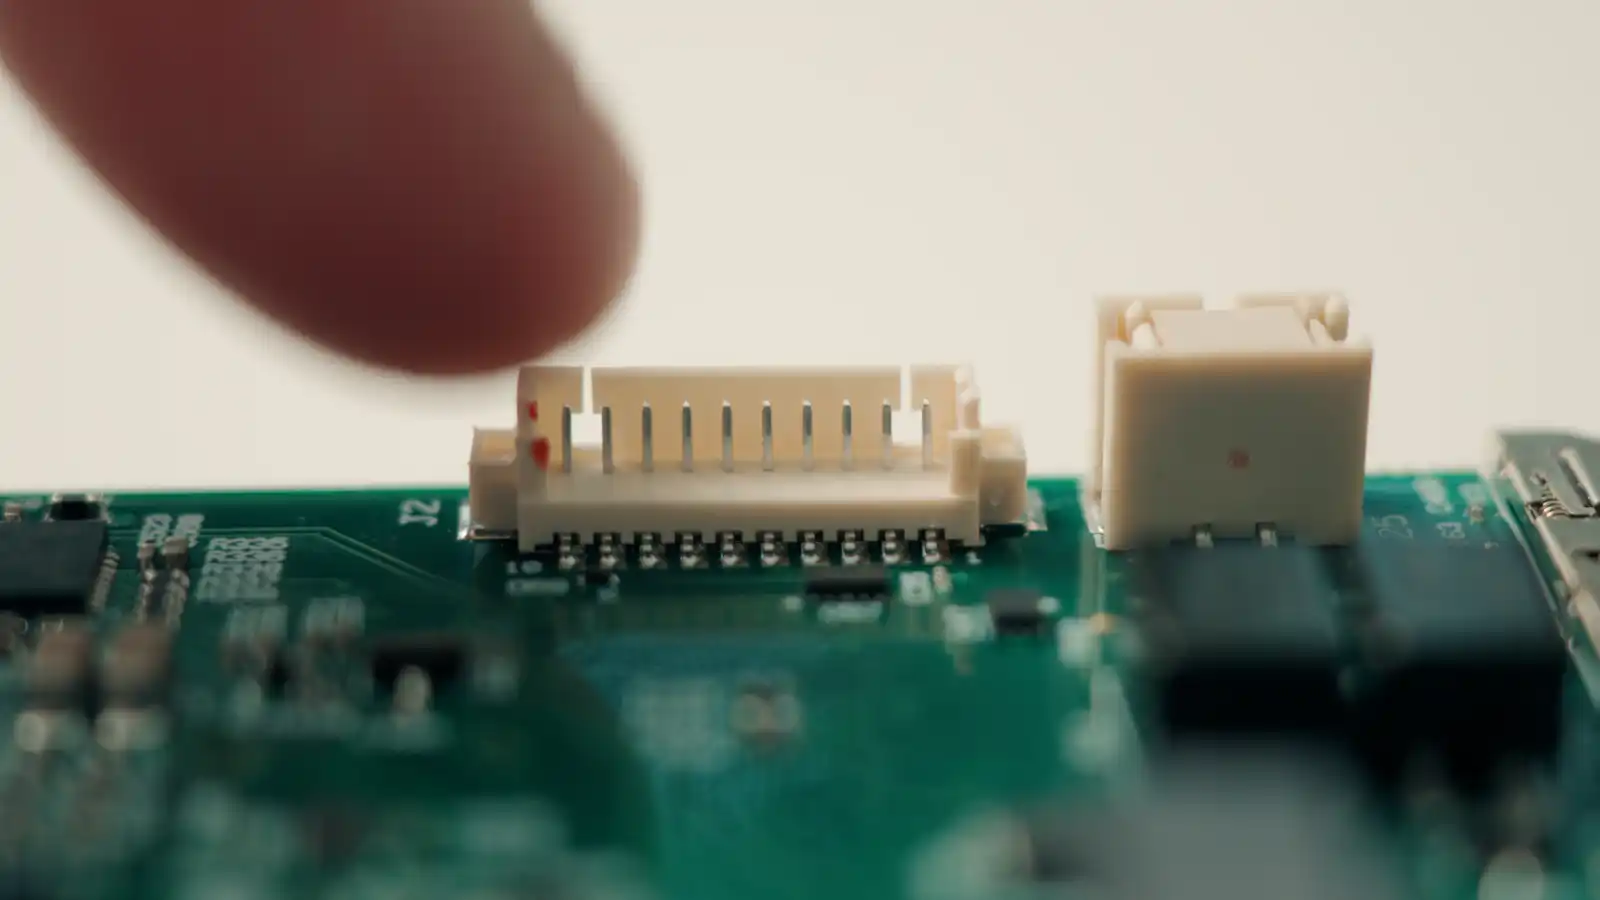
- Insert the SOM
Place the SOM-SMARC-ADL-N / ASL / TWL module carefully into the SMARC socket of the CARRIER-SMARC-E71 carrier board. Make sure the connector is properly aligned and secured.
-
Connect Power and Peripherals
a. Attach a DC power supply (9–24 V) to the CARRIER-SMARC-E71 carrier.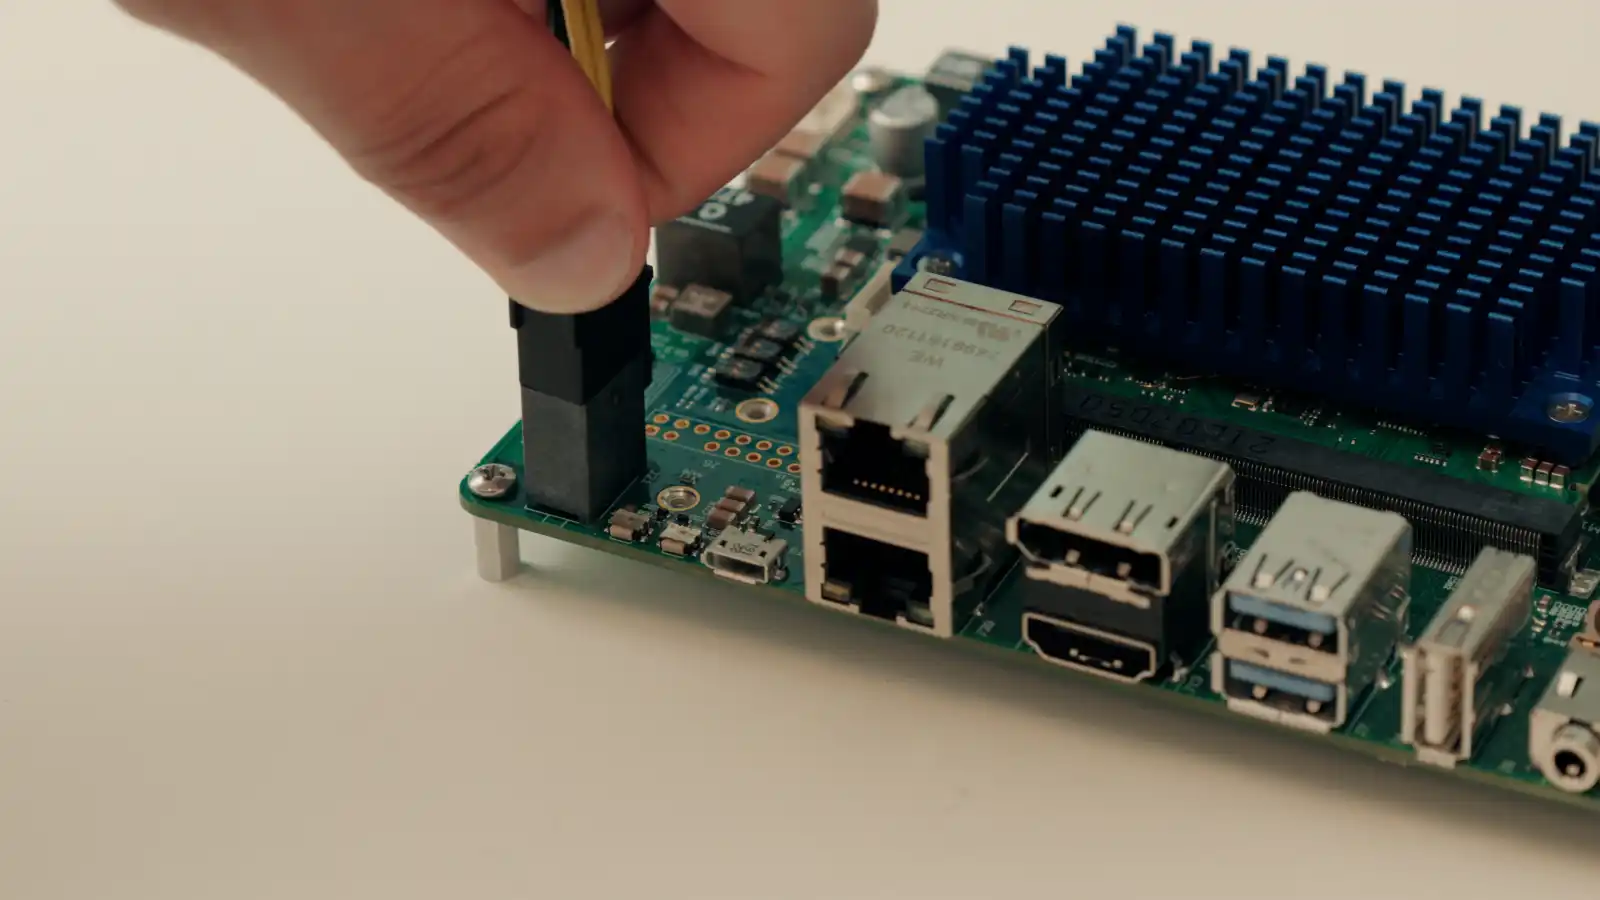
b. Connect an HDMI or DisplayPort monitor.
c. Plug in a USB keyboard and mouse.
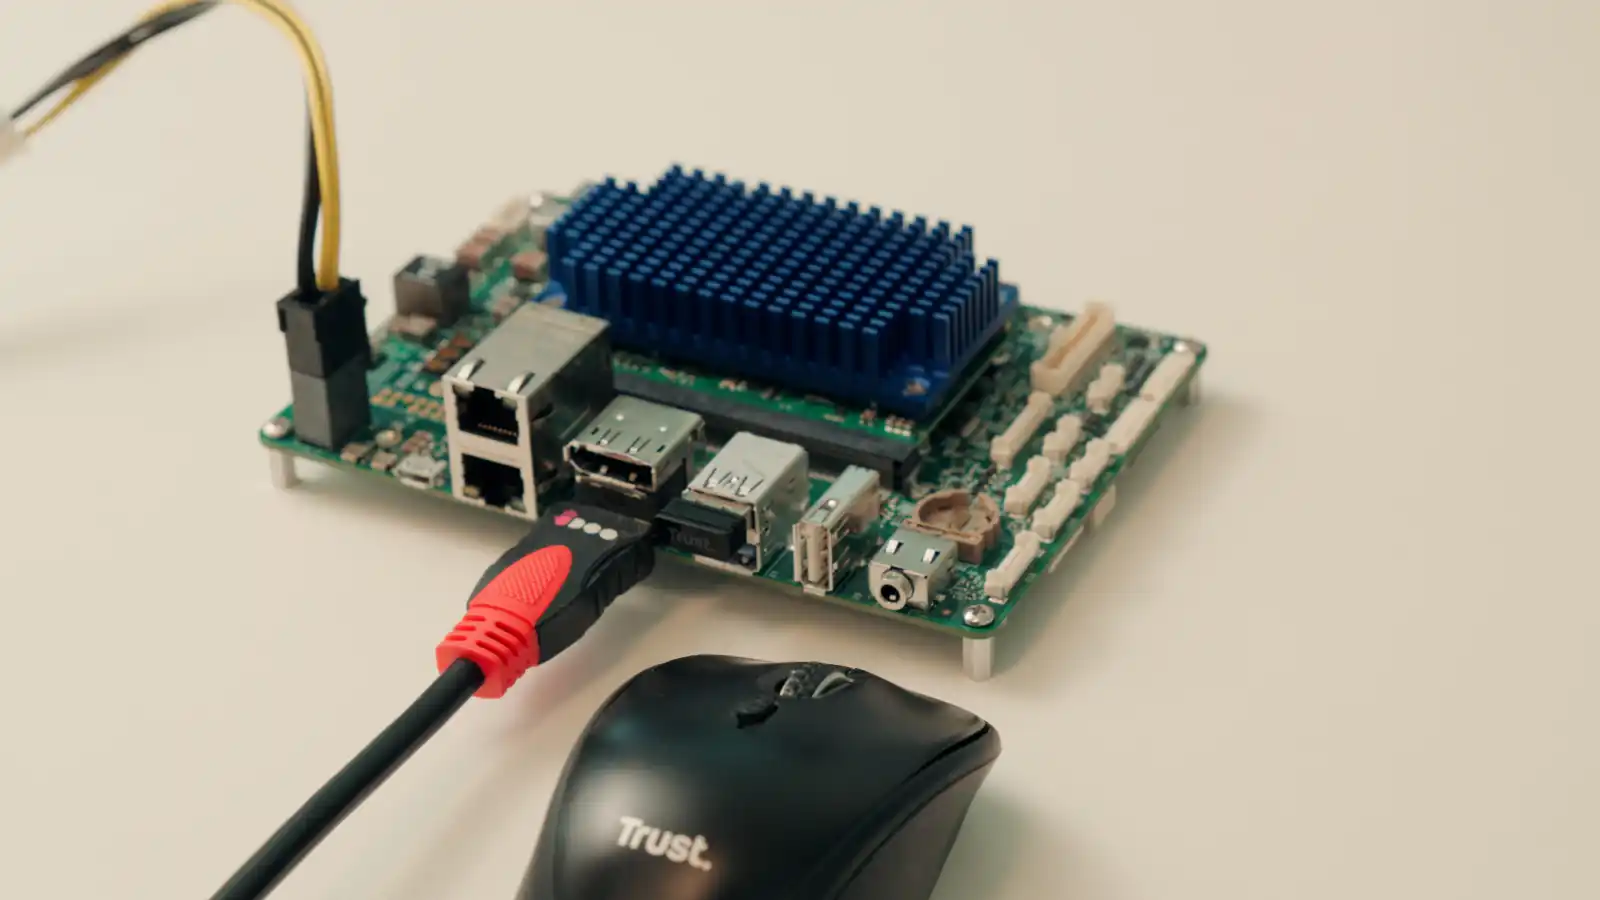
d. Connect an Ethernet cable for networking, or insert a Wi-Fi/Cellular module if required.
-
Select Boot Source
The SOM-SMARC modules support multiple boot devices:
a. eMMC onboard storage
b. SSD via M.2 Key B
c. MicroSD card with preloaded OS image
d. USB drive (for recovery or installation)
Use the boot mode selection switch on the carrier to configure your desired source. -
First Power-On
Press the power button on the carrier board. The system will initialize according to the boot configuration. Status LEDs will indicate power and activity. -
Operating System Options
a. Clea OS (recommended): a Yocto-based Linux distribution maintained by SECO, optimized for embedded and IoT workloads. It provides long-term support, security updates, and seamless integration with Clea for device management, OTA updates (via Edgehog), and AI deployment.
b. Other embedded Linux distributions may also be used.
c. Windows IoT is supported for selected configurations.
If your module does not come with an OS preinstalled, download the OS image from developer.seco.com, write it to a MicroSD or USB drive, insert it, and boot.
- Recovery and Reflashing
If you need to restore the system, use the provided recovery MicroSD:
a. Insert the card into the MicroSD slot.
b. Select MicroSD as boot source via the switch.
c. Power on the system and follow on-screen instructions to reflash the OS.
Power and Thermal Considerations
- Supply voltage: 9–24 VDC (depending on carrier).
- Cooling: use the provided heatsink or design active cooling for high-performance workloads.
- For industrial-grade deployments, select SOM variants certified for -40 °C to +85 °C.
Next Steps & Resources
- Full documentation and manuals are available on the Developer Center HERE
- For software guides and Clea OS instructions, refer to the CleaOS documentation.
- For full guides on device management, refer to Clea Device Manager User Guide.
- For full documentation on how to connect a device to Clea, refer to Clea device connection guide.
- A QR code inside the kit (if purchased as DEV-KIT-SMARC) links to additional resources and quick start videos.
Support
Need help? Visit www.seco.com or contact SECO Technical Support for drivers, software tools, and integration support.