SOM-SMARC-MX8M-Plus
Introduction
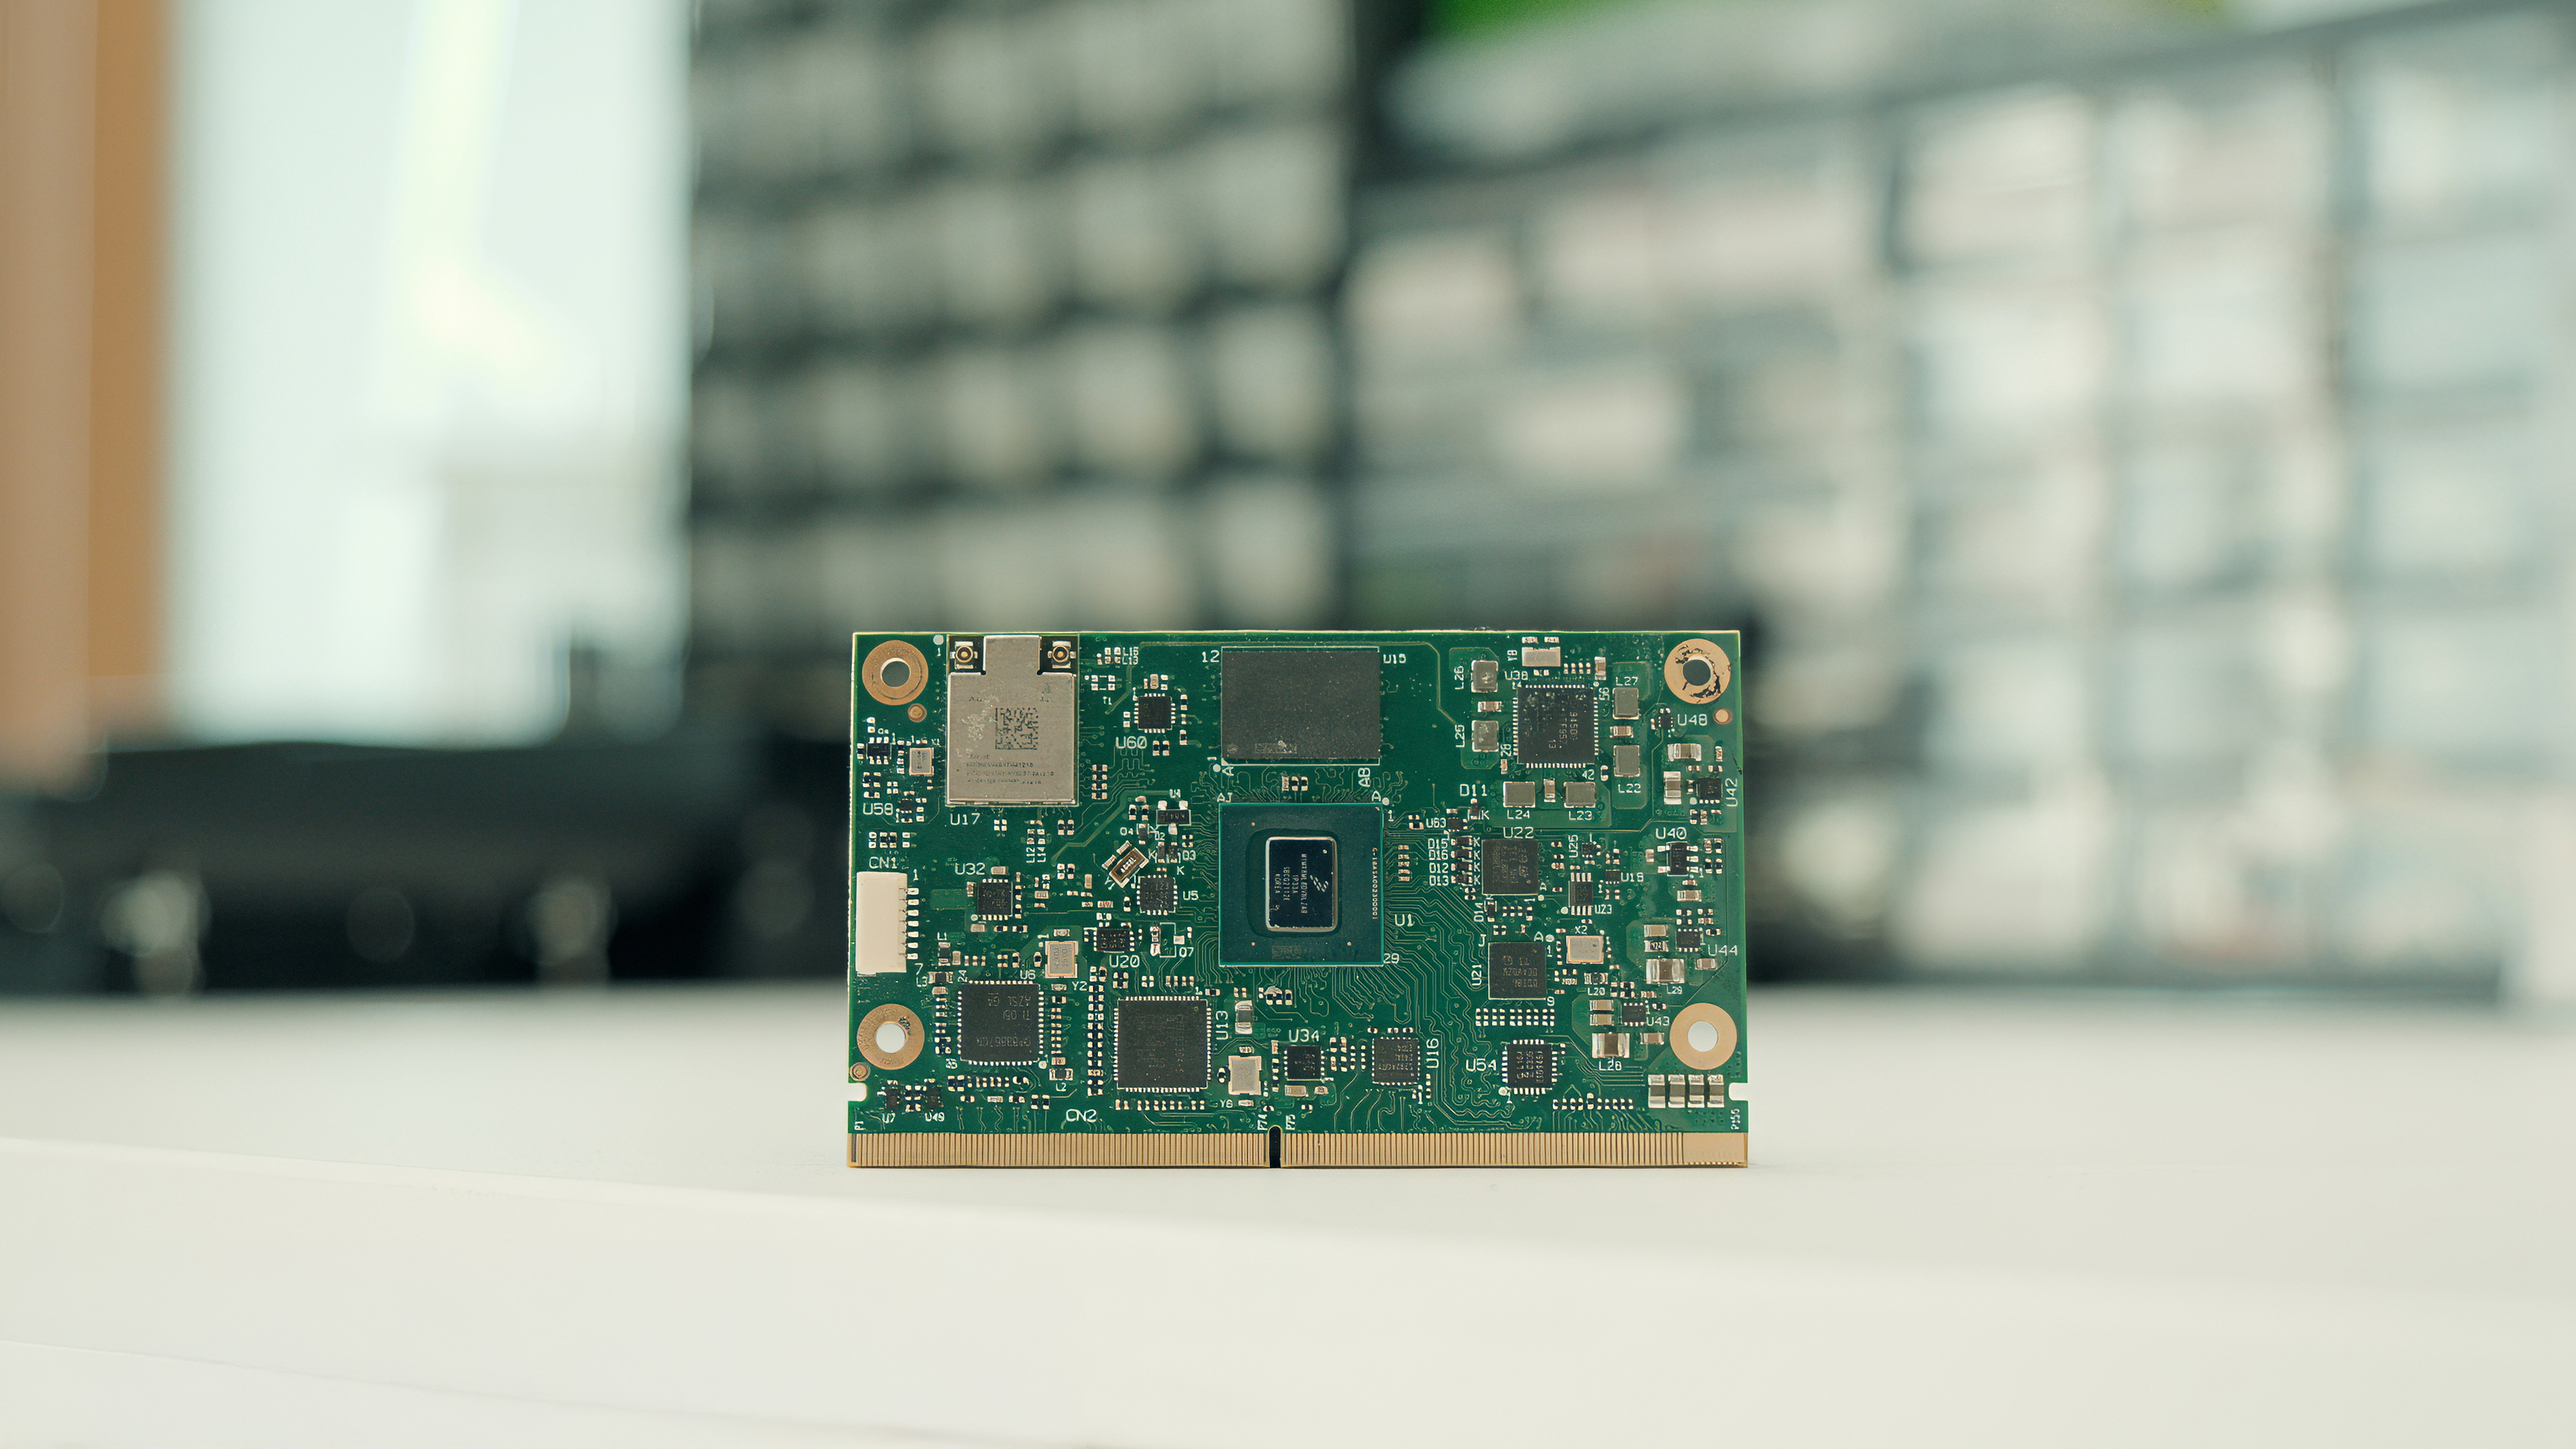
Welcome to the quick start guide for SECO’s SOM-SMARC-MX8M-Plus, a compact and powerful SMARC 2.1.1 module built on a 50 x 82 mm footprint and powered by NXP’s i.MX 8M Plus processors. These compact SMARC 2.1.1 compliant modules provide the ideal balance between performance and power efficiency for industrial edge applications.
You can select among different processor versions — Quad, Dual, or Quad Lite — depending on your application needs. With up to 8 GB LPDDR4 memory and 128 GB of storage, the module provides flexibility for AI vision analytics, multimedia systems, and embedded control. It combines quad-core performance with a built-in Neural Processing Unit (up to 2.3 TOPS), making it a perfect choice for industrial AI, multimedia, edge control, and IoT.
What's in the Box
Each SOM-SMARC-MX8M-Plus package includes:
- 1x SOM-SMARC-MX8M-Plus module (Quad, Dual, or Quad Lite version)
- Technical documentation
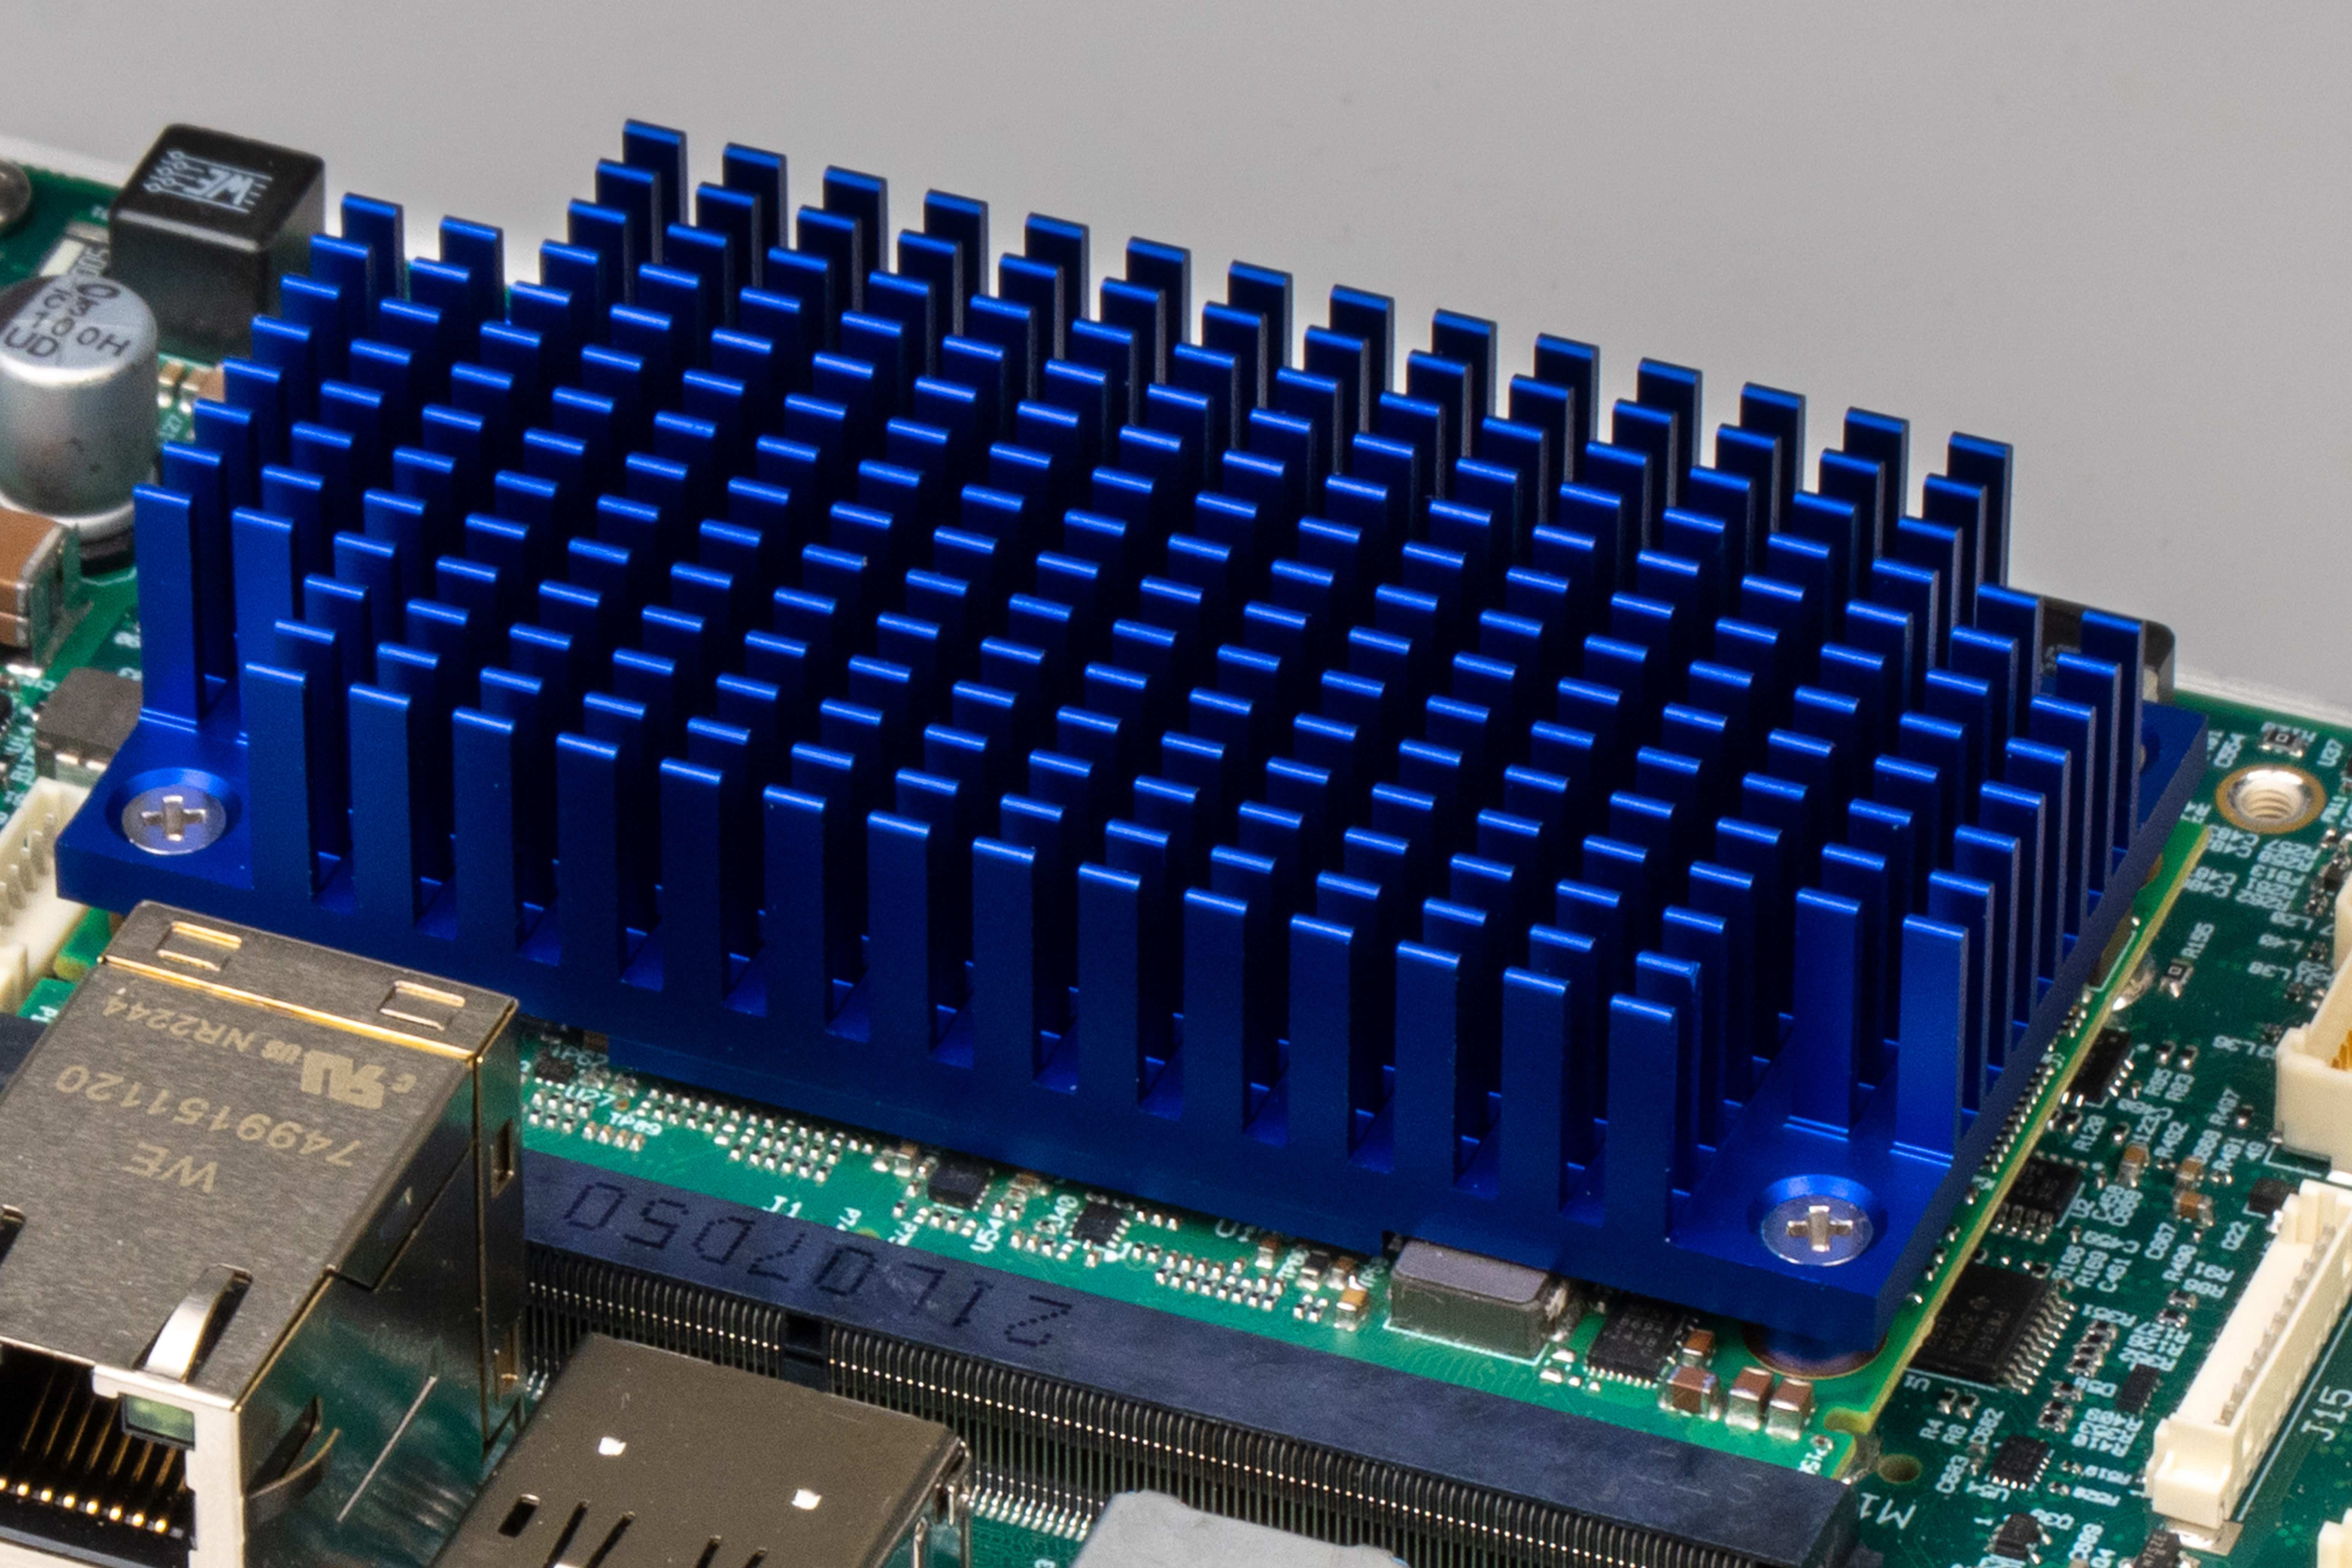
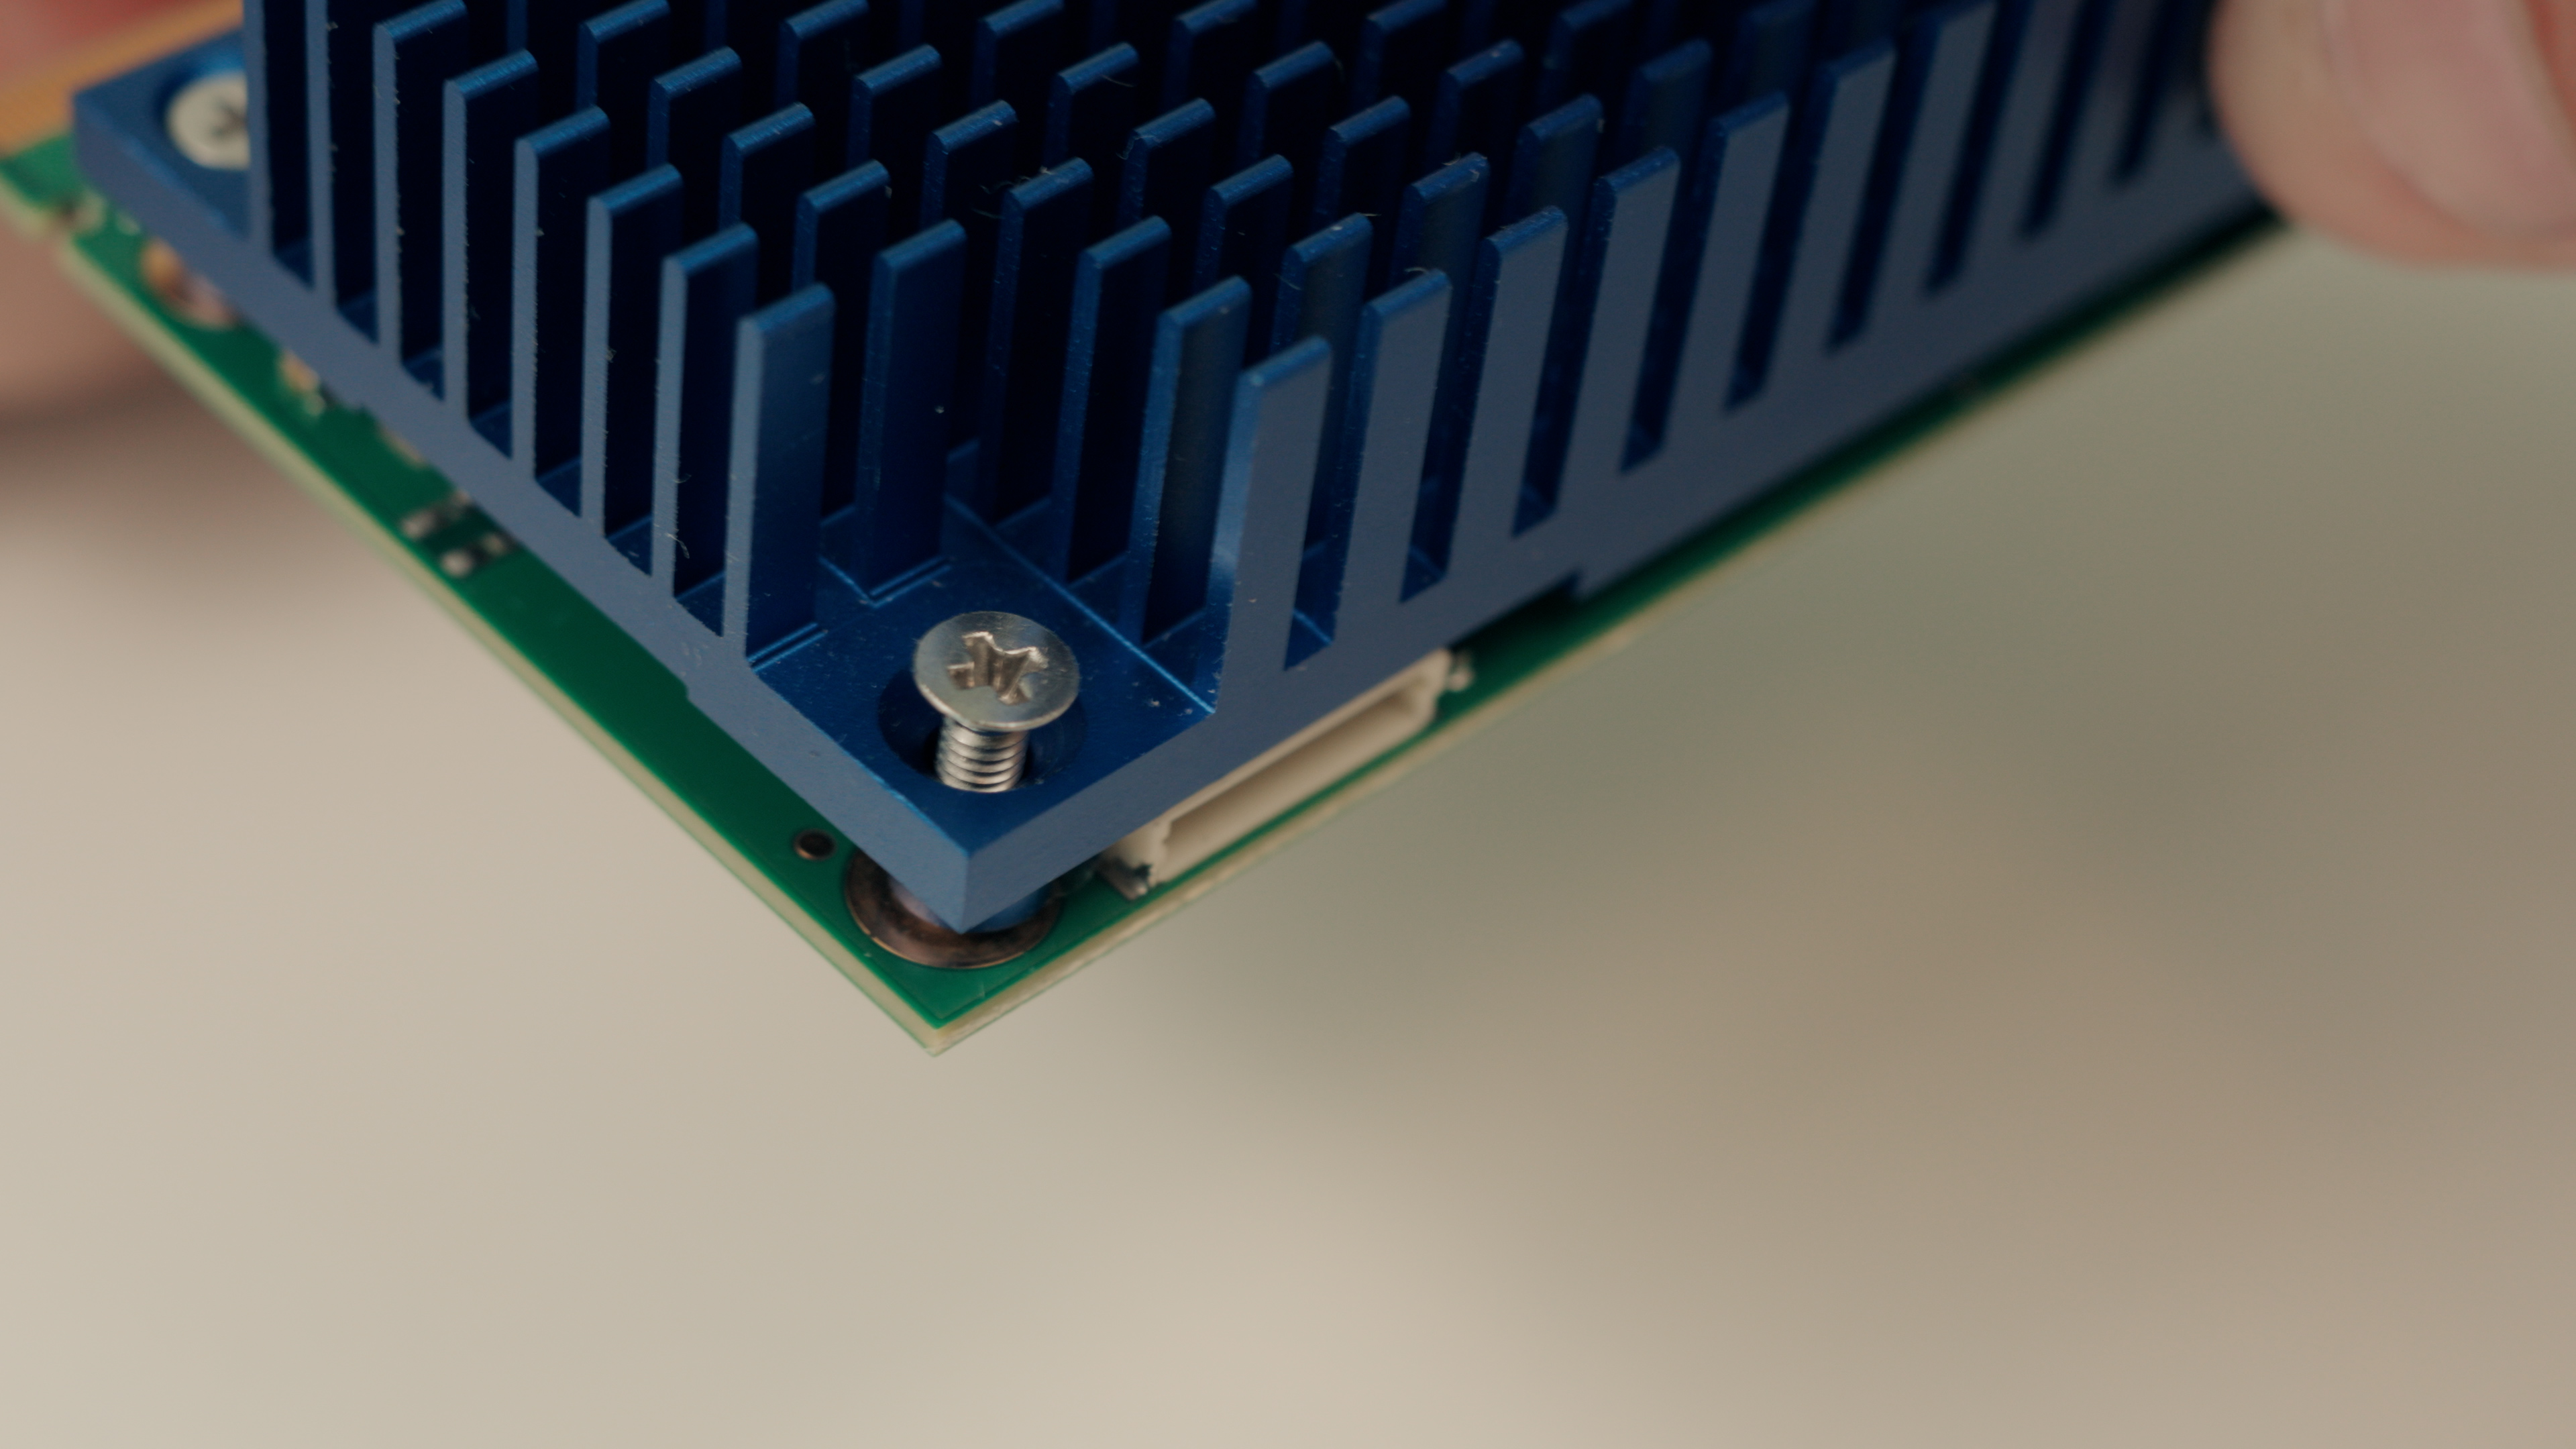
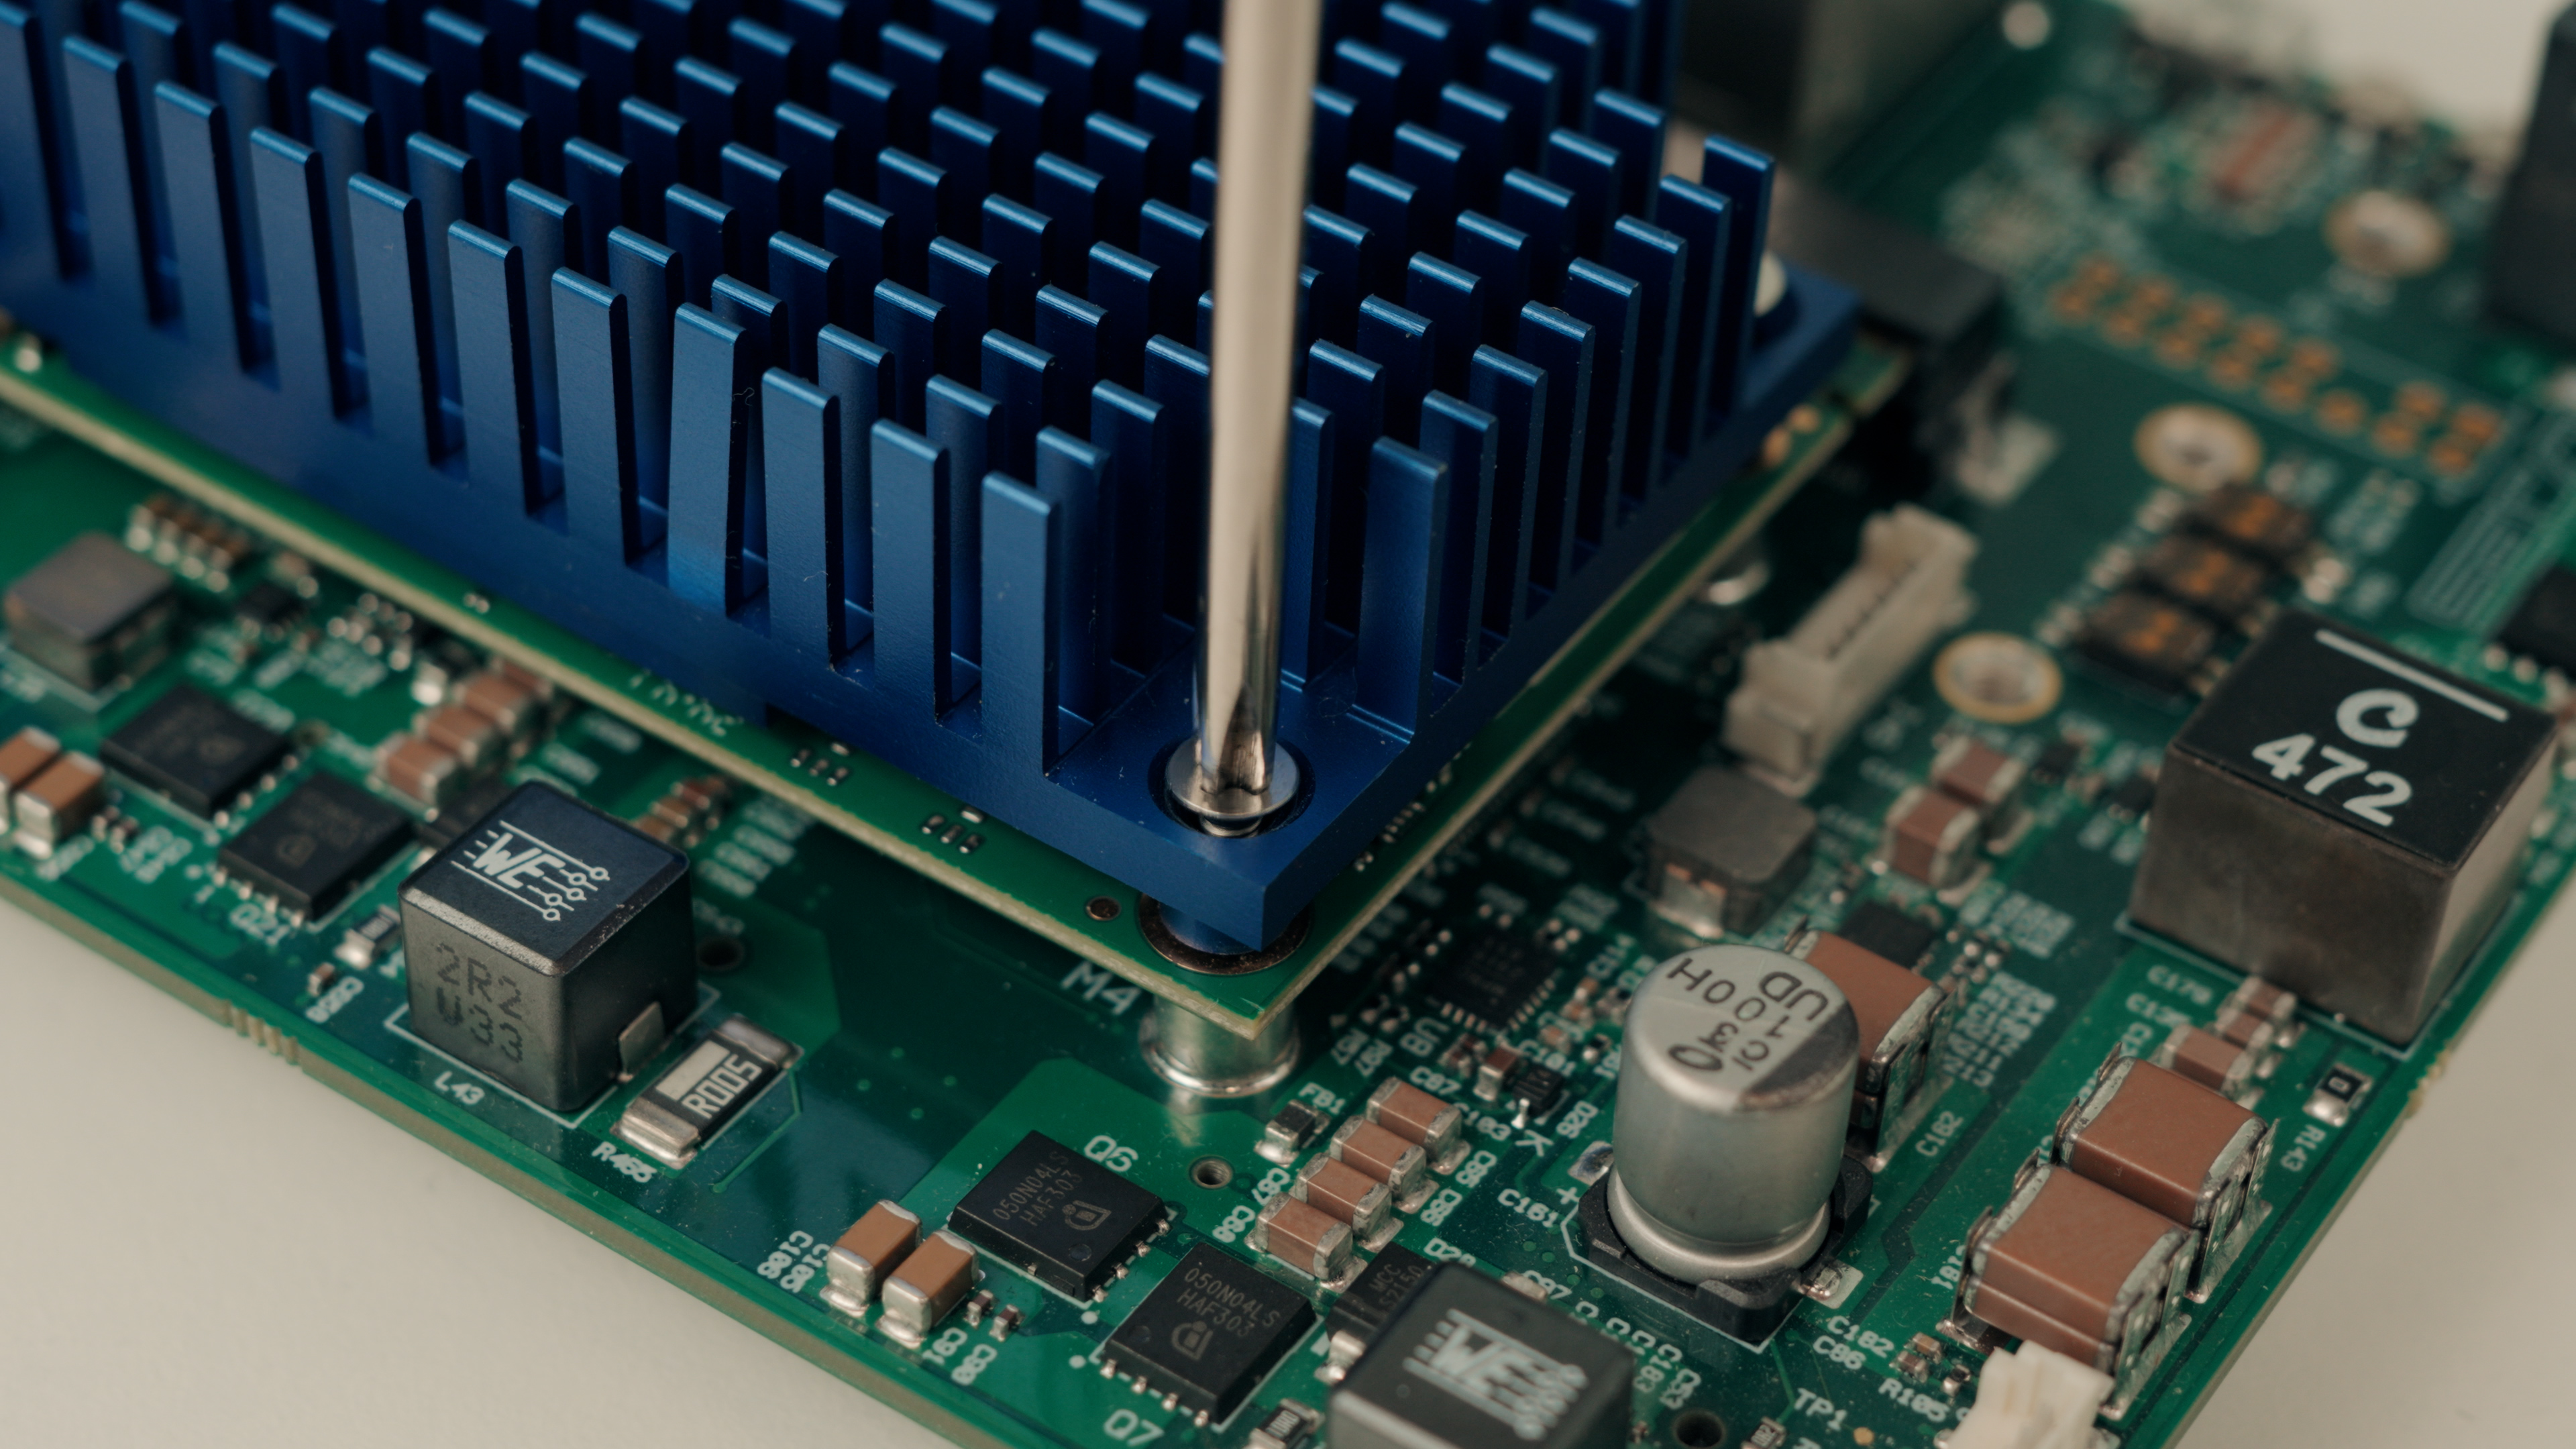
- Passive heatsink or thermal solution (if included)
No carrier board is included. To prototype or evaluate the module, refer to Using a carrier board – CARRIER-SMARC-E71.
Before You Start
Requirements
To integrate and test your SOM-SMARC-MX8M-Plus, you’ll need:
- A compatible SMARC 2.1.1 carrier board (e.g. CARRIER-SMARC-E71 Carrier Board in the DEV-KIT-SMARC)
- Power supply, HDMI/DisplayPort display, and USB keyboard/mouse
- Boot media (eMMC, SSD, or MicroSD) with the OS image
- Ethernet or Wi-Fi/Cellular connection if required
Safety & Handling
- Always power off the system before inserting or removing the module.
- Observe ESD precautions.
- Ensure adequate cooling for sustained workloads.
Using a carrier board – CARRIER-SMARC-E71
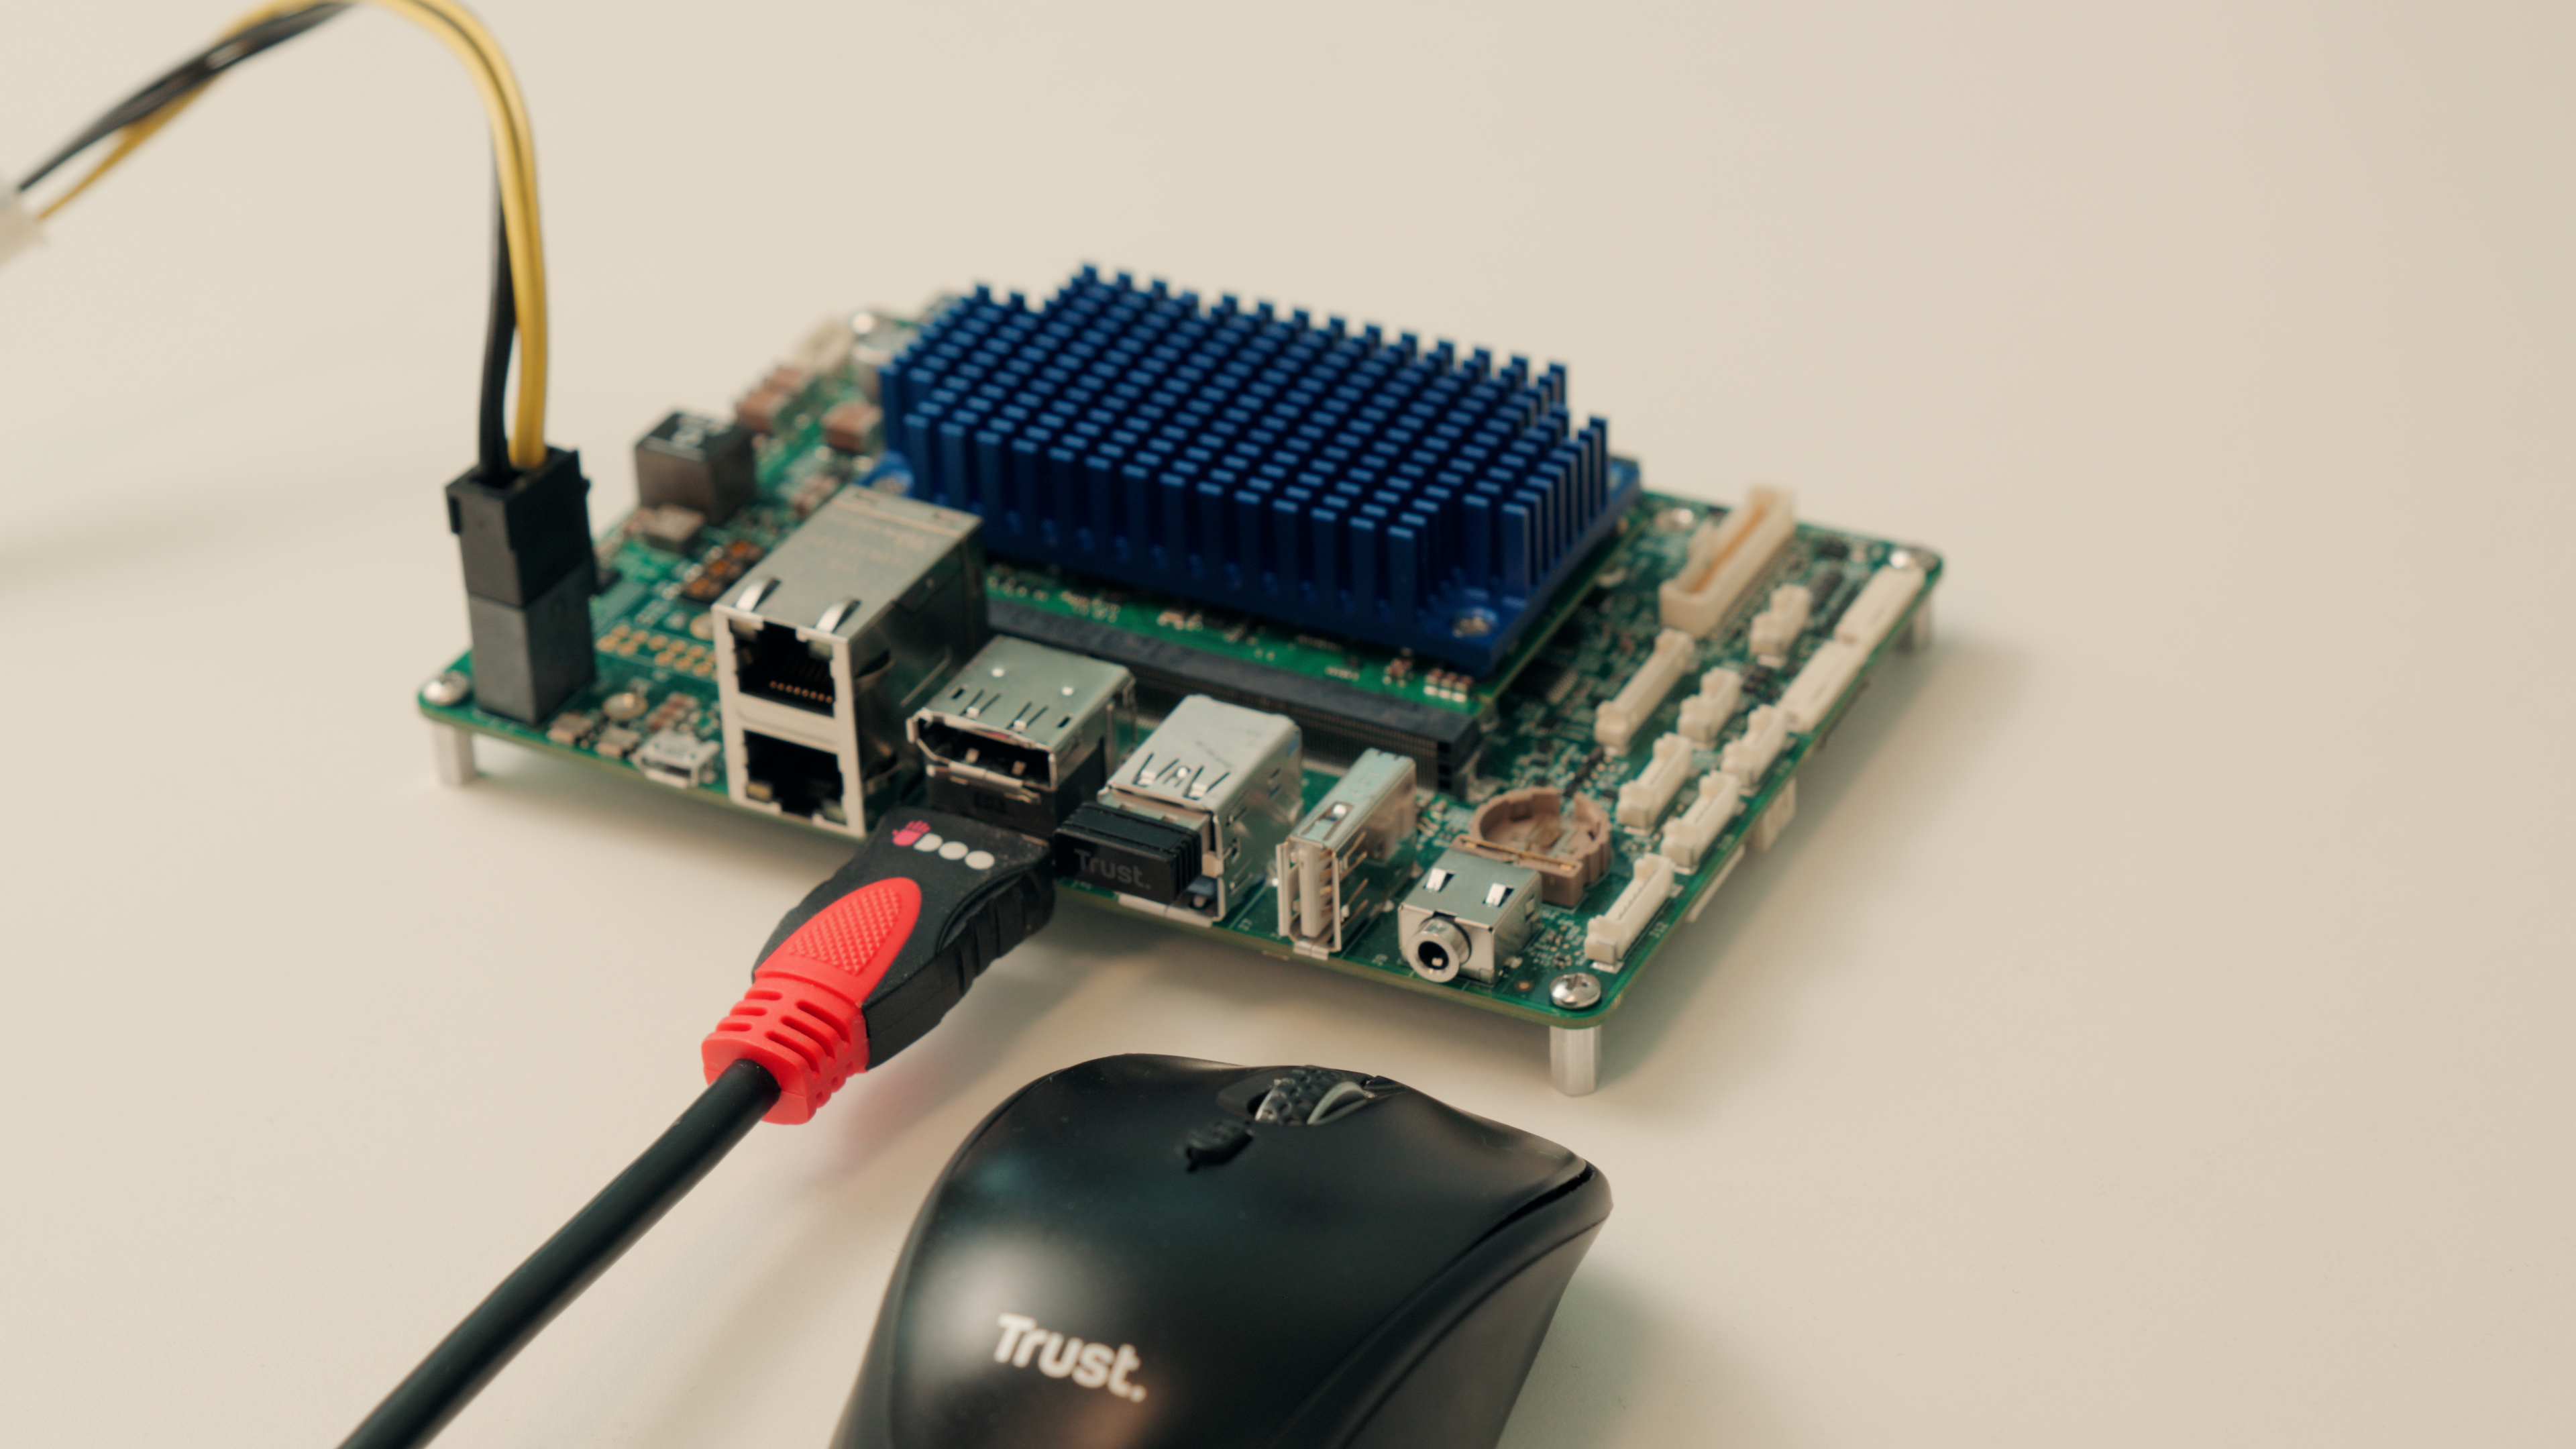
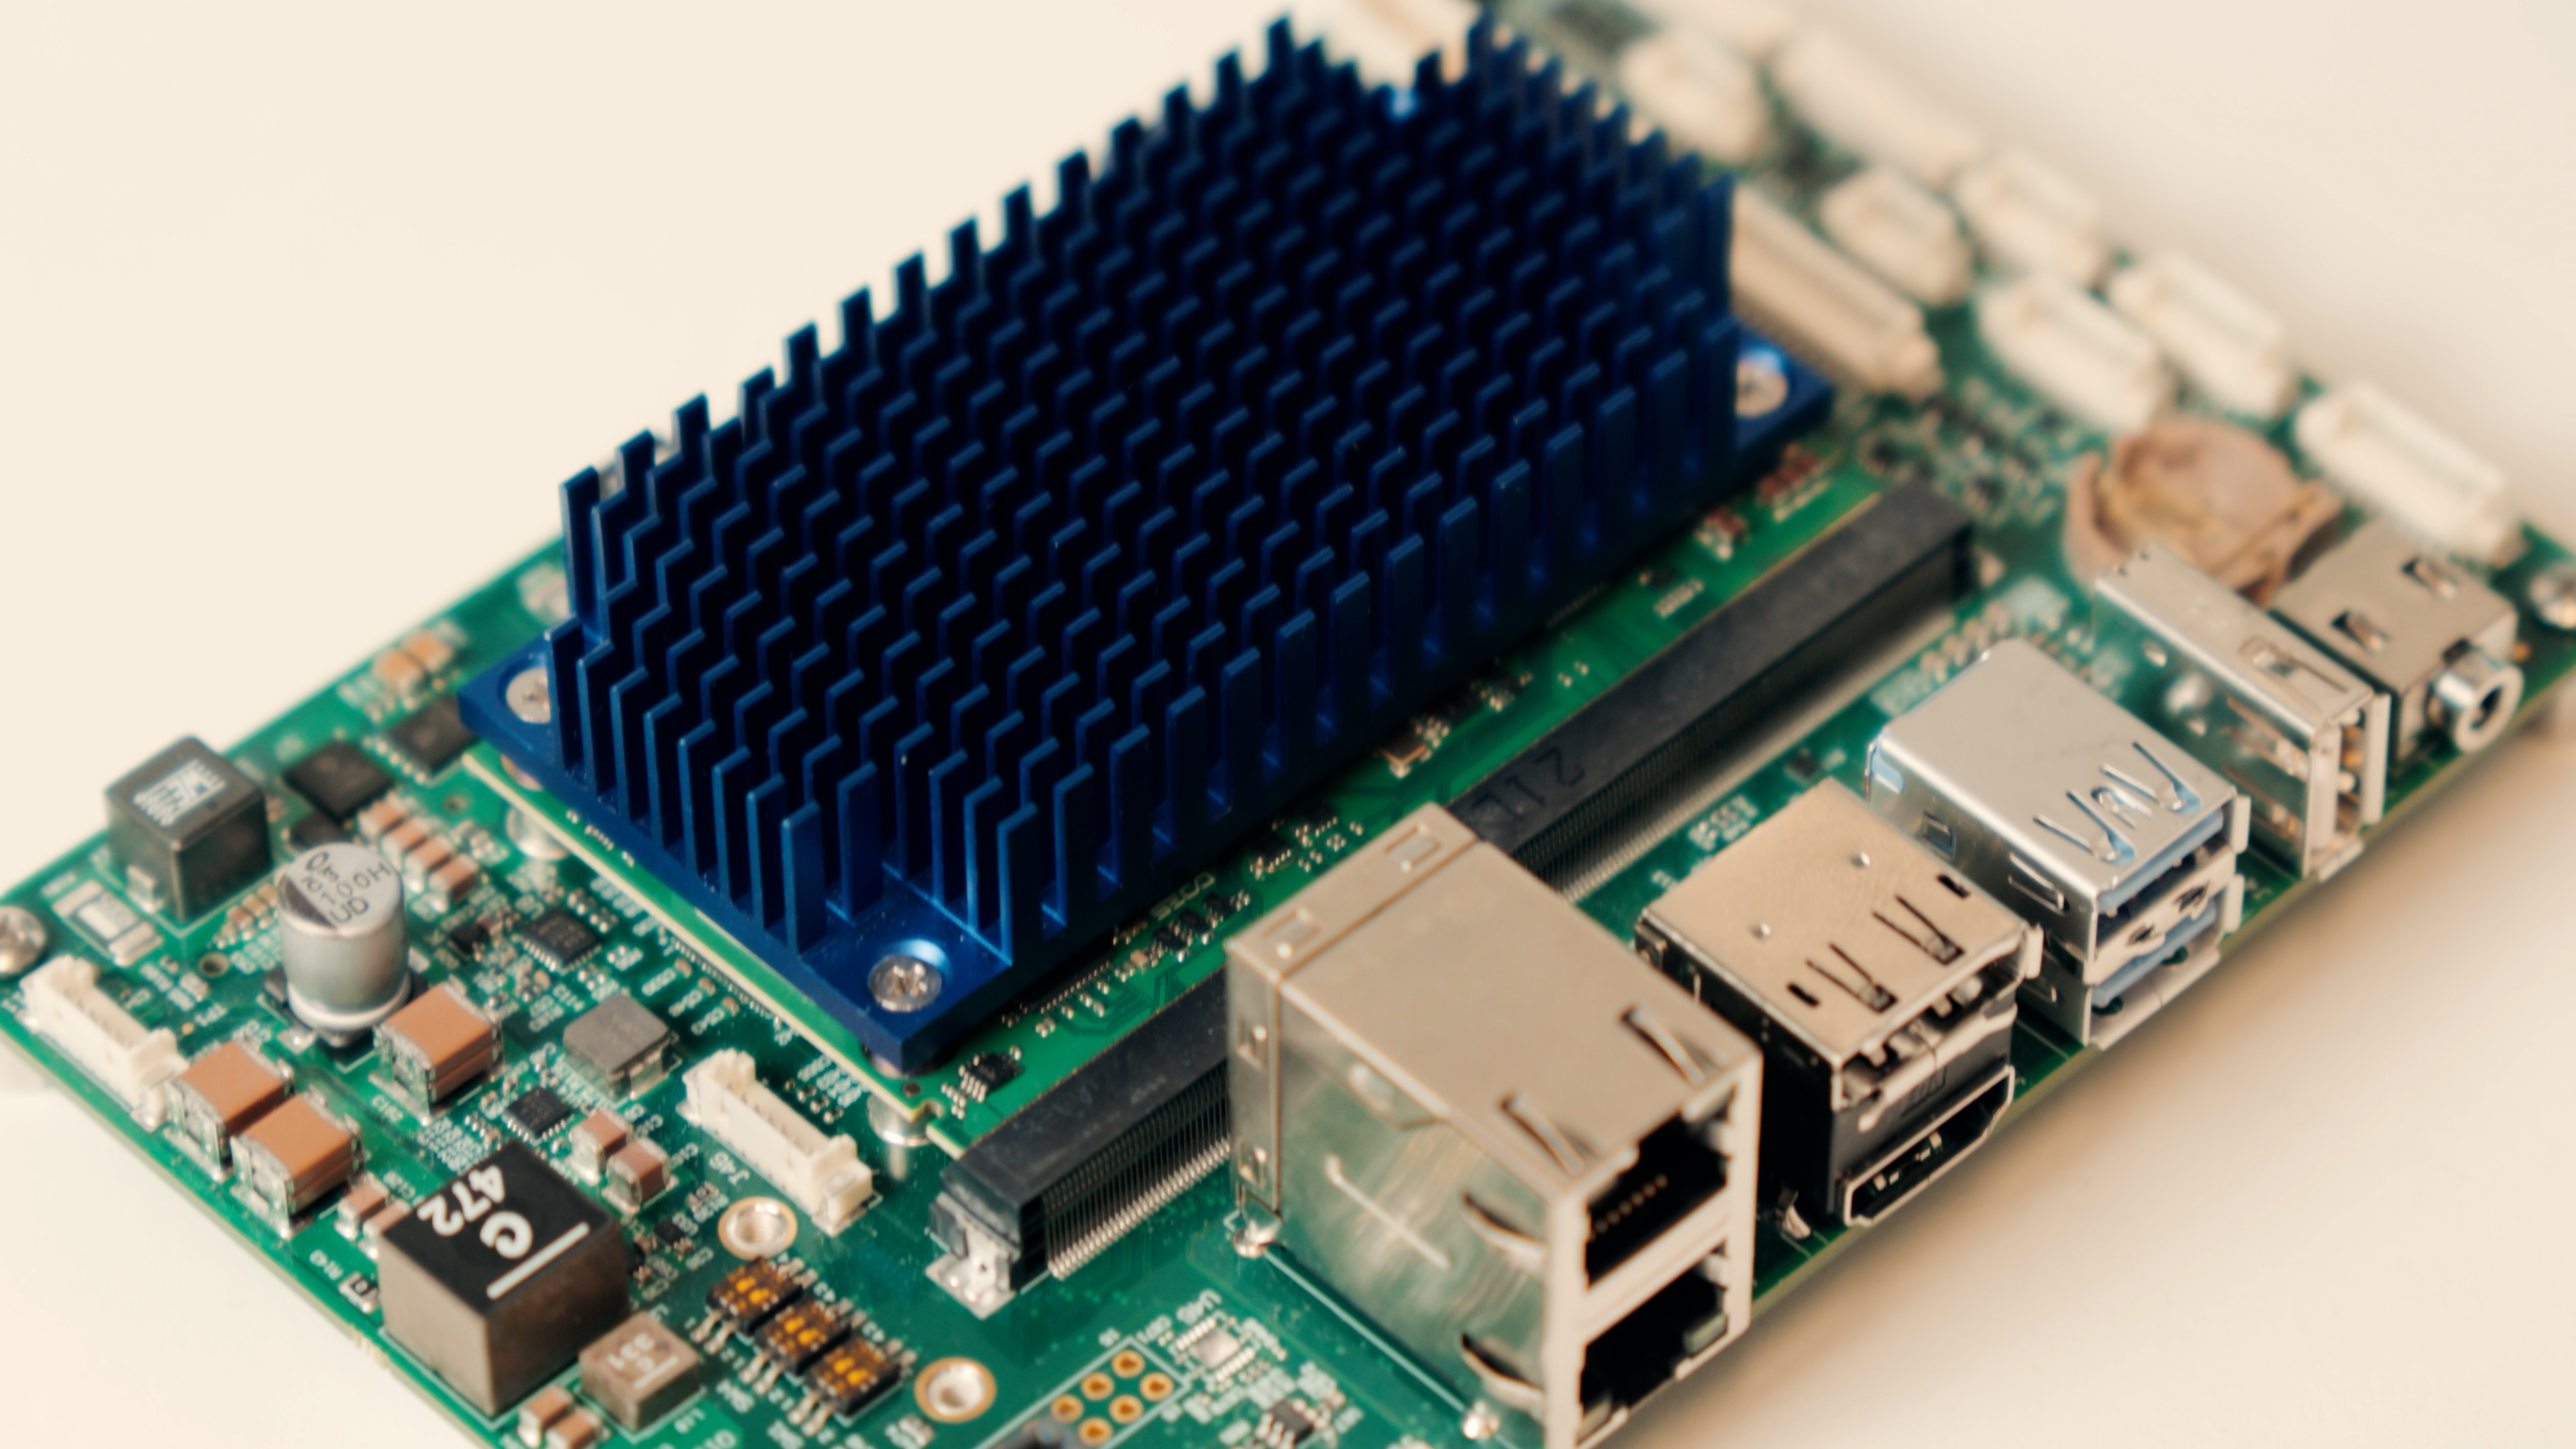
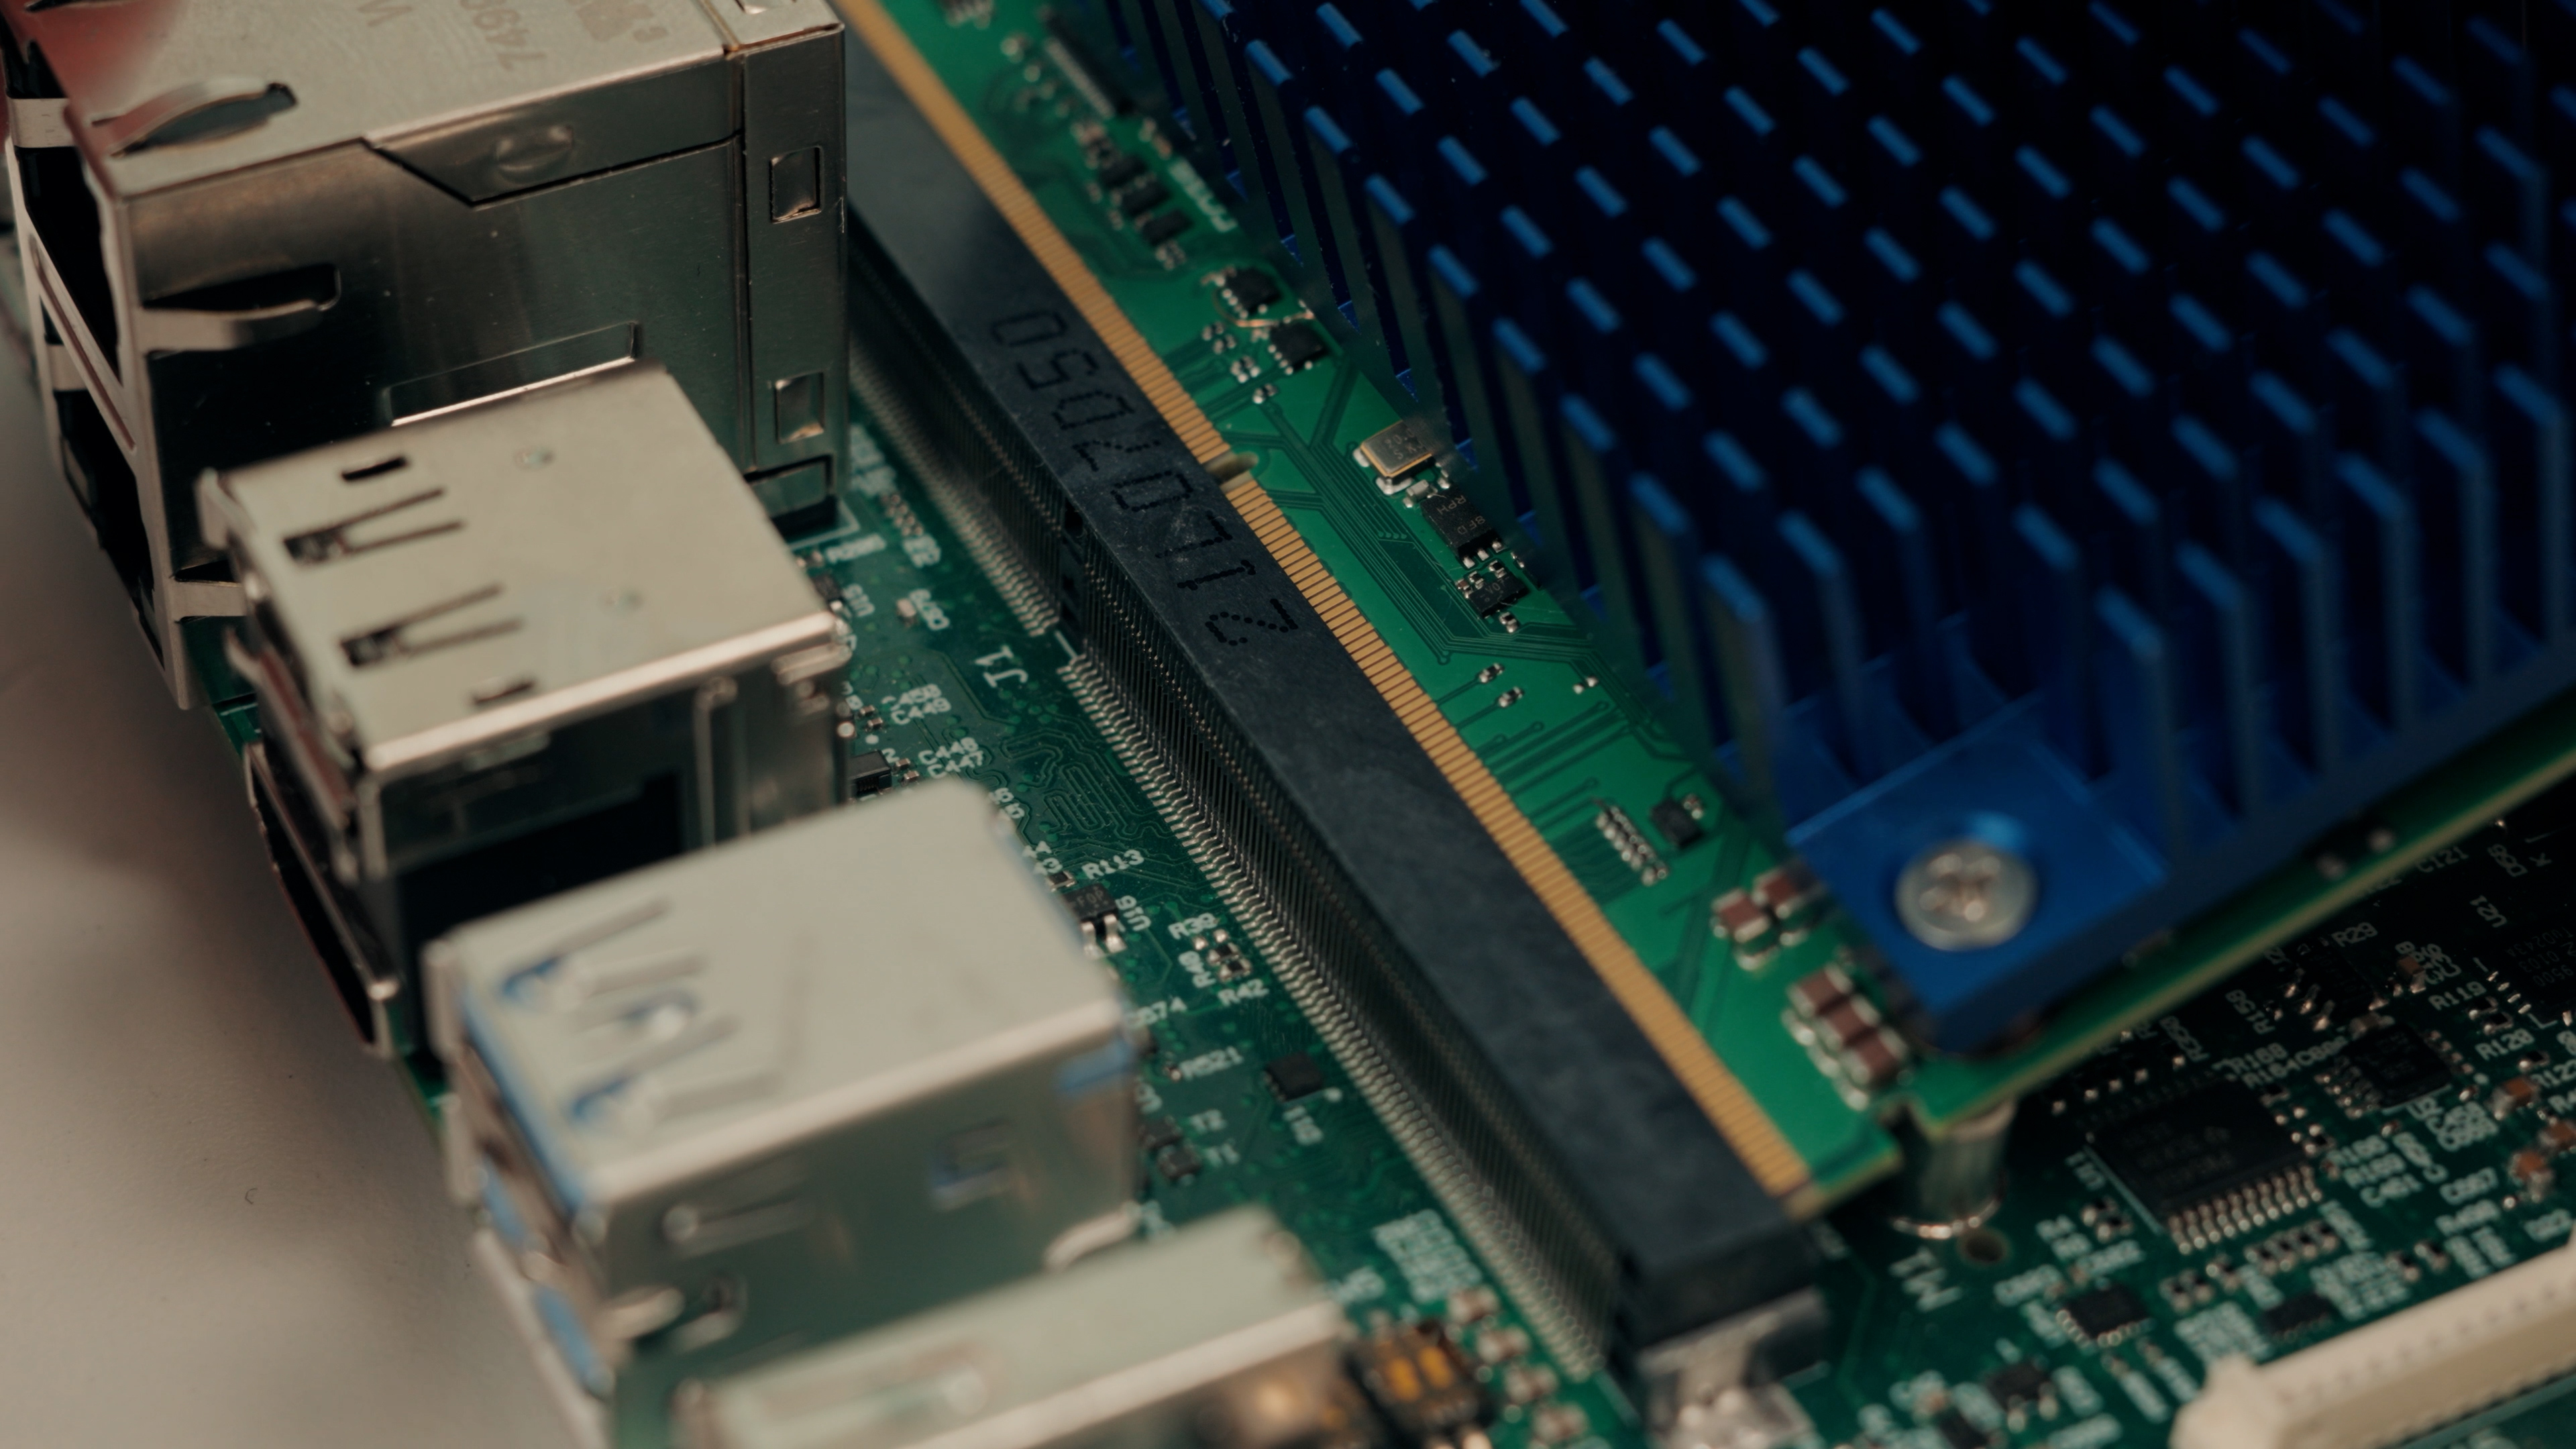
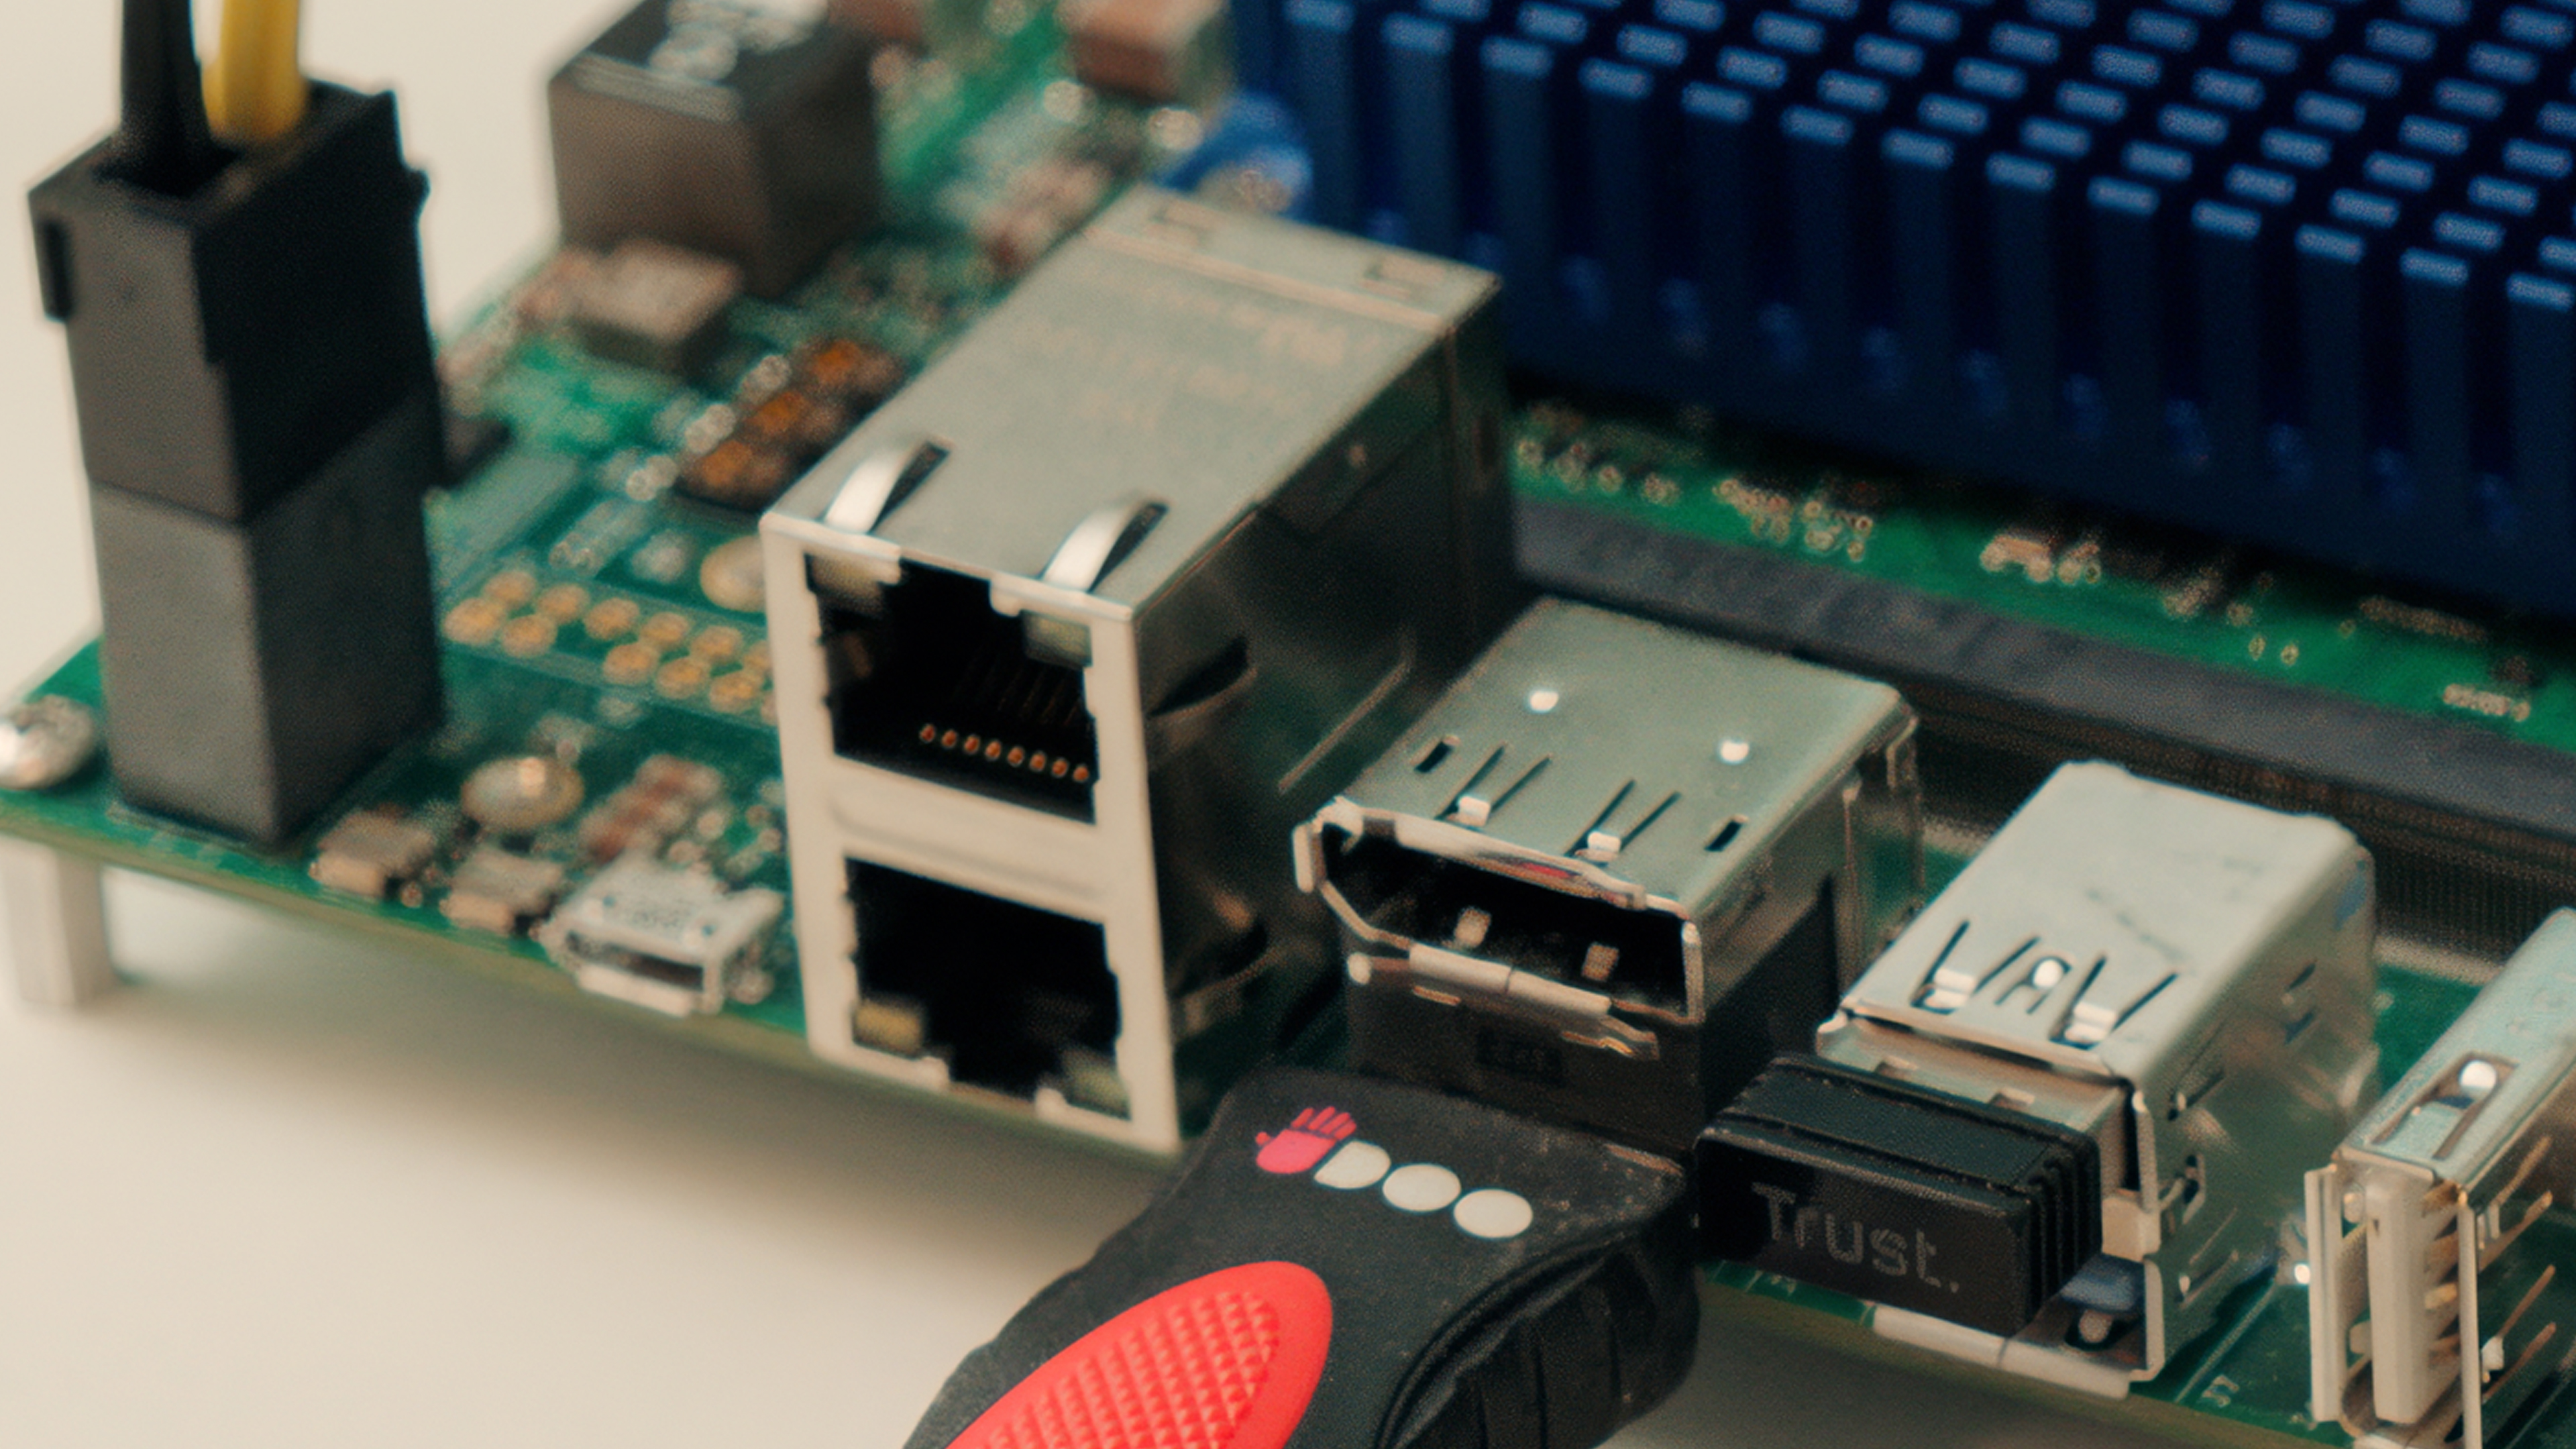
To evaluate the SOM-SMARC-MX8M-Plus, SECO provides the DEV-KIT-SMARC, which includes the SMARC-E71 Carrier Board in a compact 3.5-inch form factor.
The CARRIER-SMARC-E71 is feature-rich for early development and exposes the full range of SOM interfaces, including:
- M.2 Key B for storage (SSD)
- M.2 Key E and mini PCIe for wireless and cellular connectivity
- Dual stacked RJ45 connectors for two independent Ethernet ports
- HDMI and DisplayPort outputs
- LVDS or eDP internal display options
- CSI-2 camera inputs for vision applications
- USB host and USB OTG ports
- Audio with integrated codec
- GPIO expansion header
- Debug UART for system monitoring and troubleshooting
- Additional design touches to accelerate bring-up, such as boot mode selection switches and onboard control buttons
This setup enables developers to prototype rapidly, test real-world scenarios, and validate performance without the need for custom hardware design from the start.
Modular Vision Integration
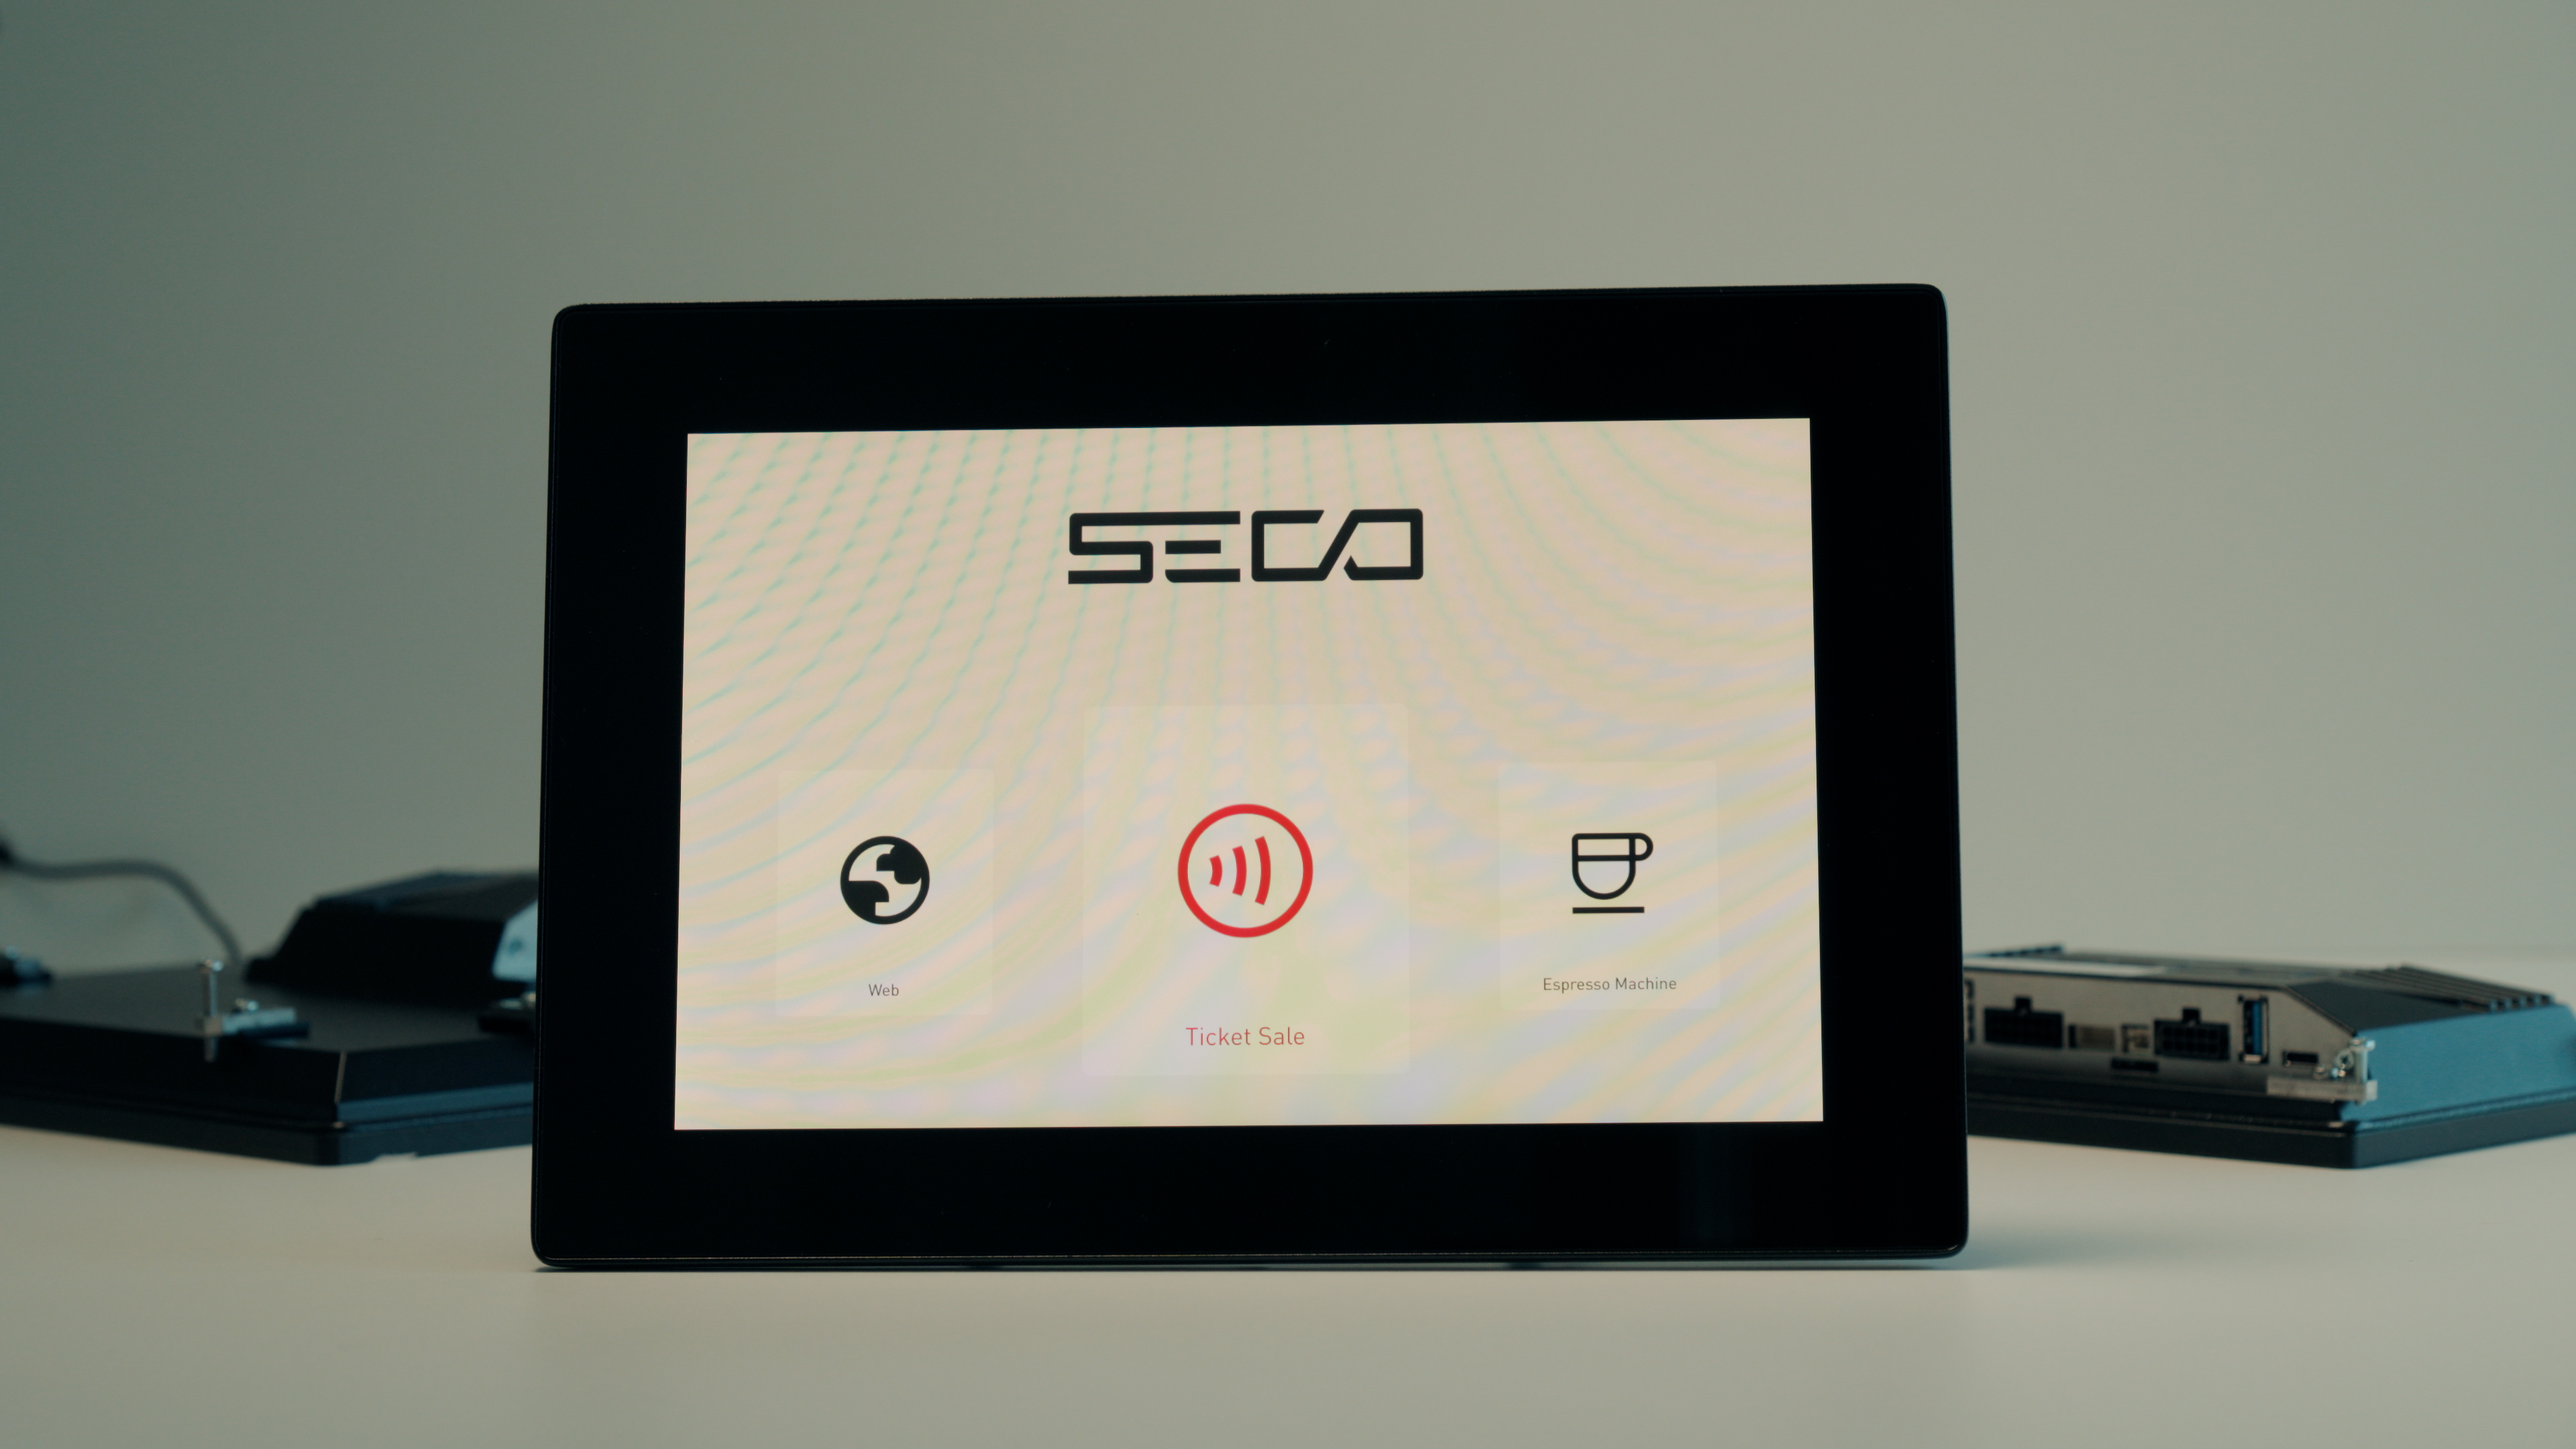
If your application requires a ready-to-use HMI solution with an integrated display, SECO offers the Modular Vision MX8M Plus line. Each system in this family is powered by the same SOM-SMARC-MX8M-Plus module and combines computing, display, and connectivity in one compact unit.
Available versions:
The Modular Vision MX8M Plus systems are:
- Pre-assembled and ready to use, reducing setup time
- Fully compatible with Clea OS and SECO Developer Center resources
- Ideal for rapid prototyping and fast time-to-market deployments
They provide a complete out-of-the-box experience, enabling you to quickly develop, test, and deploy real-world applications such as industrial HMIs and smart edge systems.
Hardware Overview
- Processor: NXP i.MX 8M Plus (Quad / Dual / Quad Lite)
- Form Factor: SMARC 2.1.1 standard
- Memory: Up to 8 GB LPDDR4, 128 GB storage
- AI Acceleration: Integrated NPU (up to 2.3 TOPS) for edge AI / computer vision
- Graphics: 3D GPU for multimedia and display interfaces
- I/O Interfaces:
- 2 × CSI camera inputs
- I²C bus, SM bus, SPI interface
- Up to 14 GPIOs
- Temperature range: Commercial and Industrial variants available for 24/7 operation in demanding environments.
First Boot & OS Setup
Getting your SOM-SMARC-MX8M-Plus module up and running is simple. Follow these steps:
- Insert the SOM
Place the SOM-SMARC-MX8M-Plus carefully into the SMARC socket of the CARRIER-SMARC-E71 carrier board. Make sure the connector is properly aligned and secured.
- Connect Power and Peripherals
a. Attach the power supply included in the Evaluation Kit.
b. Connect an HDMI display for video output.
c. Plug in a USB keyboard and mouse.
d. Connect an Ethernet cable for networking. e. (Optional) Insert Wi-Fi or Cellular modules into the M.2 E or mini PCIe slots.
-
Select Boot Source
The SOM-SMARC-MX8M-Plus can boot from different media depending on the carrier configuration (eMMC, SSD, MicroSD, or USB: Serial download only). Use the carrier’s boot mode switch to select the preferred boot device. -
First Power-On
The system will initialize automatically based on the selected boot configuration. Status LEDs will indicate power and activity. -
Operating System The recommended OS is Clea OS, a Yocto-based Linux distribution maintained by SECO and optimized for embedded and IoT applications. Clea OS provides: a. Secure and verified updates
b. Long-term support for industrial deployments
c. Cybersecurity compliance d. Full compatibility with the Clea framework for remote management and AI deployment -
Test and Evaluate
After the system boots, you can start experimenting using the interfaces exposed by the E71 carrier: Ethernet, USB, PCIe, CAN, HDMI, audio, GPIO, camera inputs (CSI-2) These enable use cases such as industrial HMIs, smart gateways, vision systems, and robotics. If you prefer a ready-to-use solution with display, try the Modular Vision MX8M Plus systems (7”, 10.1”, 15.6”) for a fast out-of-the-box experience. -
Recovery and Reflashing
The USB0 port is directly managed by i.MX 8M Plus USB Host Controller and can be used for serial download driving FORCE_RECOV# signal low.
Power and Thermal Considerations
- Supply voltage: depends on the carrier used (typically 9 – 24 VDC).
- Use the included heatsink or custom cooling solution as needed.
- Industrial grade modules are qualified for extended temperature ranges.
Next Steps & Resources
- Full documentation and manuals are available on the Developer Center
- For software guides and Clea OS instructions, refer to the CleaOS documentation.
- For full guides on device management, refer to Clea Device Manager User Guide.
- For full documentation on how to connect a device to Clea, refer to Clea device connection guide.
- A QR code inside the kit (if purchased as DEV-KIT-SMARC) links to additional resources and quick start videos.
Support
Need help? Visit www.seco.com or contact SECO Technical Support for drivers, software tools, and integration support.