EVAL-KIT-SOM-COMe
EVAL-KIT-SOM-COMe is SECO's evaluation kit designed to help developers, OEM system architects, and system integrators quickly start concept validation, bring-up, and early technical assessment on COM Express-based platforms. Built around the Carrier-COMe-T6-C30 in 3.5-inch format, it provides a ready hardware baseline that reduces setup effort and helps teams move faster from feasibility checks to final solution definition. The COM Express module and the Heatsink/Heat Spreader are not included and must be selected separately according to the target application.
The official kit part numbers vary depending on the power plug format:
- KTDV-C30-01.00, EU plug
- KTDV-C30-02.00, US plug
- KTDV-C30-03.00, UK plug
- KTDV-C30-04.00, JP plug
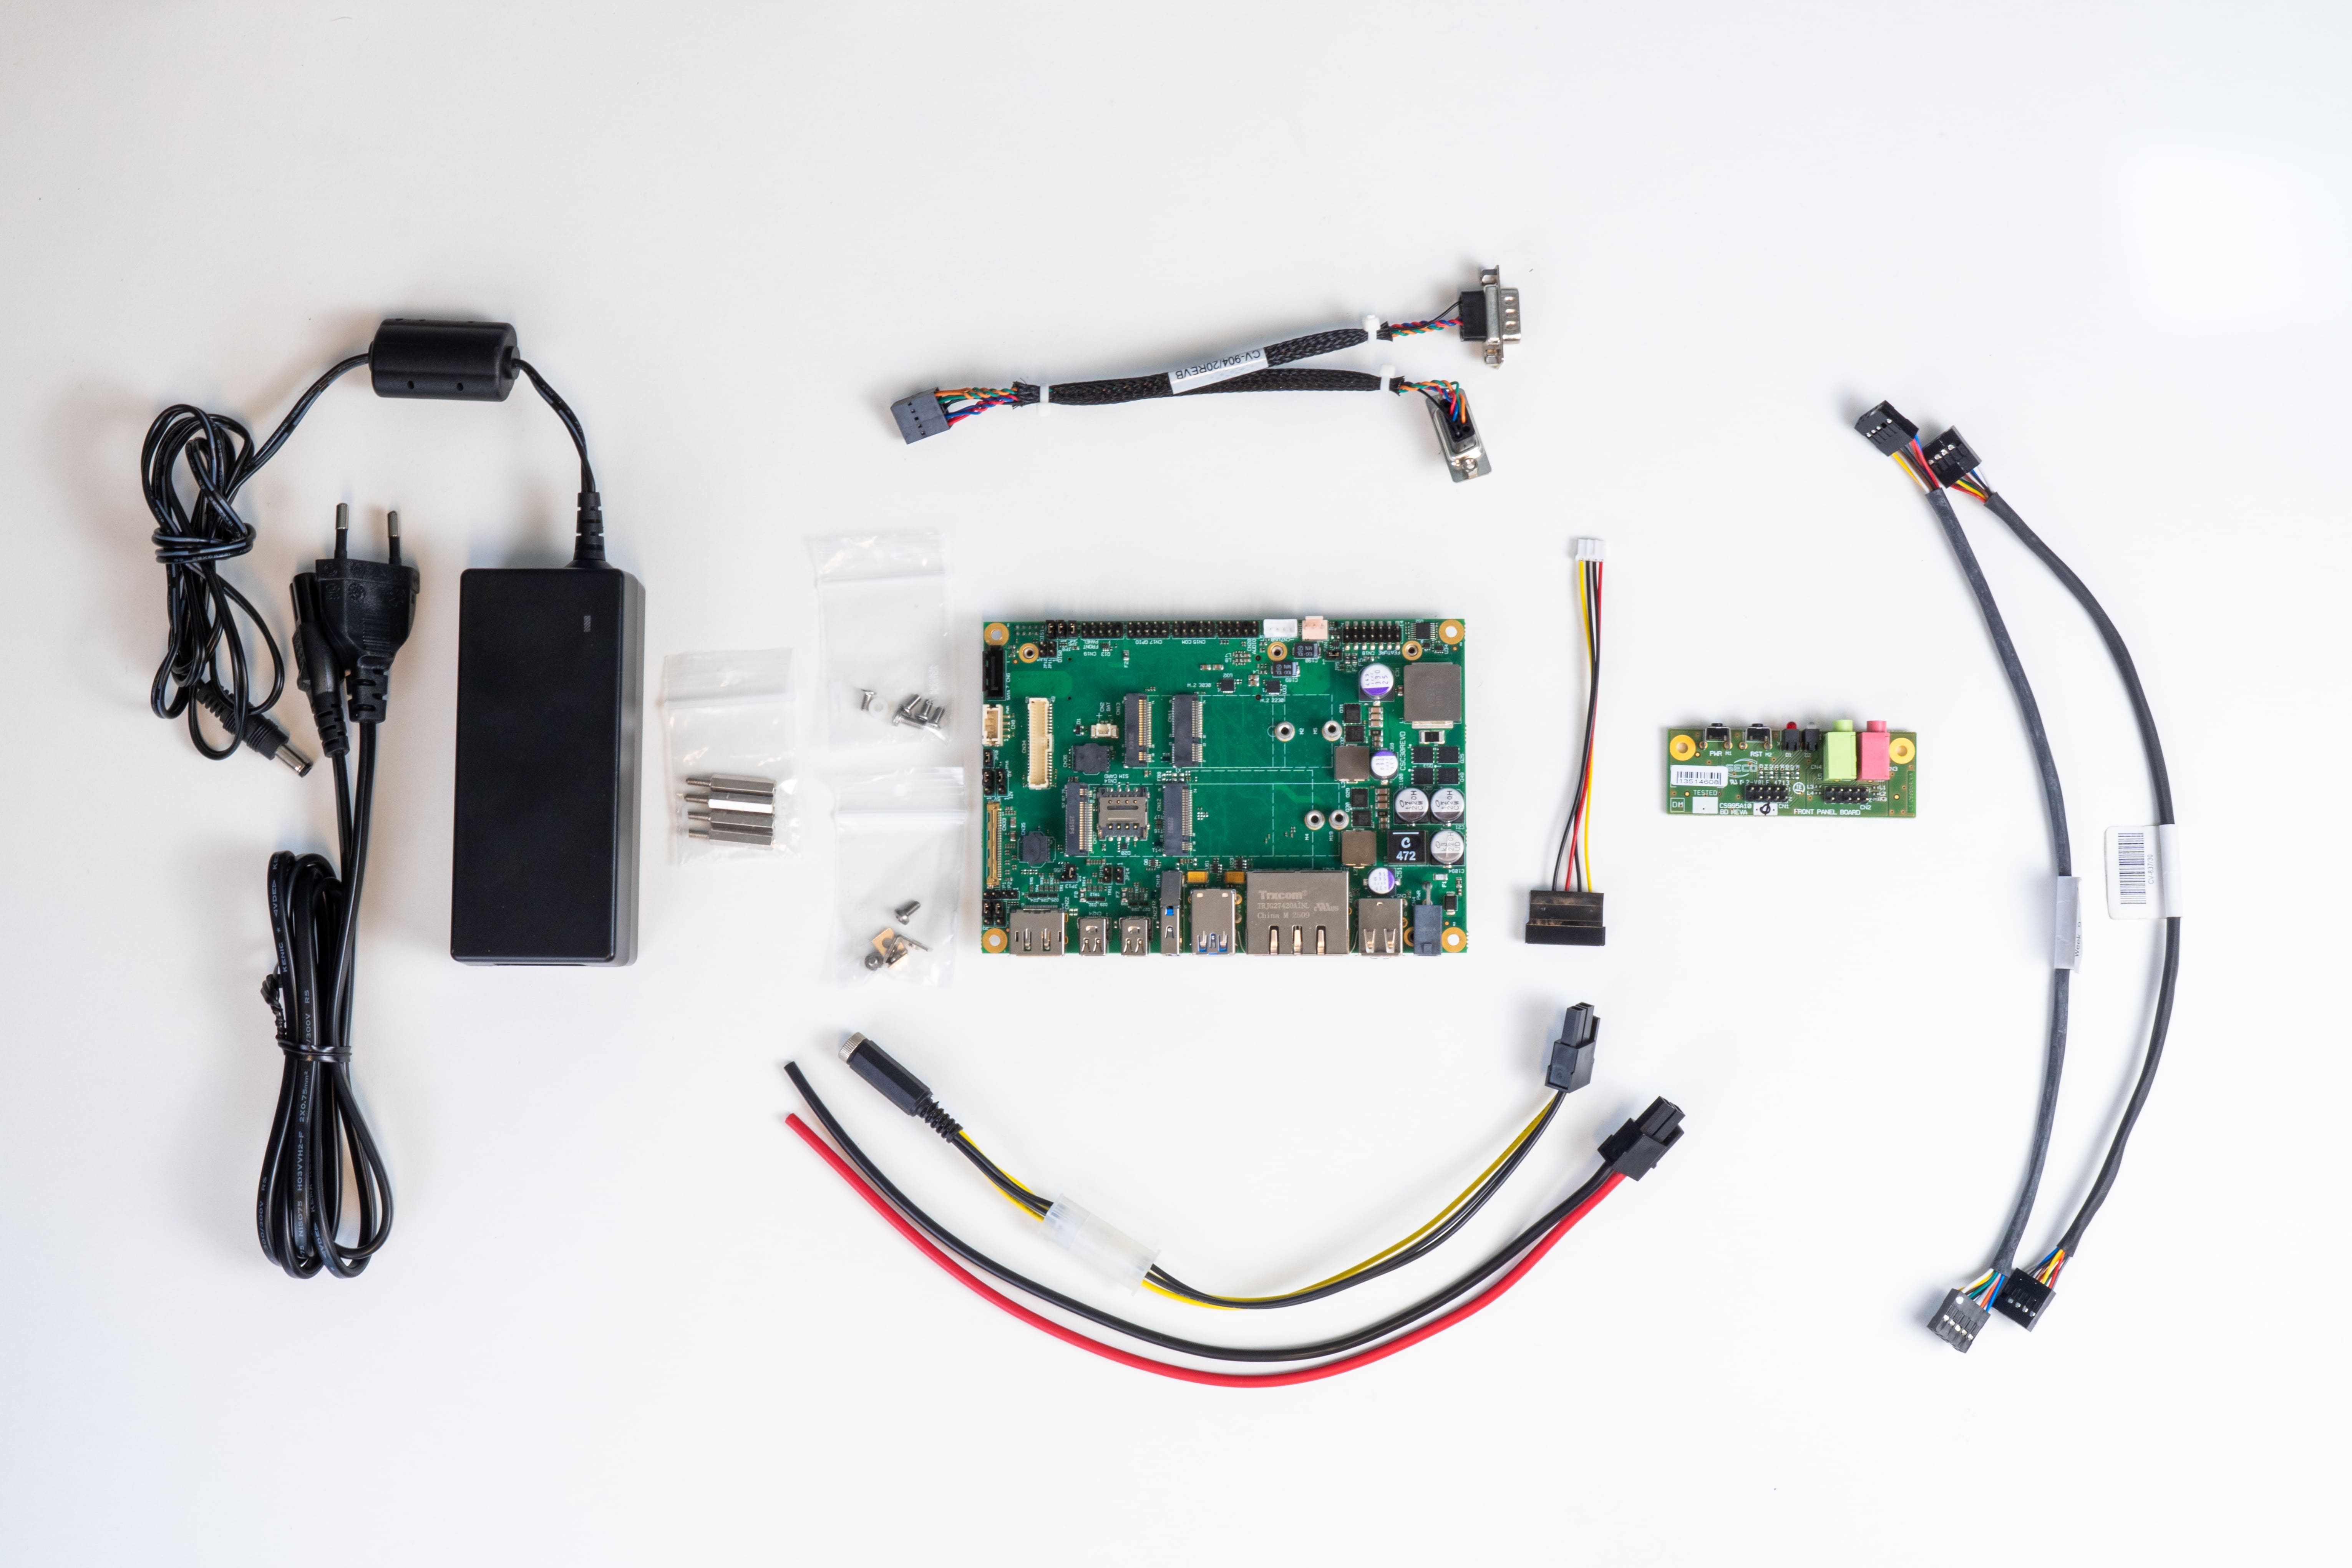
What's in the box
The kit includes the core elements needed to start evaluating the platform, including the Carrier-COMe-T6-C30, Brass pillar 20mm F/F, M3 Screw 6mm, Brass pillar 20mm M/F, Carrier cable kit, PSU adapter, PSU 19V 60W and PSU cable plug (depending on the region: EU, US, UK and JP).
Please note that the COM Express SoM and the heatsink or heat dissipation solution are not included in the kit and must be managed separately. The customer is expected to assemble the module on the kit.
CARRIER-COMe-T6-C30
The hardware foundation of EVAL-KIT-SOM-COMe is the Carrier-COMe-T6-C30, a 3.5-inch carrier board used as the common platform for COM Express evaluation. It is designed to support fast development and early validation workflows while enabling reuse across multiple compatible COMe modules. The C30 is part of the platform logic that enables architectural flexibility and multi-vendor processor support. It is also the same baseline used in the broader Modular Vision COMe setup. For full details about the board layout, interfaces, power input, and technical specifications, refer to the dedicated Carrier-COMe-T6-C30 page on the Dev Center.
A Common Foundation for COM Express Modules
EVAL-KIT-SOM-COMe is designed as a shared validation platform for SECO COM Express modules, allowing teams to work on a common hardware baseline and evaluate different processor options with reduced setup effort. The kit is intended to support the latest SECO COM Express SoMs, while future COMe modules are expected to be validated on the same platform logic as they are released.
Heatsink The heatsink installation is handled at module level. For thermal assembly instructions, please refer to the dedicated page of each individual module.
C6 Modules
The current list points to the following C6 compatible modules:
SOM-COMe-CT6-ADL-N / ASL / TWL
SOM-COMe-CT6-Dragonwing-IQ-X
SOM-COMe-CT6-P100
SOM-COMe-CT6-R8000
B6 Modules
The current list points to the following B6 compatible modules:
SOM-COMe-BT6-MTL"
SOM-COMe-BT6-ARL
SOM-COMe-BT6-PTL
SOM-COMe-BT6-RK3588
How to connect the module to the carrier
Installing the module on the carrier is the first step in preparing the kit for startup. In this section, we show how to correctly align the module with the C30 Carrier board and complete the mechanical fastening safely.
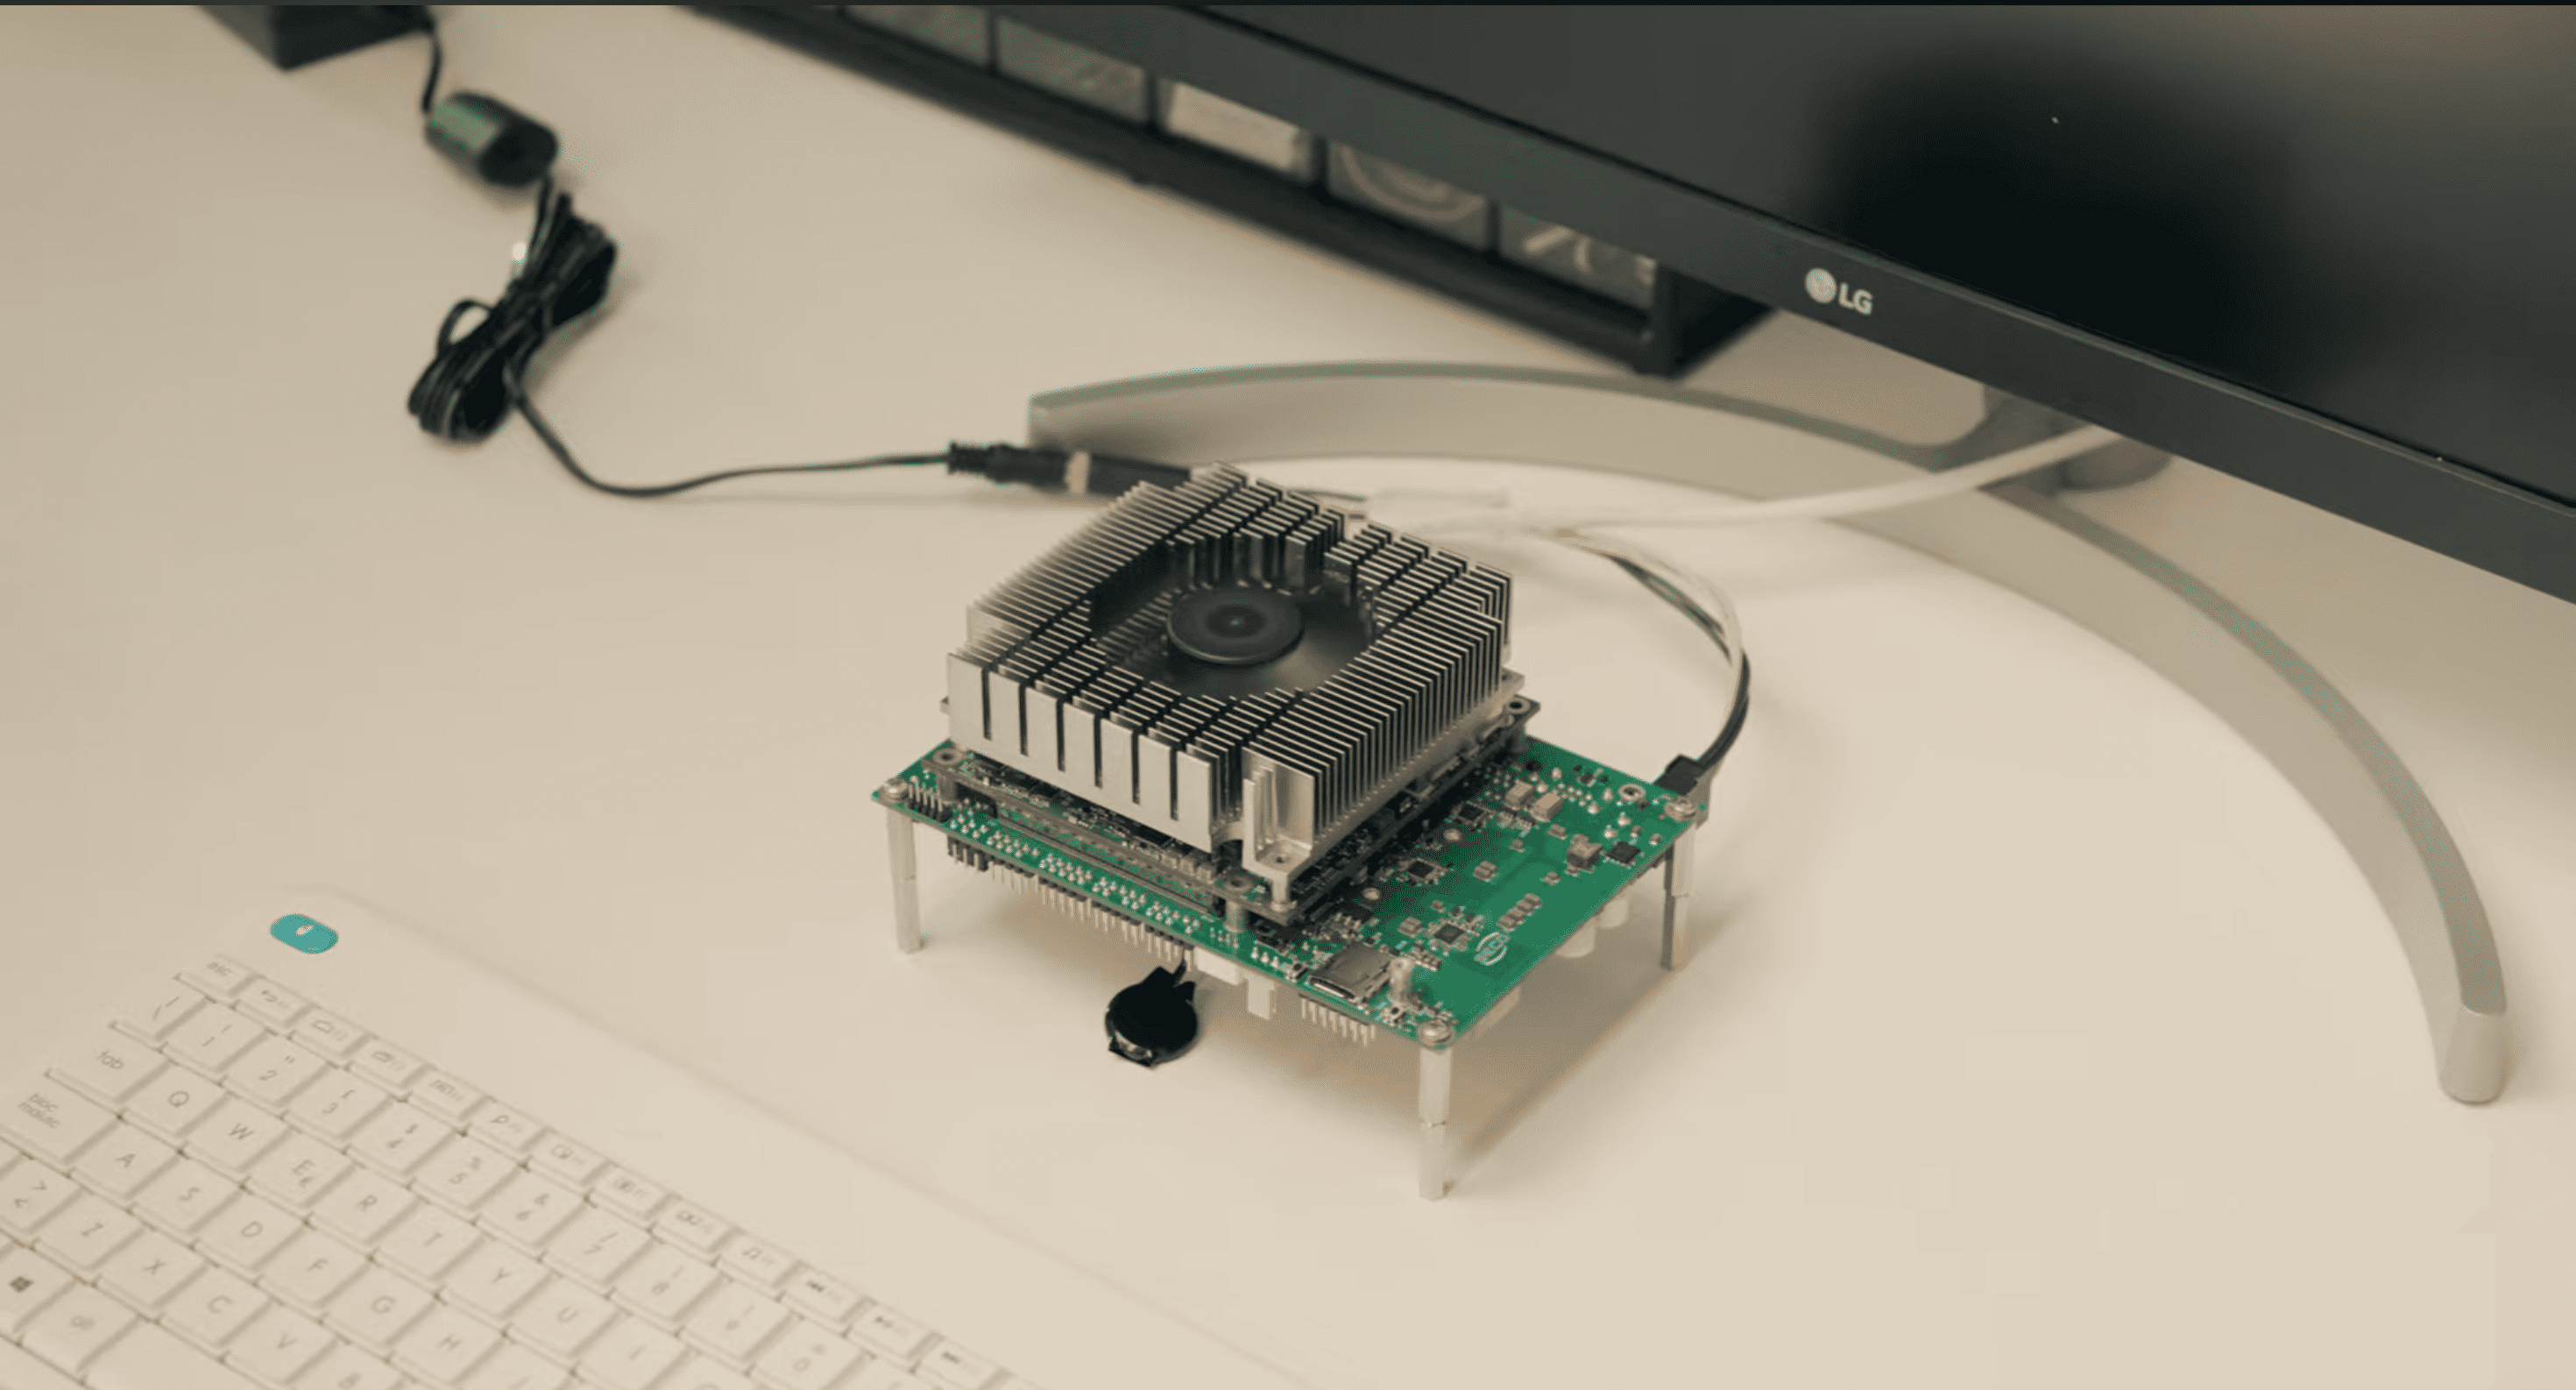
Physical installation and first boot
Once the kit has been assembled with the carrier, module, and thermal solution, you can complete the initial physical installation by connecting the essential peripherals and preparing the system for first boot.
Step 1: Place the kit on a stable surface
Make sure the carrier, module, and mounting hardware are properly positioned and secured before connecting any peripherals.
Step 2: Connect the display
Connect an external display using the video interface supported by your hardware configuration.
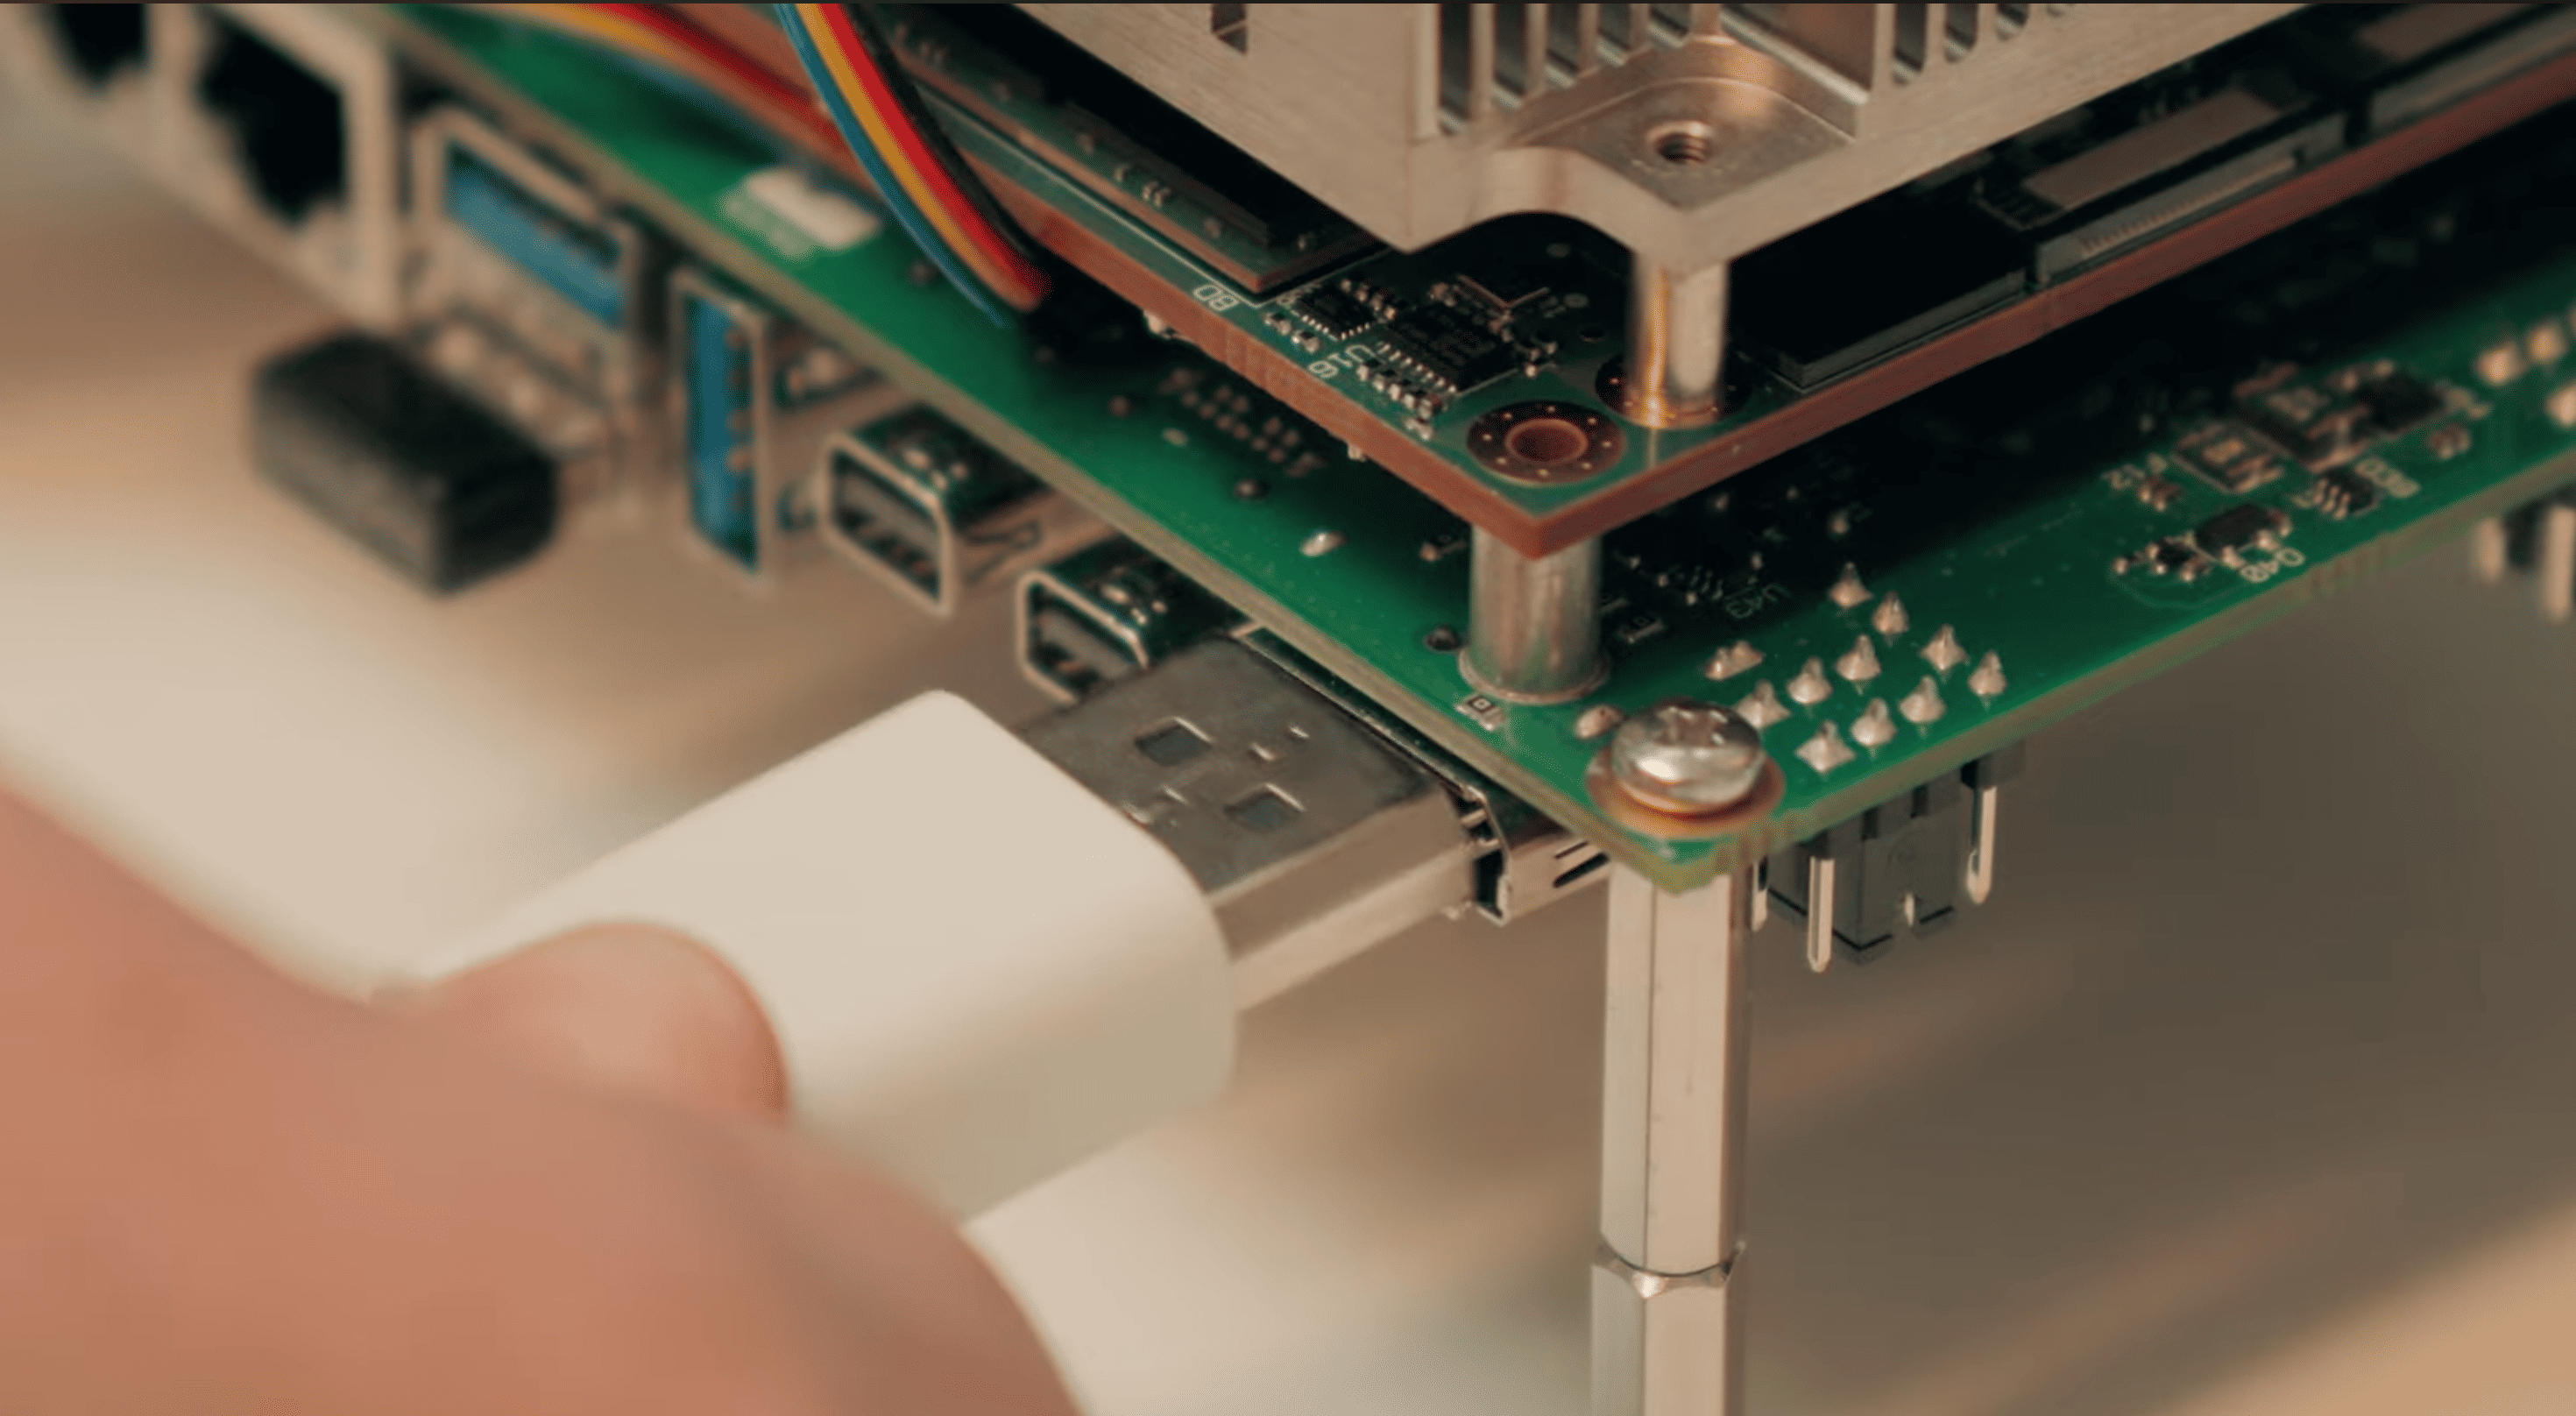
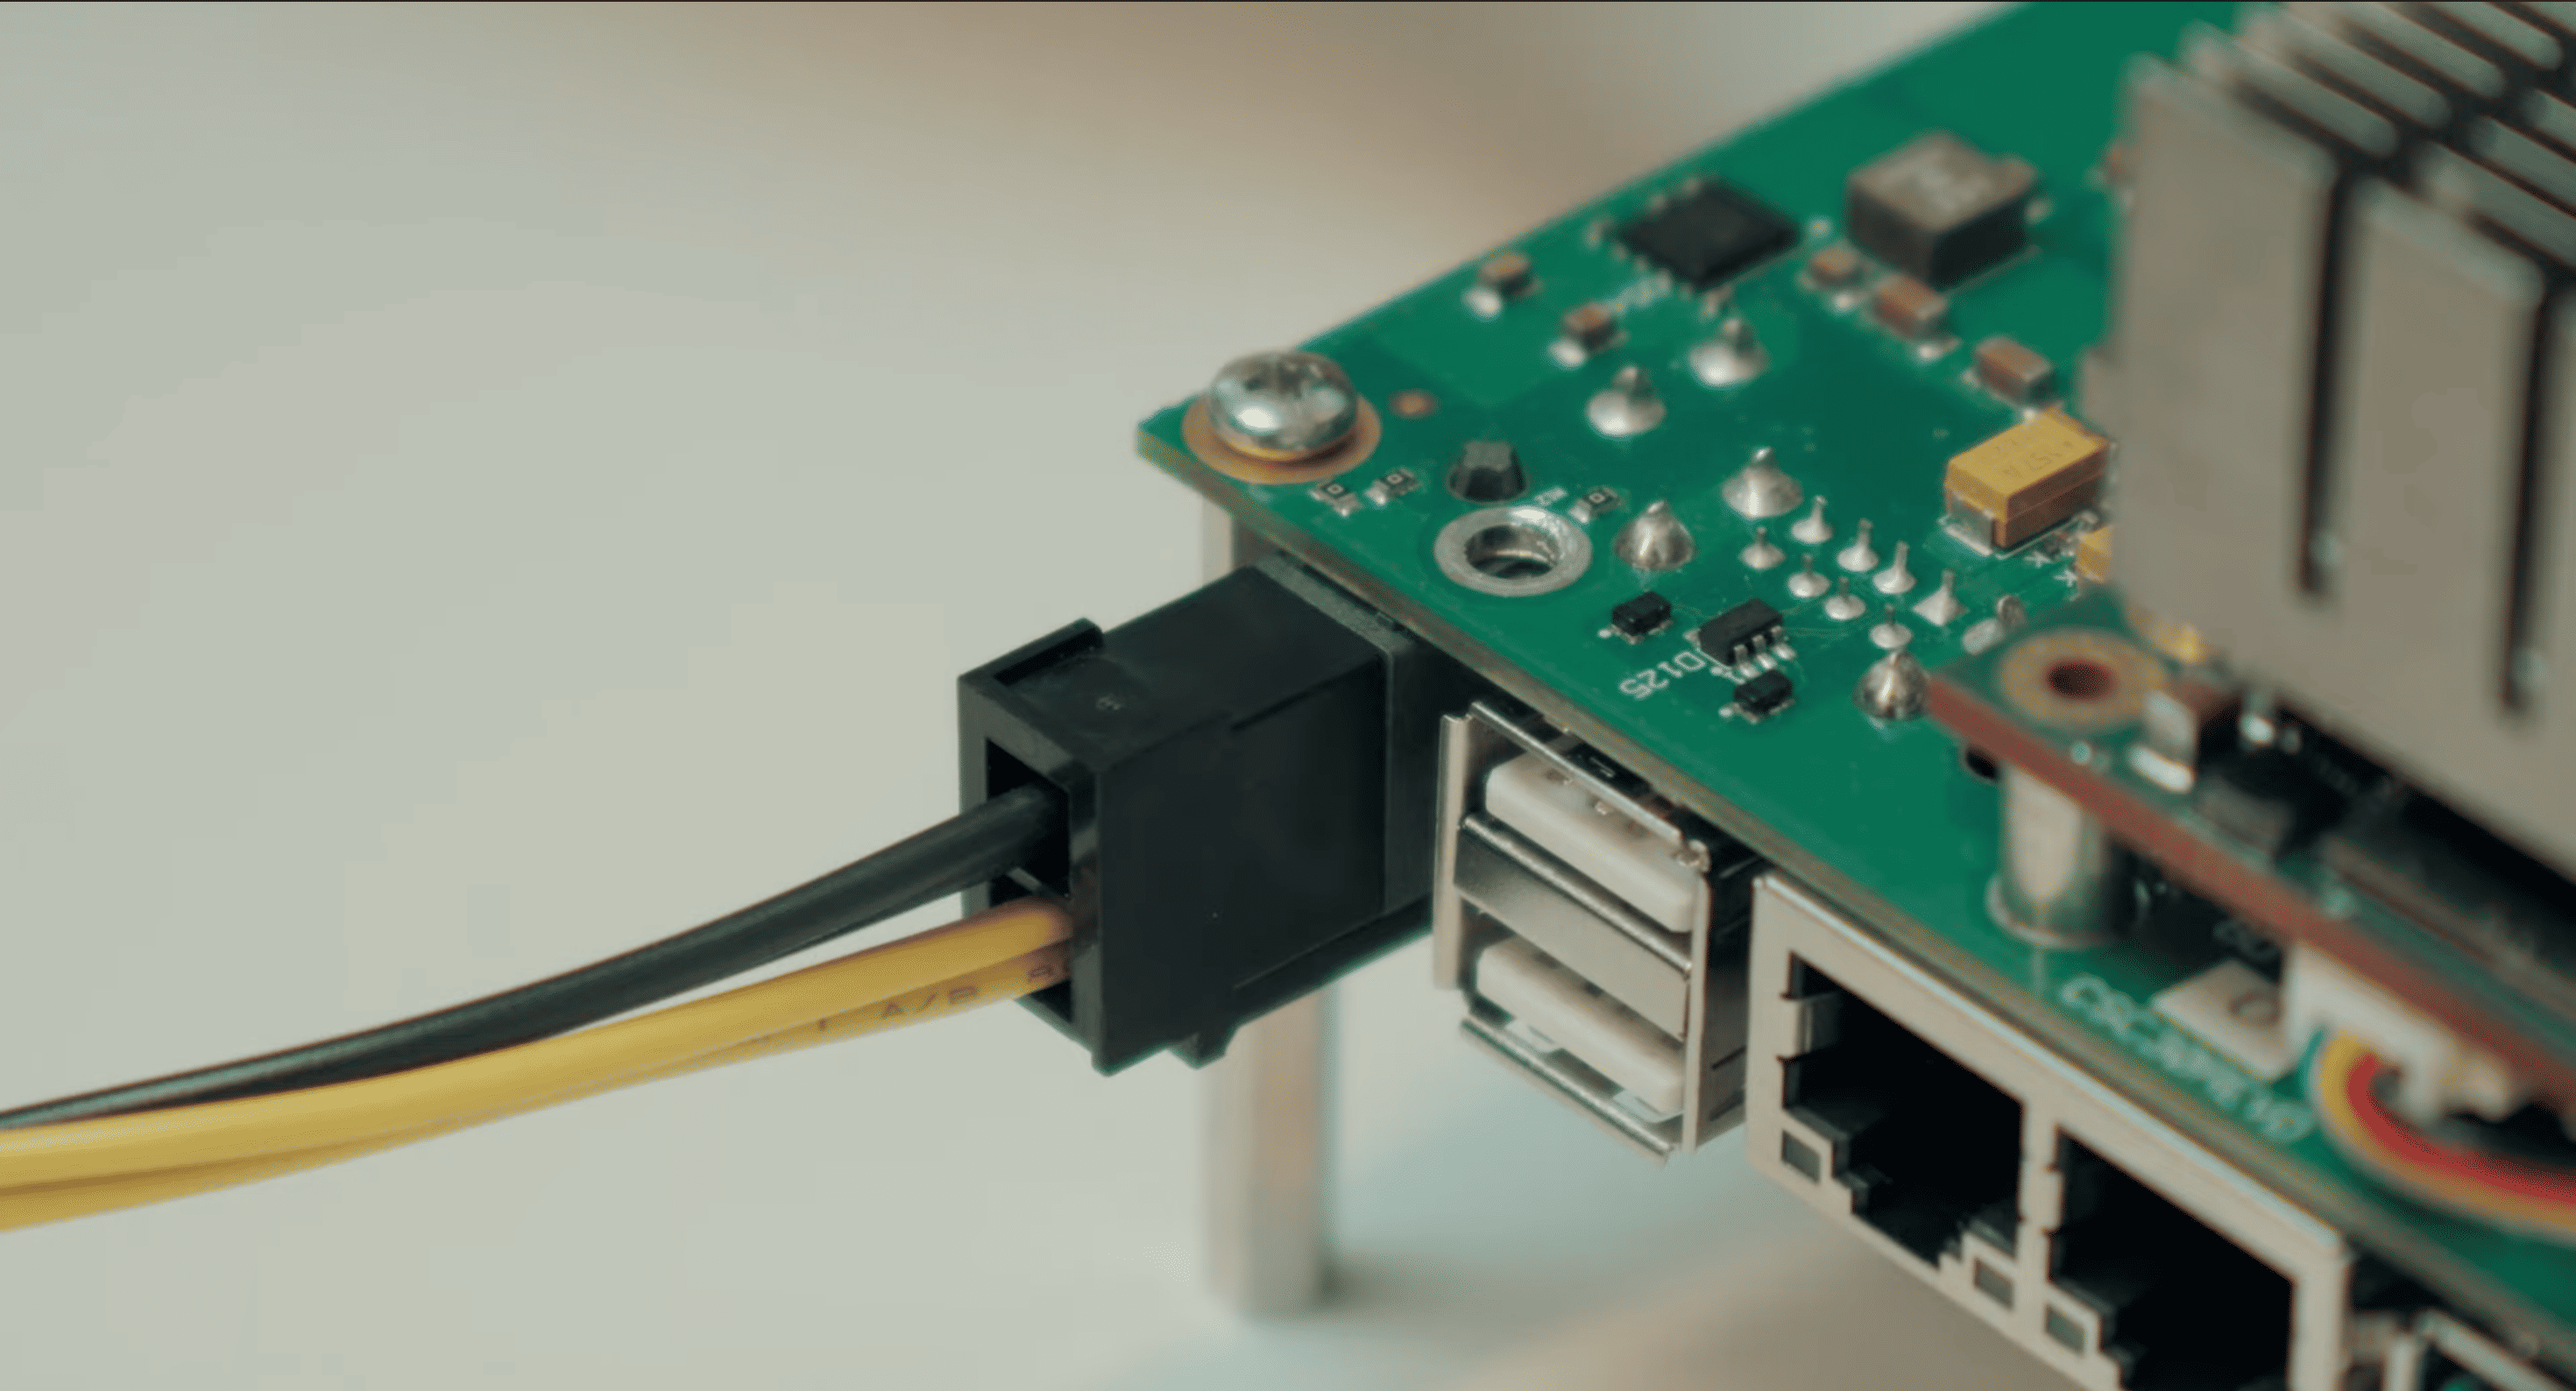
Step 3: Connect keyboard and mouse
Connect the keyboard and mouse to the USB ports available on the carrier.
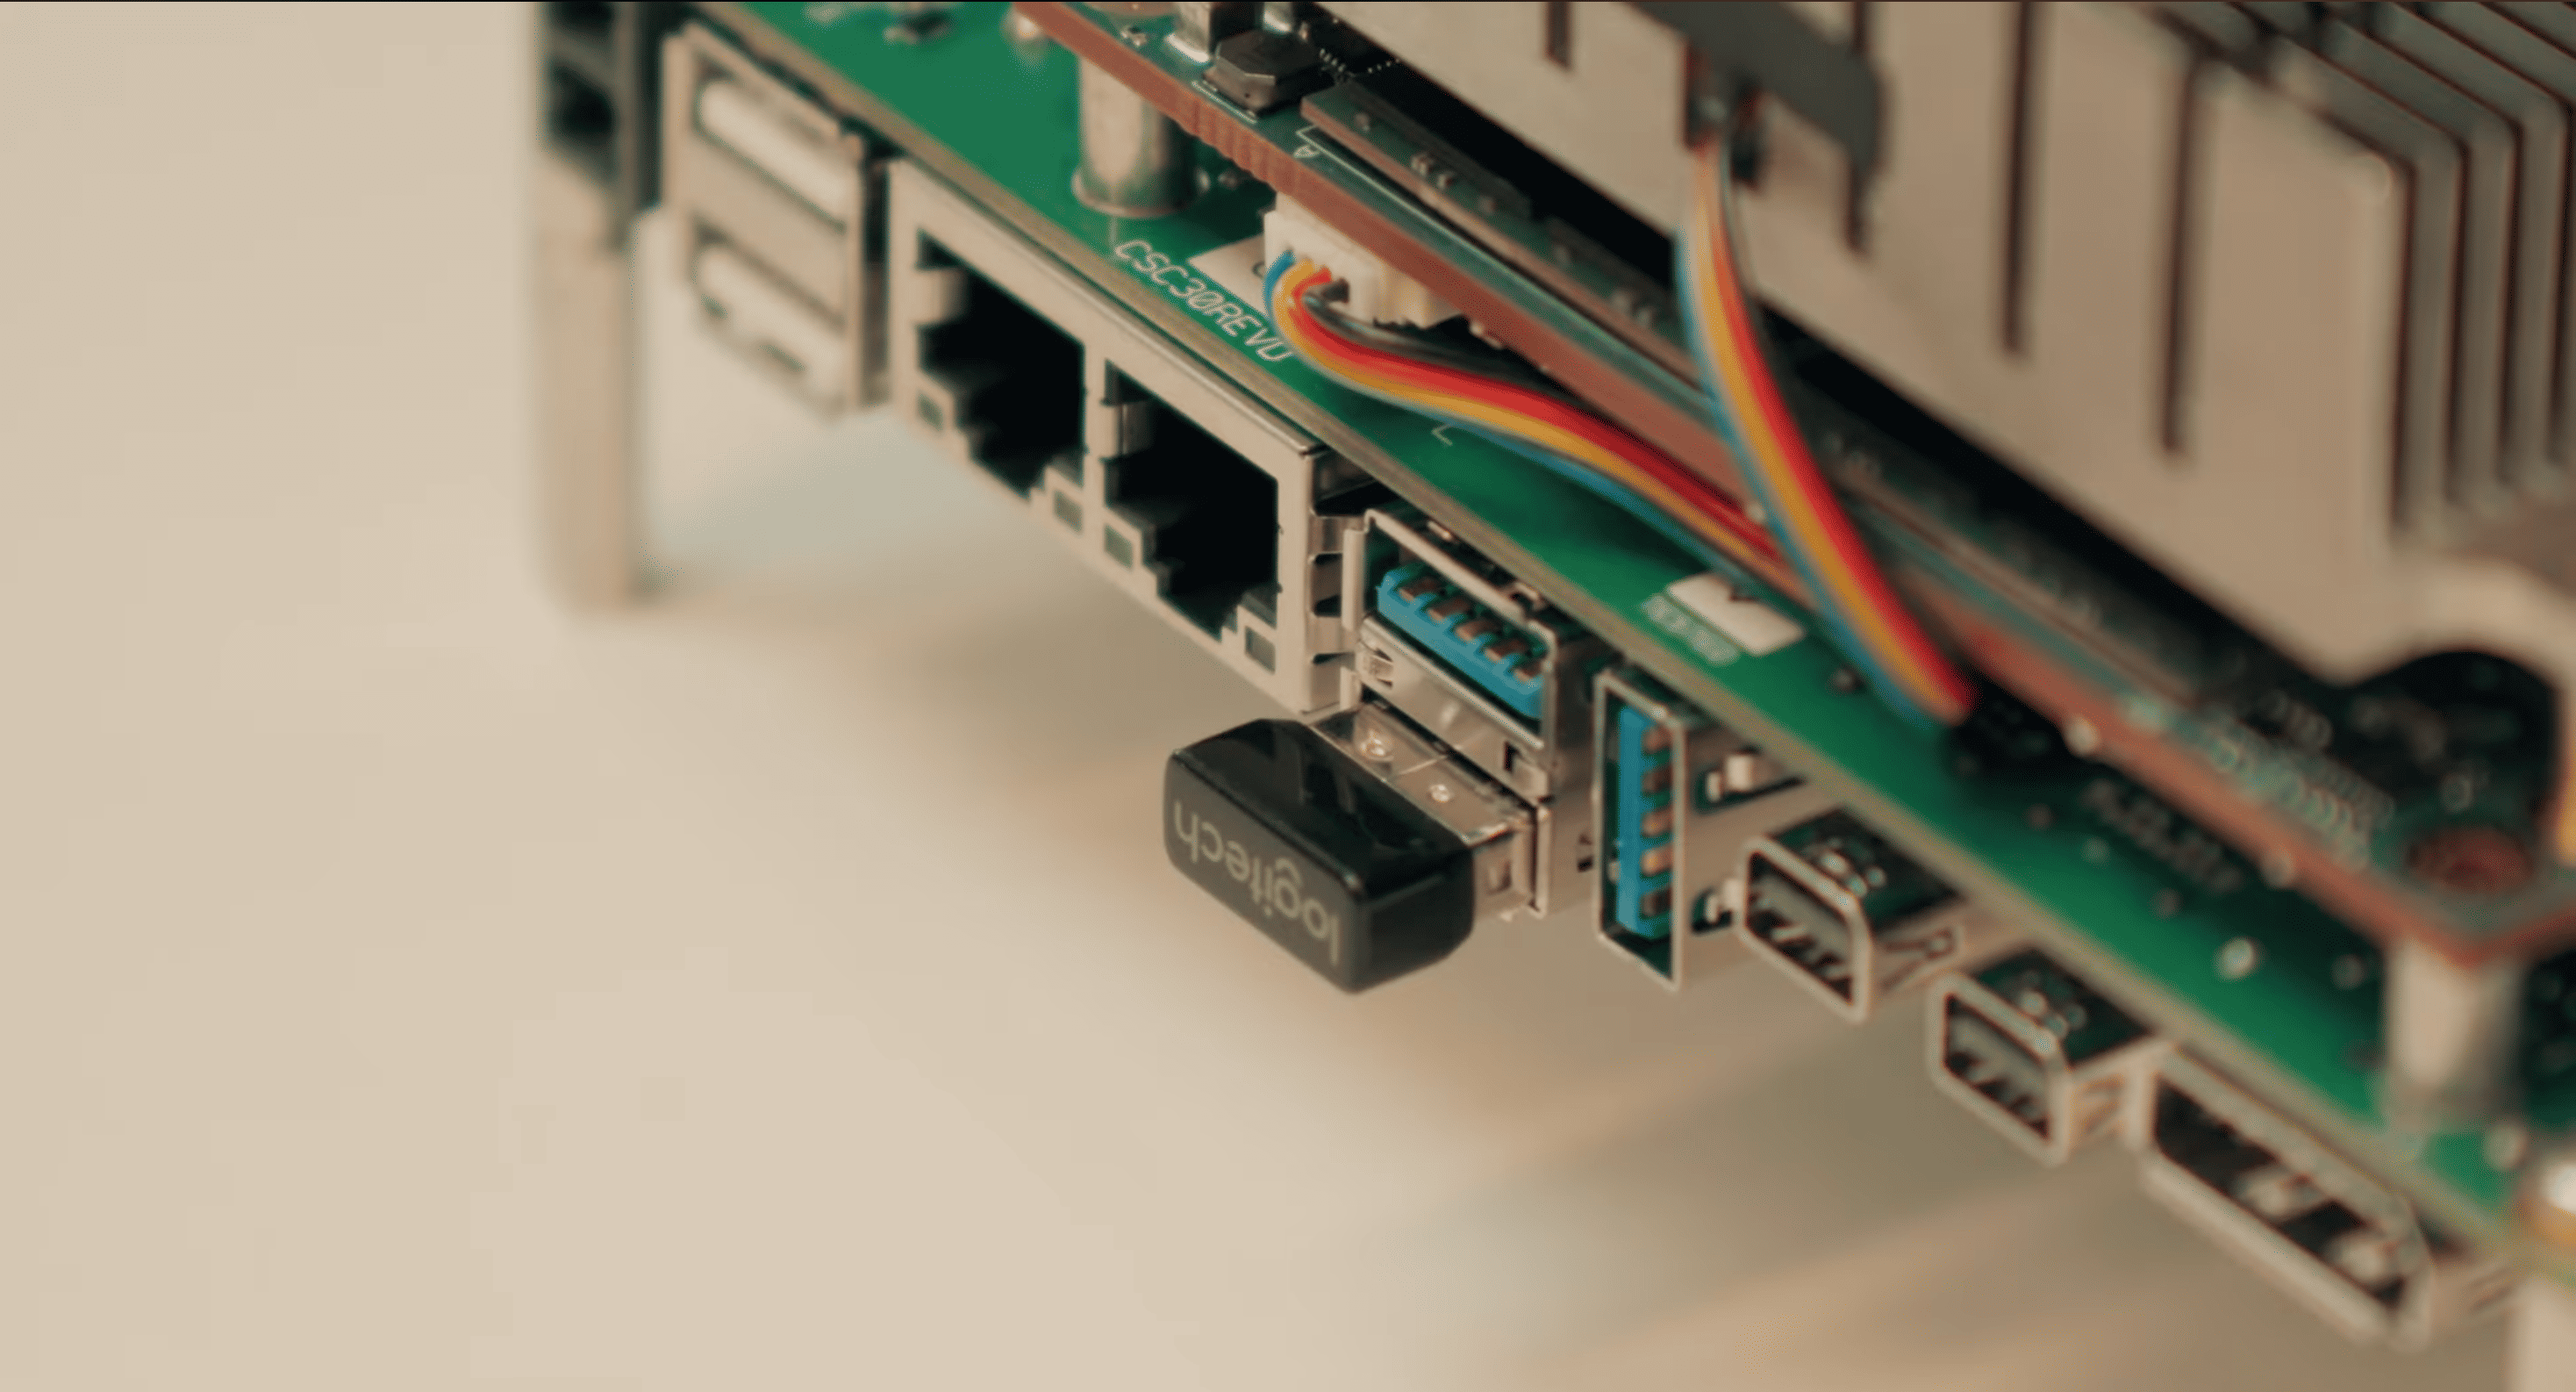
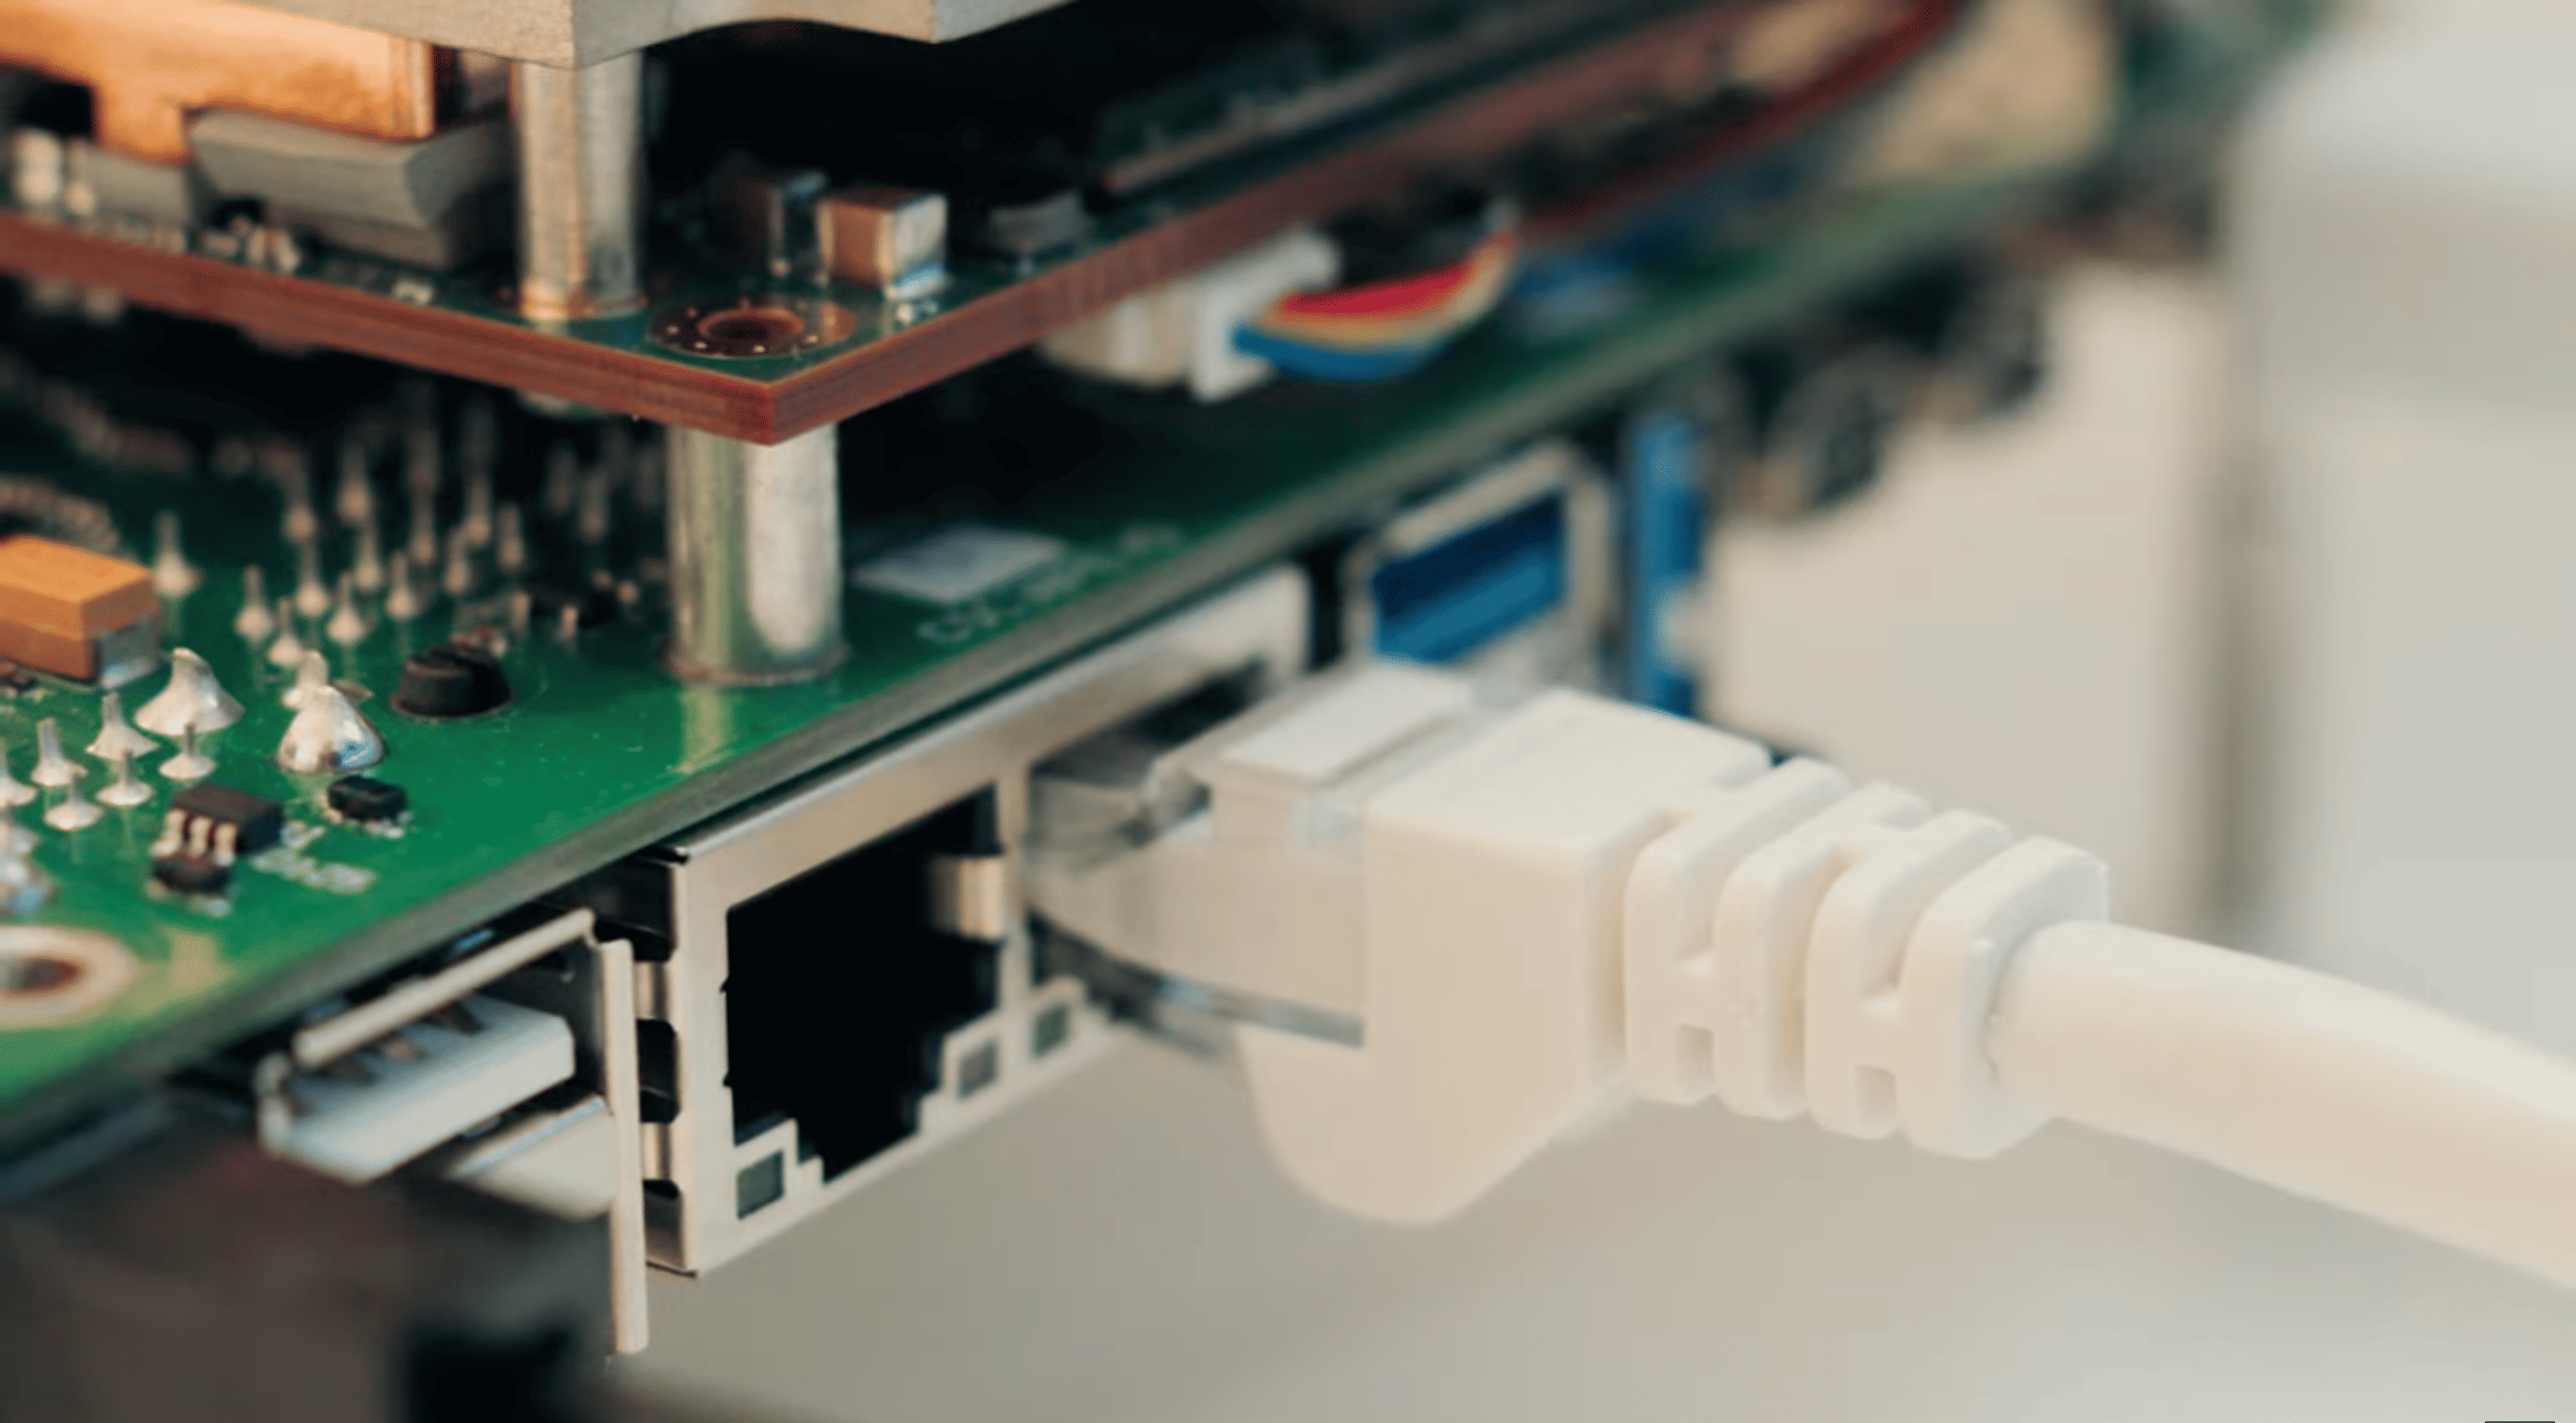
Step 4: Connect network if needed
If required, connect an Ethernet cable before powering on the system.
Step 5: Connect the power supply
Use the power adapter and the correct regional plug included with the kit.
Step 6: Power on the platform
Turn on the system and wait for the boot process to complete.
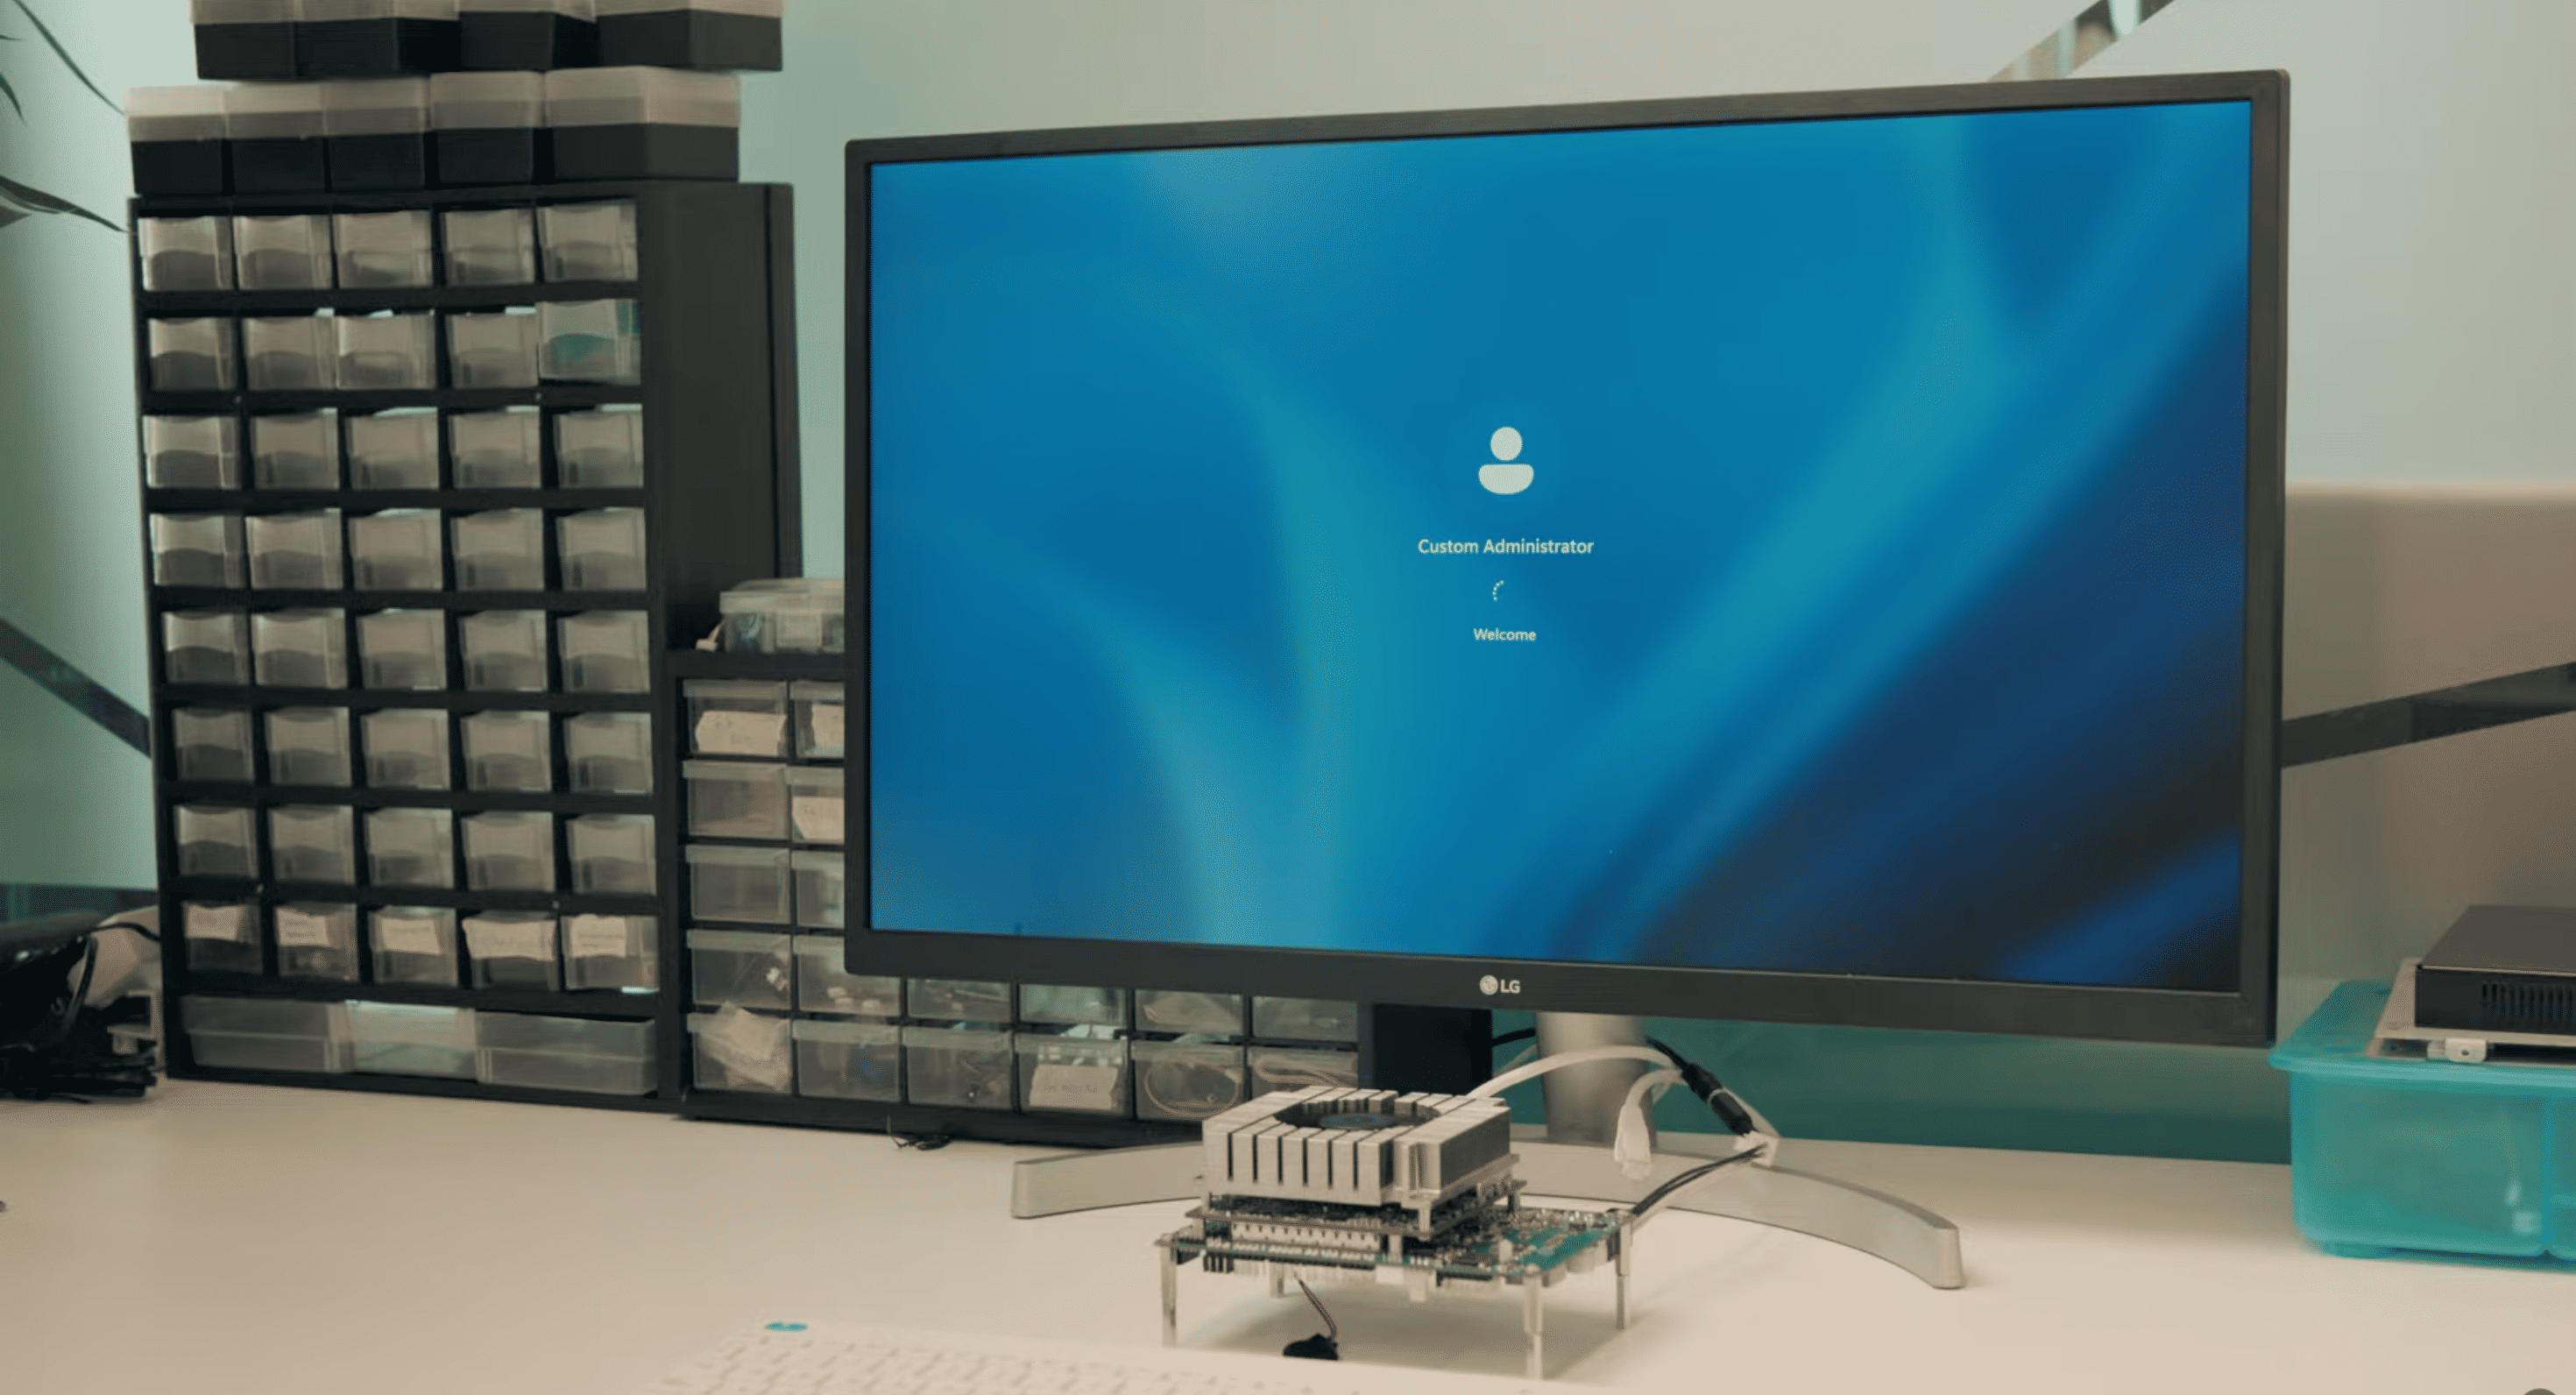
Step 7: Verify the first boot
Check that video output, USB peripherals, and the basic system startup sequence are working correctly.

Advanced setup
The Advanced Setup section is dedicated to the optional accessories and extended connectivity layer that make the platform suitable for richer validation scenarios. The COMe platform, is compatible with additional elements such as the C30 Cable Kit, Wi-Fi or LTE antennas, cameras, microphones, and speakers. This makes the platform suitable not only for board-level validation, but also for more complete HMI, connected, and multimedia-oriented use cases.
Important Not all cables and accessories are compatible with every module, carrier revision, or kit configuration. Always verify compatibility in the specific Modules pages before connecting additional accessories or expansion elements.
Identify the correct cable or accessory
Check the SKU, connector, and compatibility with your kit configuration.
Verify connector orientation
Before installation, make sure the cable or accessory is aligned correctly and matches the expected orientation.
Connect the cable or accessory
Attach the selected cable or peripheral carefully, without applying force.
Secure the setup if needed
Complete any required routing, fixing, or mounting step to ensure a clean and stable setup.
Validate the connection
Power on the platform and verify that the connected accessory is correctly recognized and operational.
Clea Free Trial
EVAL-KIT-SOM-COMe fits into a broader SECO developer journey that can also include software enablement, onboarding resources, and integration with the SECO ecosystem. The COMe platform is part of a modular flow that can be extended with AI tools, SECO Application Hub resources, and Clea for orchestration and remote deployment scenarios.
To explore the cloud and IoT layer in more detail, visit the dedicated Clea Dev Center Page.
Start with Clea now requesting a Free Trial.